
Fence Posts How Deep: Your Definitive Guide for Ottawa-Gatineau
- Eric Lafleche
- Jan 25
- 14 min read

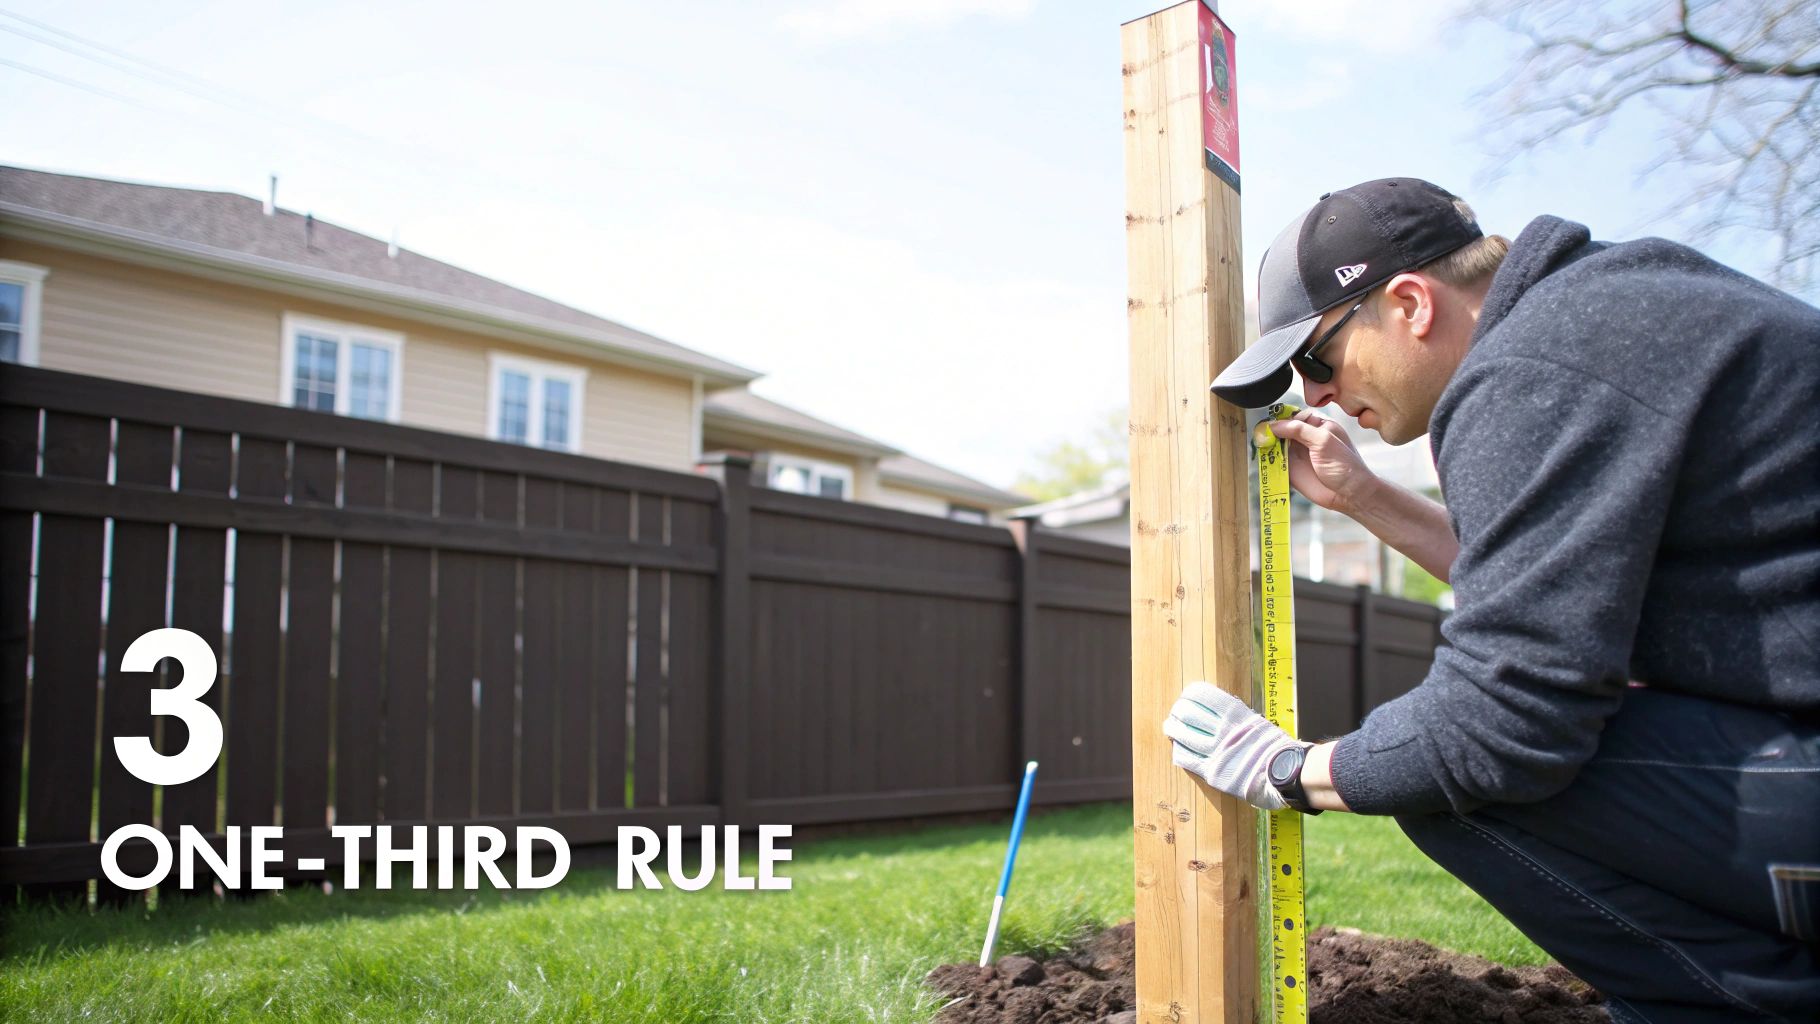
If you're a homeowner in the Ottawa-Gatineau region, let’s get straight to the point. While common wisdom suggests burying one-third of your fence post's length, our local climate demands a stricter rule. The non-negotiable minimum is to dig below our 3.5-foot frost line. Think of this not as a guideline, but as the golden rule for preventing frost heave—the force of nature that can ruin a perfectly good fence in a single Canadian winter.
Getting Fence Post Depth Right the First Time
Determining how deep to set your fence posts is the single most important step in building a fence that lasts. Get it right, and your fence will stand tall for decades. Get it wrong, and you'll see it leaning after one tough season.
The old "one-third" rule is a decent starting point, but it's not enough for our region. Lasting stability requires a specific plan based on local soil, frost depth, and your fence's design. This guide provides actionable steps to build a fence that can handle heavy snow, high winds, and our shifting ground, moving beyond generic advice to what truly works here.
Key Factors Influencing Post Depth
Before you grab a shovel, you need a clear plan. The right depth isn’t a single number; it's a calculation based on these critical variables.
Your Fence's Height: A 6-foot privacy fence acts like a sail in the wind. It needs a much deeper, more solid footing to resist that force compared to a decorative 42" fence. The taller the fence, the deeper the post must go.
The Materials You Choose: Heavy materials like pressure-treated wood or thick-gauge steel require more support from the ground up than lighter options like aluminum or vinyl. The weight of your fence directly impacts the stability required from its foundation.
The Soil in Your Backyard: The ground itself is a massive factor. Loose or sandy soil offers less grip, so posts must go deeper for a firm hold. The dense clay common in our area holds posts tight but is also highly susceptible to frost heave, making depth even more critical.
In the Ottawa-Gatineau region, digging below the frost line is the single most important action you can take. Ignoring this step is the leading cause of fence failure and leads to frustrating, expensive repairs.
Use this quick-reference table to plan your project.
Quick Guide to Post Depth by Fence Height
Fence Height Above Ground | Recommended Total Post Length | Standard Depth (One-Third Rule) | Actionable Ottawa-Gatineau Minimum Depth |
|---|---|---|---|
4 ft | 8 ft | 32 inches | 42 inches (below frost line) |
5 ft | 10 ft | 40 inches | 42 inches (below frost line) |
6 ft | 10 ft | 40 inches | 42 inches (below frost line) |
8 ft | 12 ft | 48 inches | 48-60 inches (deeper for wind load) |
As you can see, the one-third rule consistently falls short of our required 42-inch frost line. Your default action must always be to dig deeper.
For a standard 6-foot wood fence, use a 10-foot post and bury it 3.5 feet (42 inches) deep. This is the professional standard, especially in the clay-heavy soils around Gatineau, which are notorious for shifting during our freeze-thaw cycles.
A fence that endures for decades starts with a solid foundation. Getting this first step right is non-negotiable, which is why true substructure expertise for outdoor living projects is so valuable.
Why the 4-Foot Frost Line Is a Game Changer
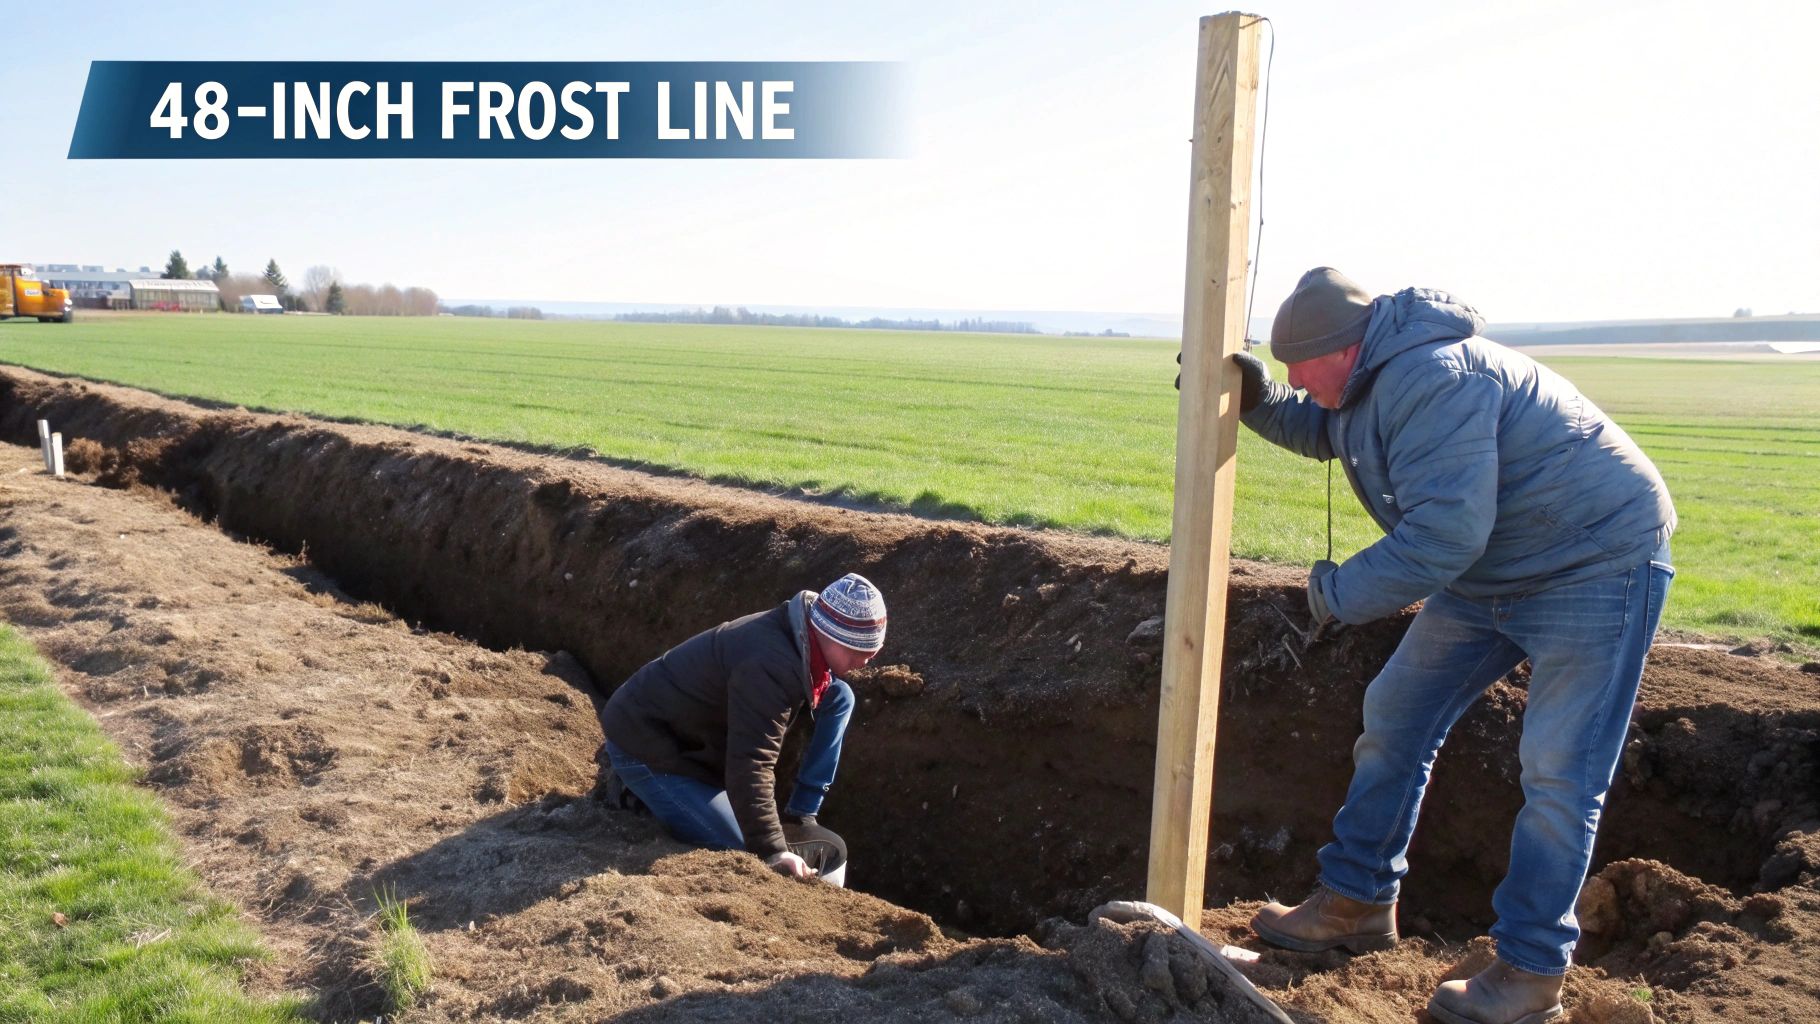
To understand why digging below the 3.5-foot (42-inch) frost line is mandatory in the Ottawa-Gatineau area, you need to understand the powerful force working against your fence: frost heave. It’s the number one reason fences fail here.
Importance of the Frost Line
In regions like Ottawa-Gatineau, the frost line is a critical factor in construction and landscaping. Here are some key points:
Definition: The frost line is the depth at which the ground freezes in winter.
Impact on Structures: Structures built above this line are susceptible to frost heave, which can cause instability.
Preventing Damage: Digging below the frost line helps to secure the foundation of fences and other structures.
Understanding Frost Heave
Frost heave occurs when moisture in the soil freezes and expands, pushing structures upward. This phenomenon can lead to:
Uneven settling of fences and posts.
Cracks and damage to the fence structure.
Increased maintenance and repair costs.
Conclusion
To ensure the longevity and stability of your fence in the Ottawa-Gatineau area, it is essential to dig at least 42 inches deep, avoiding a gravel base, to effectively combat the effects of frost heave.
During our freeze-thaw cycles, moisture in the soil expands as it turns to ice, creating immense upward pressure. If your fence post is sitting within that frozen zone, the icy ground will grab it and push it right out of the earth. When spring arrives, the ground thaws, but the post never settles back into its original position. You're left with a leaning, unstable fence—a structural failure that compromises the entire fence line.
The Actionable Science: Anchor Below the Freeze
The 4-foot mark is the scientifically determined depth to which the ground typically freezes in our climate zone. The soil below that line remains stable and unfrozen all year. By anchoring your post in this solid ground, you effectively bypass the entire frost heave problem.
Think of it like an iceberg. The visible part is supported by the massive, stable mass hidden below the surface. A fence post set below the frost line works the same way. Its deep footing in unfrozen earth provides the stability needed to resist the powerful forces happening closer to the surface.
This is exactly why following a general "one-third" rule is so risky here. For a 5-foot fence using a standard 8-foot post, that rule suggests a depth of only 32 inches, leaving a full 16 inches of post in the frost heave danger zone.
Real-World Consequence: What Happens When You Cut Corners
Imagine you set your posts 2.5 feet deep to save time. At first, the fence looks great. Then, the first Ottawa winter arrives. The soil freezes, expands, and shoves the post up an inch. In the spring, it settles back with a slight tilt. This cycle repeats, and the lean gets worse each year. Soon, the strain pulls on the fence panels, creating gaps and weakening the structure. You’re now facing costly repairs or a full replacement.
Actionable step: Anchor every post at a full 42 inches. This places its foundation in stable, unfrozen ground. This simple act of digging deeper is the most effective insurance policy for the longevity of your fence.
The consequences of ignoring the frost line are proven. Properly setting posts at 3.5 to 4 feet deep dramatically reduces frost heave damage. Going deep also provides critical stability against wind. During the 2018 derecho, which brought winds over 200 km/h, a staggering 12% of under-depth posts in Ottawa were toppled.
Beyond Depth: Practical Steps for Clay Soil
While depth is key, you must also account for our region's heavy clay soil, which holds moisture and is prone to frost heave. Take these two extra steps to secure your posts:
Bell the Hole: Dig the bottom of the hole slightly wider than the top. This creates a mushroom-shaped concrete footing that makes it much harder for frozen ground to get a grip and push the post upward.
Add a Gravel Base: Before placing the post, add 4-6 inches of 3/4" clear gravel to the bottom of the hole and compact it. This creates a drainage pad, allowing water to escape from the base of your post, reducing rot and ice formation where it matters most.
These are the details that separate a DIY fence from a professional installation built to last for decades. Taking a moment to understand your guide to frost depth in Ontario will provide even more valuable, local insight.
Tailoring Post Depth to Your Specific Fence
Not all fences are the same, and their foundations shouldn't be either. The correct post depth is a direct response to the specific job that fence has to do. A 6-foot privacy fence that catches wind needs a much stronger footing than a decorative 4-foot aluminum fence that wind passes through.
Getting this right is the secret to building a fence that lasts. The forces acting on your fence change dramatically based on its design, material, and position. A one-size-fits-all approach is a recipe for failure.
Actionable Tip: Dig Deeper for Gate and Corner Posts
Your corner posts and gate posts are the anchors of your entire fence system. They handle immense and constant stress.
Corner Posts: These are pulled in two different directions, 24/7. This constant lateral load puts them under far more strain than a standard line post.
Gate Posts: A gate post must support the entire swinging weight of the gate, plus the dynamic forces of it opening and closing daily. A heavy wood or steel gate can exert hundreds of kilograms of leverage on that single post.
Because of these extreme loads, you must reinforce them. The holes for gate and corner posts must be both deeper and wider than the rest.
Actionable Step: For any gate or corner post, add at least 6 to 12 inches of depth and increase the hole diameter. If your line posts are set 4 feet deep in 8-inch holes, dig your gate and corner post holes to at least 4.5 feet and use 10- or 12-inch diameter form tubes. This extra concrete creates a powerful anchor that will not move.
Matching Depth to Fence Type and Purpose
The function of your fence directly impacts its construction. A simple garden fence has completely different structural needs than one designed for commercial security or keeping wildlife out.
Agricultural fencing standards in Ontario, for instance, demand that corner posts for high-tension perimeter fences be buried exactly 4 feet deep. These systems use beefy 5-6 inch diameter posts that are at least 12 feet long to handle tension loads up to 1,000 kg without failure. Their line posts, also sunk 4 feet deep, prevent the 30% sagging rate seen in shallower installations. These are proven guidelines for long-term stability.
Apply this logic to common fence types:
Residential Privacy Fence (Wood/Vinyl): A 6-foot wooden privacy fence is heavy and acts like a sail. Action: Set posts a minimum of 4 feet deep to handle wind load and stay below the frost line. Learn more about choosing materials in our homeowner's guide to pressure-treated fence wood.
Decorative Aluminum Fence: This fence is light and lets wind pass through. The main threat is frost heave. Action: You must still dig below the 4-foot frost line to prevent heaving, but the structural demand is lower.
Chain-Link Security Fence: These fences get their strength from tension pulled between strong terminal posts (corners, ends, and gates). Action: Set terminal posts significantly deeper and in much larger concrete footings to keep the mesh tight. The line posts mainly serve to hold up the mesh.
By assessing the specific demands of your fence—its height, material, and critical stress points—you can make a calculated decision on post depth. This practical approach ensures every part of your fence is built to last.
Getting Your Hands Dirty: A Practical Guide to Setting Fence Posts
Now that you know the "why," it's time for the "how." Setting a fence post is about building a rock-solid foundation that will withstand our Ottawa-Gatineau climate. This is where theory meets the real world of dirt, concrete, and getting things perfectly level.
Follow these actionable steps for a professional-grade installation.
Step 1: Choose Your Tool—Digger vs. Auger
First, decide how you will dig the hole.
Manual Post-Hole Digger: This classic "clamshell" tool is great for small jobs or setting just a few posts. It's affordable and gives you precise control, but be prepared for a serious workout in our region’s rocky clay.
Powered Auger: For a full fence project, renting a power auger is a must. It will save your back and power through tough soil. Be aware of the rental cost, noise, and the danger of "kickback" if it hits a large rock or root.
For most fence projects in our area, the power auger is the practical choice. But before you start, always call or click to have underground utility lines marked.
Step 2: Get the Hole Diameter Right
Depth is crucial, but the width of the hole is equally important. A narrow hole won't hold enough concrete to create a strong collar around the post, which is your main defense against frost heave.
Actionable Rule: Aim for a hole diameter that is three times the width of the post. A standard 4x4 post is 3.5 inches wide, so an 8- to 10-inch diameter hole is ideal. This provides enough space for a solid 2-3 inches of concrete on all sides.
This diagram shows how different parts of a fence require different levels of support.
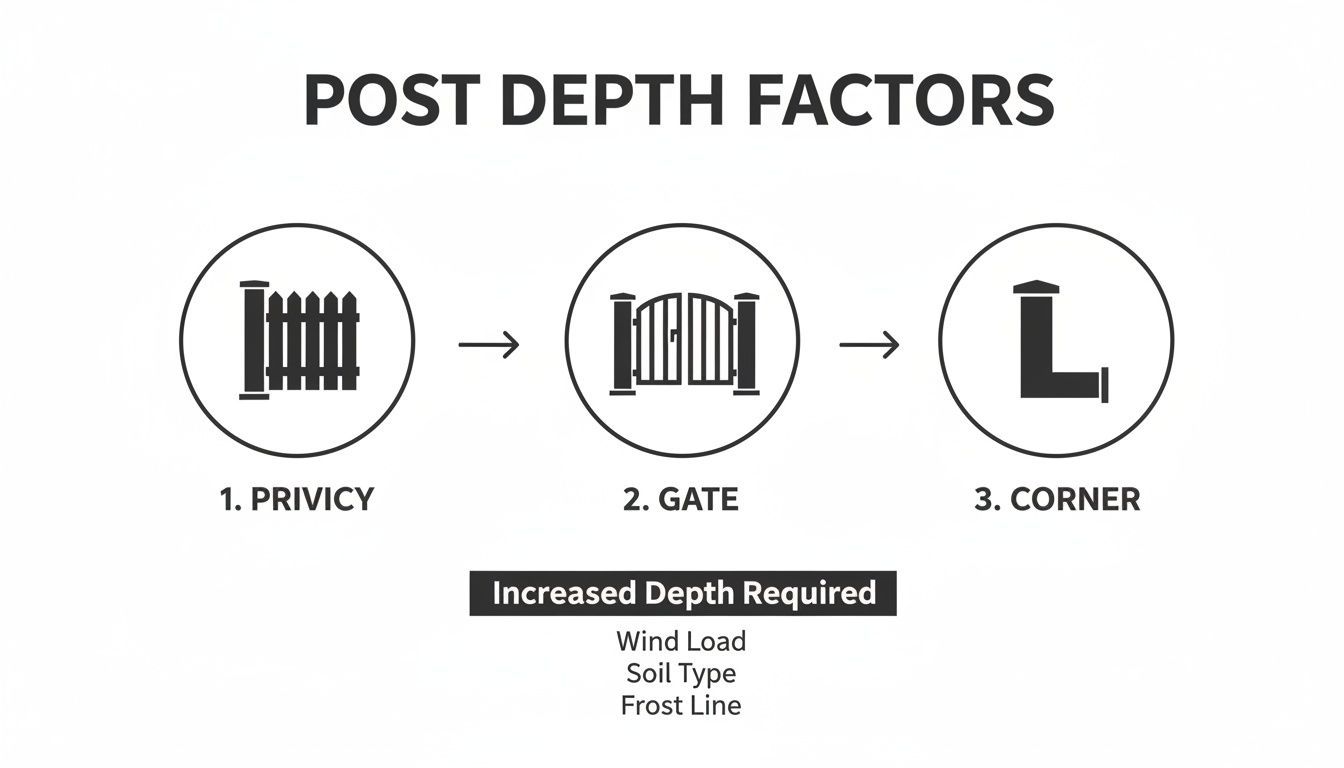
Gate posts, corner posts, and posts supporting tall sections are major stress points that require deeper, wider footings to handle the extra load.
Step 3: The Professional Setting Process
With your hole dug to the correct depth and width, follow these steps for a lasting installation.
Create a Gravel Foundation: Pour 4 to 6 inches of 3/4" clear stone or gravel into the bottom of the hole. Tamp it down firmly. This non-negotiable step creates a drainage bed, preventing water from pooling at the base of your post and causing rot.
Position and Plumb the Post: Place the post in the center of the hole on the gravel base. Use a level on two adjacent sides to ensure it is perfectly vertical ("plumb"). Secure it with temporary 2x4 braces nailed to stakes in the ground so it cannot move while you pour the concrete.
Mix and Pour Your Concrete: Mix concrete in a wheelbarrow to a thick, peanut-butter consistency—if it's runny, it's weak. Shovel it into the hole, using a scrap piece of wood to poke out any air pockets. Fill the hole until the concrete is a few inches above ground level.
Step 4: Add a Professional Finish
These two techniques will significantly improve the long-term durability of your fence.
Shape the Concrete Crown: After pouring, use a trowel to slope the top of the concrete away from the post. This "watershed" forces rain to run off instead of seeping down between the concrete and the wood.
Use Form Tubes (Sonotubes): For the strongest and cleanest footing, line your hole with a cardboard form tube. It creates a perfectly uniform, smooth-sided concrete pier. Frost has a much harder time gripping a smooth surface, giving you superior protection against heaving.
Following these practical steps will give you an unshakeable foundation for your fence. If this process seems too daunting, that's the perfect time to call in the pros at FenceScape to ensure it's done right.
Choosing Your Setting Material: Concrete vs. Gravel
After determining post depth, your next critical decision is what to set them in. The material you use to anchor your posts is just as important as the depth of the hole. It's what will keep your fence standing strong against our Ottawa-Gatineau weather for years to come.
Your two main options are concrete and compacted gravel. While concrete offers brute strength, gravel provides superior drainage and easier future repairs. The right choice depends on your fence type, soil conditions, and long-term goals.
When to Use Concrete: For Unmatched Stability
Concrete is the standard for a reason—it creates a solid, immovable footing.
Use concrete for:
Heavy 6-foot wood or vinyl privacy fences.
High-stress points like gate posts and corner posts, which are under constant tension.
In our region's clay-heavy soil, a concrete footing is especially effective. It forms a wide, solid base that resists shifting and provides a powerful defense against frost heave.
The downside? Concrete can trap water against the wood if not sloped correctly, leading to rot. And replacing a concrete-set post is a major job, often requiring a jackhammer.
When to Use Gravel: For Superior Drainage and Flexibility
Compacted gravel allows water to drain away from the post, which is a huge advantage for wooden posts, as it dramatically reduces the risk of rot.
The installation is straightforward: add gravel in 4- to 6-inch layers, tamping each one down firmly with a heavy bar or the end of a 2x4 until the post is rock-solid. This method is often faster and more forgiving than concrete.
The biggest benefit of gravel comes years later. If a post needs replacement, you simply dig out the gravel, swap the post, and re-compact the same material. While not as rigid as concrete, it provides ample stability for standard line posts in decent soil.
This is a strategic choice. Use concrete for maximum rigidity where your fence takes the most abuse. Use gravel for its superior drainage and easy repairs to preserve wooden line posts.
The principles are similar to those for building a gravel shed foundation—in both cases, proper compaction is what delivers long-term stability.
Concrete vs. Gravel: A Practical Decision Guide
Use this chart to decide which anchoring method is right for your project in the Ottawa-Gatineau area.
Factor | Concrete Footing | Compacted Gravel Base |
|---|---|---|
Stability | Excellent; creates a rigid, permanent anchor. Use for: heavy loads and high-stress posts (gates, corners). | Good; relies on compaction. Use for: line posts and lighter fences where absolute rigidity isn't required. |
Drainage | Poor; can trap moisture against wood if not sloped, leading to rot. | Excellent; allows water to drain away, extending the life of wooden posts. |
Installation | More labour-intensive; requires mixing, pouring, and curing time. | Faster and cleaner; involves layering and tamping with no curing time. |
Cost | More expensive due to the cost of bagged concrete and labour. | More affordable; gravel is less expensive and installation is quicker. |
Repairs | Difficult; replacing a post often requires a jackhammer. | Easy; posts can be replaced by digging out and re-compacting the existing gravel. |
Best For | Gate posts, corner posts, heavy fences (wood, vinyl), and clay soils. | Standard wooden line posts, areas with good drainage, and projects where future replacement is a concern. |
Pro Tip: Use a hybrid approach. Set high-stress gate and corner posts in concrete for unbeatable strength. Set your wooden line posts in compacted gravel for excellent drainage and longevity.
If you choose concrete, review our practical guide to cementing fence posts for more detailed installation tips.
Common Questions We Hear About Fence Post Installation
Even with a solid plan, questions will come up. Here are quick, actionable answers to the most common questions we get from homeowners in Ottawa and Gatineau.
How Can I Be 100% Sure Where My Property Line Is?
Getting this wrong can lead to costly disputes. Do not guess.
Actionable Step: The most reliable method is to hire a licensed surveyor. Alternatively, locate the property survey you received when you purchased your home. It will show the exact lines and may help you find the original metal survey pins at the corners of your lot. Never assume an existing fence is on the actual property line.
What Happens If I Hit a Massive Rock or Tree Root?
You will almost certainly hit an obstacle.
For a large rock: The easiest solution is to move the post location 6 inches along the fence line. A minor adjustment in spacing is far easier than fighting a boulder.
For large tree roots: Try to dig around them to avoid damaging the tree. If you cannot move the hole, use a reciprocating saw to make a clean, careful cut through a section of the root.
Critical First Step: Before you dig, you must contact Ontario One Call or Info-Excavation in Quebec. Hitting a buried utility line is dangerous and expensive. They will mark the lines for free—give them a few business days' notice.
Do I Actually Need a Permit for My Fence in Ottawa or Gatineau?
Generally, you do not need a permit for a standard backyard fence under 2 metres (6.5 feet) tall.
However, you will almost certainly need a permit for:
Any fence taller than the standard height limit.
Fences enclosing a swimming pool (these have strict safety codes).
Fences in a front yard, which have lower height restrictions.
Actionable Step: Always check your local municipality's website or call the building department before you start. A five-minute call can prevent major headaches.
Should I Really Put Gravel at the Bottom of a Concrete-Set Post?
Yes, absolutely. This professional technique makes a huge difference.
Actionable Step: Put 4 to 6 inches of 3/4" clear gravel in the bottom of the hole before you place the post. This creates a drainage pad, allowing moisture to escape instead of rotting the base of a wooden post. Do not skip this step.
Can I Get Away with Setting Fence Posts Without Concrete?
Yes, but only for certain posts. Using compacted gravel is an excellent choice for regular line posts in a wooden fence because it provides superior drainage and makes future replacement easy.
However, for gate posts, corner posts, or any post under high stress, concrete is a must. It provides the unshakeable stability required to handle weight and tension. A hybrid approach is often best: use concrete for high-stress posts and compacted gravel for the posts in between.
Navigating the specifics of how deep to dig fence posts, dealing with local bylaws, and choosing the right materials can feel overwhelming. If you'd rather have the peace of mind that comes with a perfectly straight, incredibly durable fence built to handle our climate, it might be time to call in the experts. At FenceScape, we handle every detail from design to the final clean-up. Get your free, no-obligation estimate today!
Comments