
A Practical Guide to Fence Post Concrete for a Lasting Fence
- Eric Lafleche
- Jan 27
- 13 min read

Using fence post concrete is the most critical decision for building a fence that stands the test of time. A solid concrete footing anchors your posts against wind, shifting soil, and frost, preventing the frustrating lean that ruins a fence's look and structural integrity. Follow this guide to achieve a professional-grade installation.
Why a Concrete Base Is Non-Negotiable for Your Fence
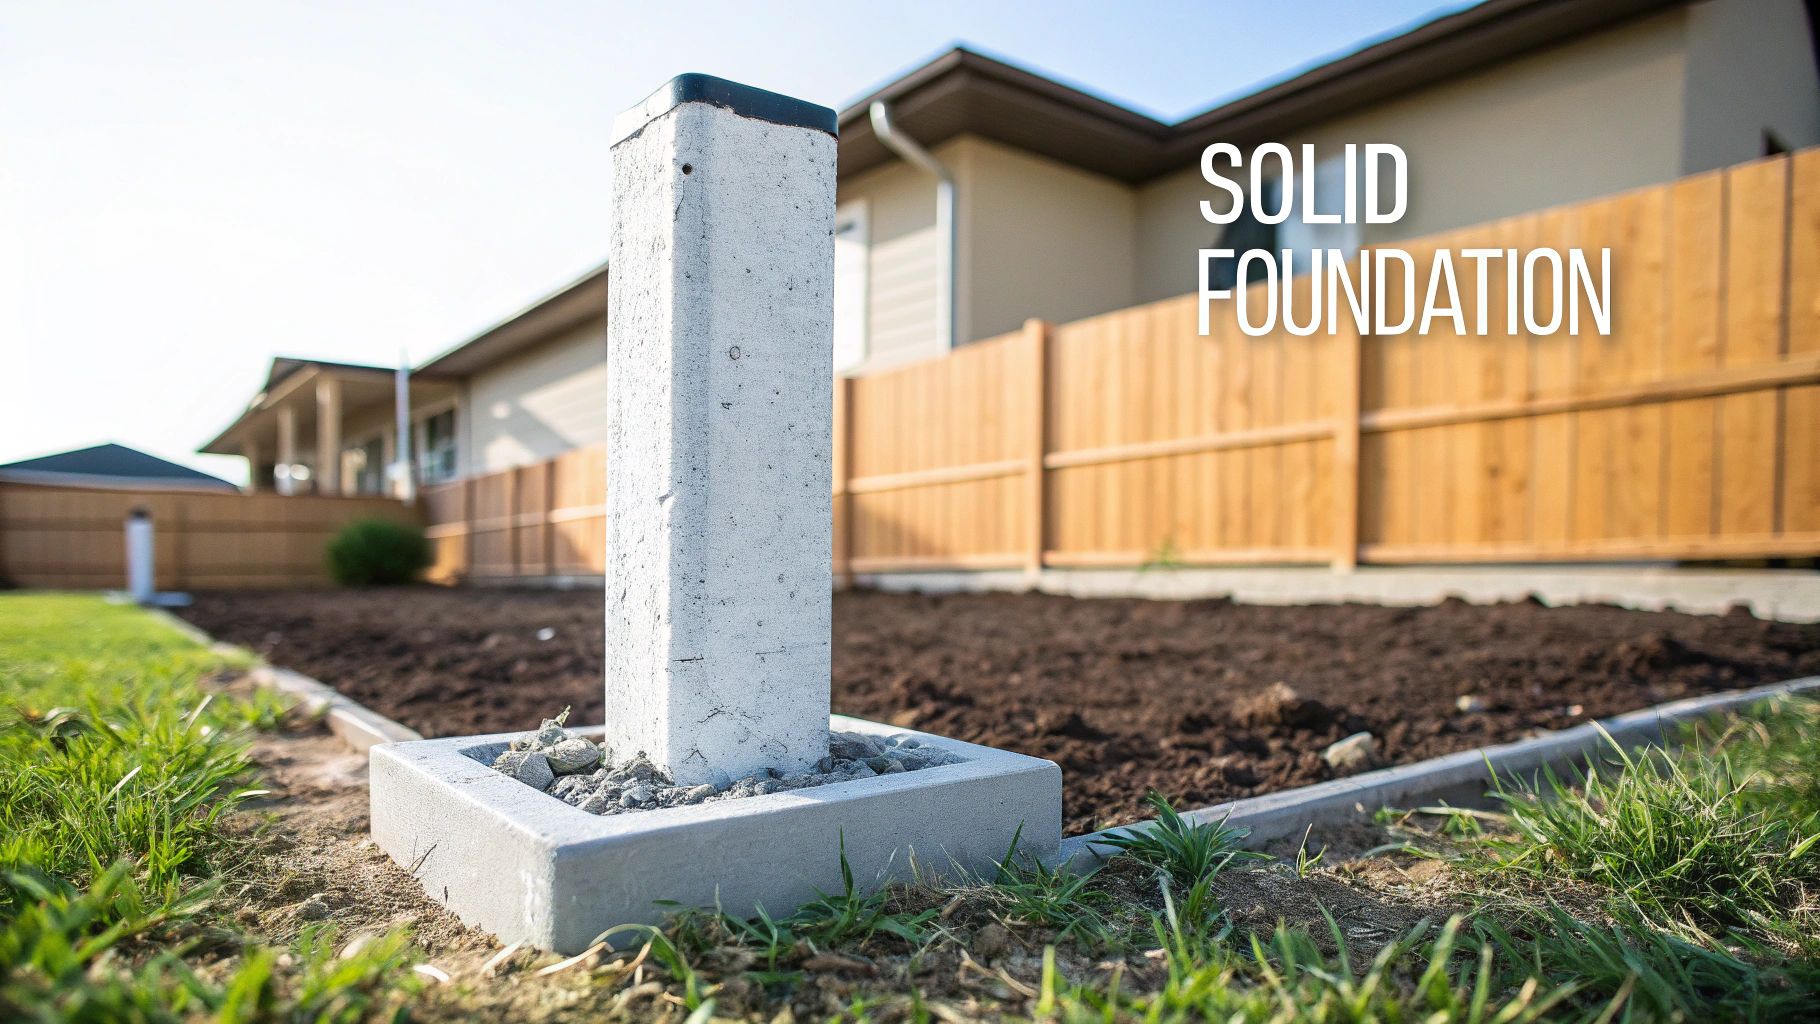
Think of a fence post as a long lever. Without a heavy, unyielding anchor, a moderate push can make it shift, tilt, or lift out of the ground. In the Ottawa–Gatineau region, where the ground experiences significant seasonal changes, a proper concrete footing is essential. It acts as a solid anchor, spreads the load, and keeps your fence perfectly straight for years.
The durability of concrete is a primary reason the fencing industry continues to grow. In 2019, the U.S. fencing market was valued at USD 8.3 billion, with demand for robust, concrete-set installations steadily climbing. This resilience is vital in climates with extreme weather, as a solid foundation saves you significant long-term repair costs. You can find more details on the fencing market on millioninsights.com.
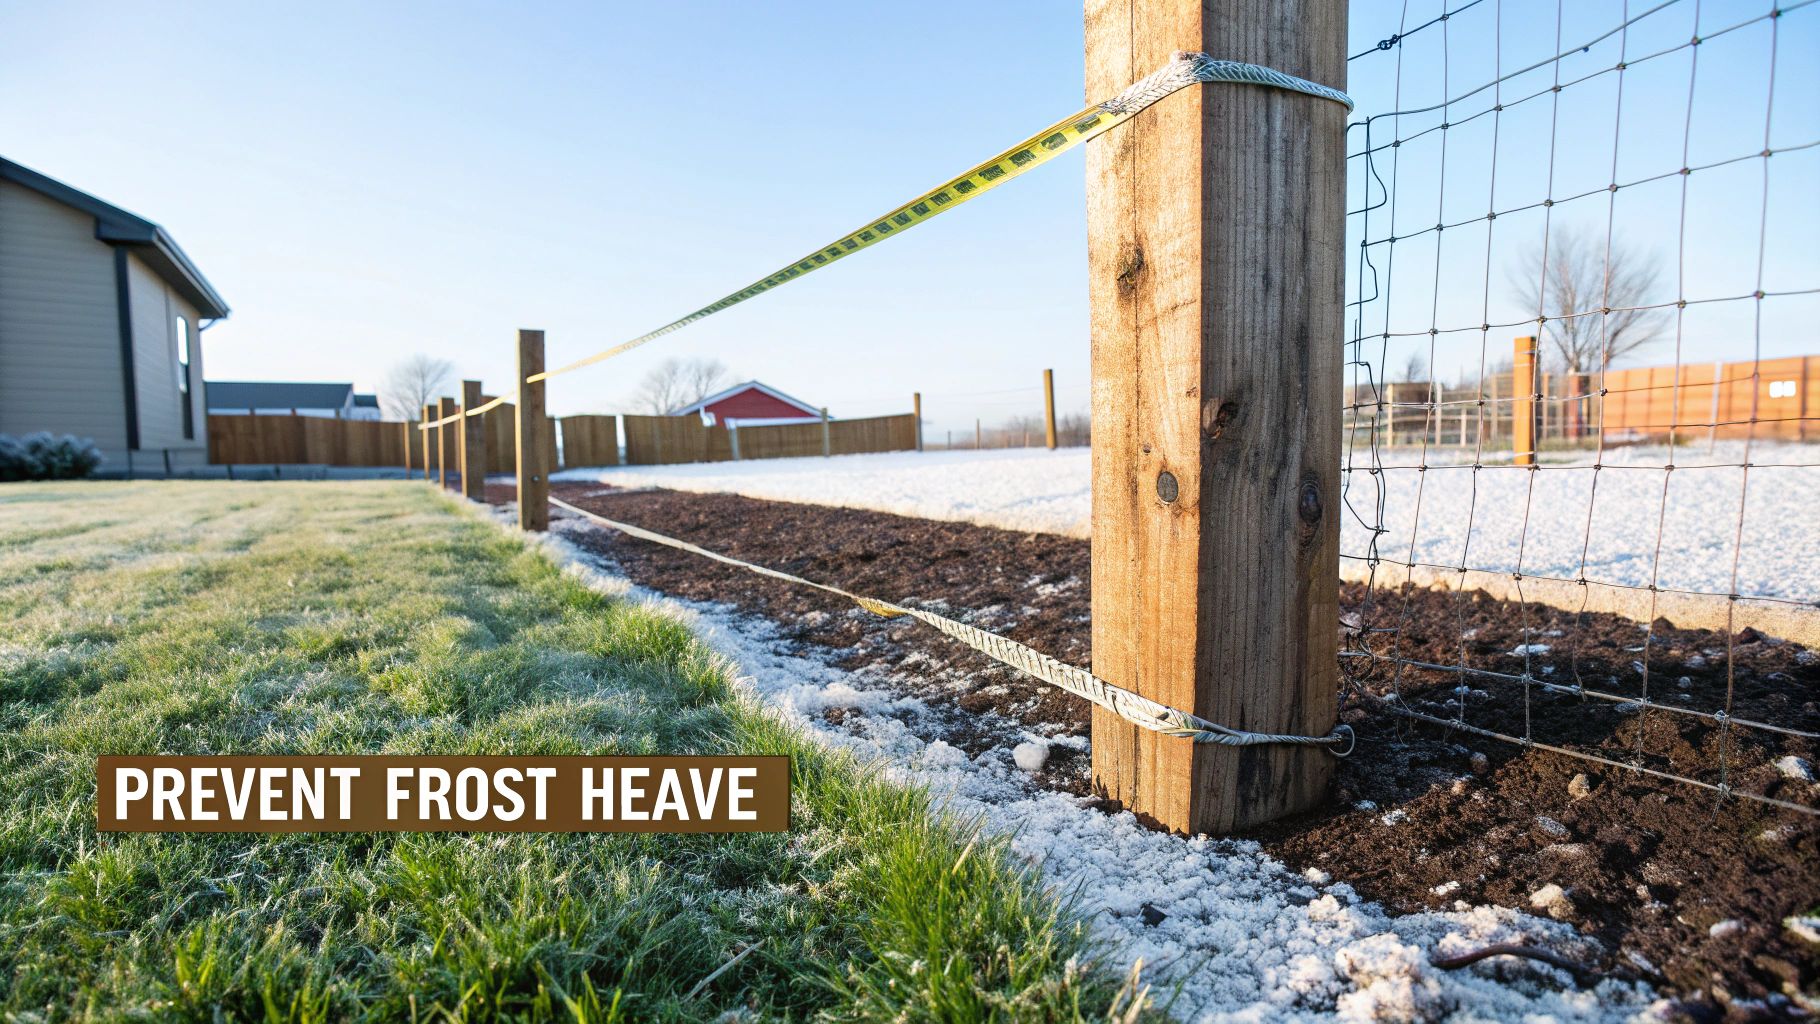
Actionable Tip: Counteract Frost Heave
In our climate, frost heave is the main threat to any fence. As soil moisture freezes, it expands with enough force to push posts out of the ground. To prevent this, your concrete footing must be poured below the local frost line, which is 1.2 metres (48 inches) in the Ottawa area.
To create an effective anchor, dig the hole to the proper depth and "bell" it out by making the bottom wider than the top. This shape creates a lock that frozen ground cannot grip and push upward. If you skip this step, your posts will likely shift and heave after a few freeze-thaw cycles, resulting in a wavy, unstable fence.
Actionable Tip: Prevent Leans from Wind and Water
A fence acts like a large sail, catching wind and transferring the force down to the posts. If a post sits in soft, damp soil with a weak footing, it will eventually lean. This is where fence post concrete demonstrates its value.
I see it all the time: people obsess over the post material but skimp on the footing. The reality is, the footing does all the heavy lifting. A top-of-the-line post in a shoddy footing will fail, guaranteed. But even a standard post set in a rock-solid footing can last for decades.
By encasing the post in a solid mass, concrete creates a wide, stable base that resists wind pressure. For wooden posts, it also provides a barrier against damp soil, which causes rot. The goal isn't just to hold the post up—it's to hold it securely against all forces.
Choosing Your Concrete Mix and Post Materials
Walking into a building supply store, you'll face a wall of concrete bags and different post types. The choices you make here will determine your fence's longevity. Here’s how to select the right materials with confidence.
What’s the Best Concrete for Fence Posts?
You will primarily find two options: a standard mix and a fast-setting mix.
Fast-setting concrete is ideal if you're in a hurry, as it hardens in about 20-40 minutes. This often allows you to set posts in the morning and hang fence panels by the afternoon. However, this convenience comes at a higher cost and results in slightly lower final strength.
A standard concrete mix is the reliable, cost-effective choice. It cures to a much higher compressive strength—typically around 25-30 MPa (megapascals)—creating a rock-solid footing. The only trade-off is time; you must wait a full 24 to 48 hours for it to harden before hanging gates or panels.
For most backyard fence projects, I recommend a standard mix for its superior strength and value. The slower curing time is manageable if you plan your project over a weekend. I reserve fast-setting mixes for small repairs or projects with extremely tight deadlines.
A common misconception I hear is that "fast-setting" means "stronger." The opposite is usually true. The slow, gradual curing process of a standard mix creates a denser, more powerful footing that's much better at fighting off the frost heave we get every single winter.
Before buying, check the bag for the strength rating (the MPa number). A higher number indicates greater durability, which is exactly what you want for a long-lasting fence.
Concrete Mix Comparison for Fence Posts
Use this table to decide which mix fits your project's needs based on speed, strength, and budget.
Mix Type | Average Set Time | Best For | Pro Tip for Ottawa Climate |
|---|---|---|---|
Fast-Setting Mix | 20-40 minutes | Quick repairs, single-post replacements, projects on a tight timeline. | Great for a quick fix, but its lower final strength makes it less ideal for heavy gates or long fence lines exposed to high winds. |
Standard Mix | 24-48 hours | New fence installations, setting heavy gate posts, maximizing long-term durability. | This is the superior choice for fighting frost heave. The slow cure creates a stronger footing that can withstand our freeze-thaw cycles. |
Choosing the right mix involves matching the product to the job's demands. For a new fence built to last, the patience required for a standard mix provides significant long-term benefits.
Picking the Right Fence Posts
The posts are as crucial as the concrete. Each material has specific installation requirements and performance characteristics.
Here are the most common options:
Pressure-Treated (PT) Wood: This is a popular choice due to its affordability, strength, and resistance to rot and insects. When setting a PT post, always place a few inches of gravel at the bottom of the hole to allow water to drain away from the wood's end grain. You can learn more about what pressure-treated lumber is to understand why it's a staple for outdoor projects.
Cedar: Valued for its natural beauty and resistance to decay, cedar is a premium option. It is lighter than PT wood but costs more. A gravel base is essential for maximizing its lifespan.
PVC/Vinyl: For a maintenance-free option, choose vinyl. These posts won't rot, warp, or need staining. However, they can become brittle in extreme cold and lack the strength of wood or steel, making them less suitable for heavy gates.
Steel/Ornamental Iron: For maximum strength and a modern aesthetic, steel is the best choice. It's ideal for heavy-duty gates or high-security fencing. Ensure the post has a quality protective coating, as any chip or scratch at the concrete level can lead to rust.
Your post material directly influences the foundation design. A heavy steel gate post requires a much larger and deeper concrete footing than a lightweight cedar post for a decorative fence. Match the footing to the post and its function to ensure a strong, secure fence.
How to Properly Set Fence Posts in Concrete
This is where planning becomes action. Setting fence posts correctly is a sequence of steps where precision at each stage guarantees a durable, straight fence. From digging the hole to finishing the concrete, every detail matters.
This visual guide breaks down the basic flow of setting a post.
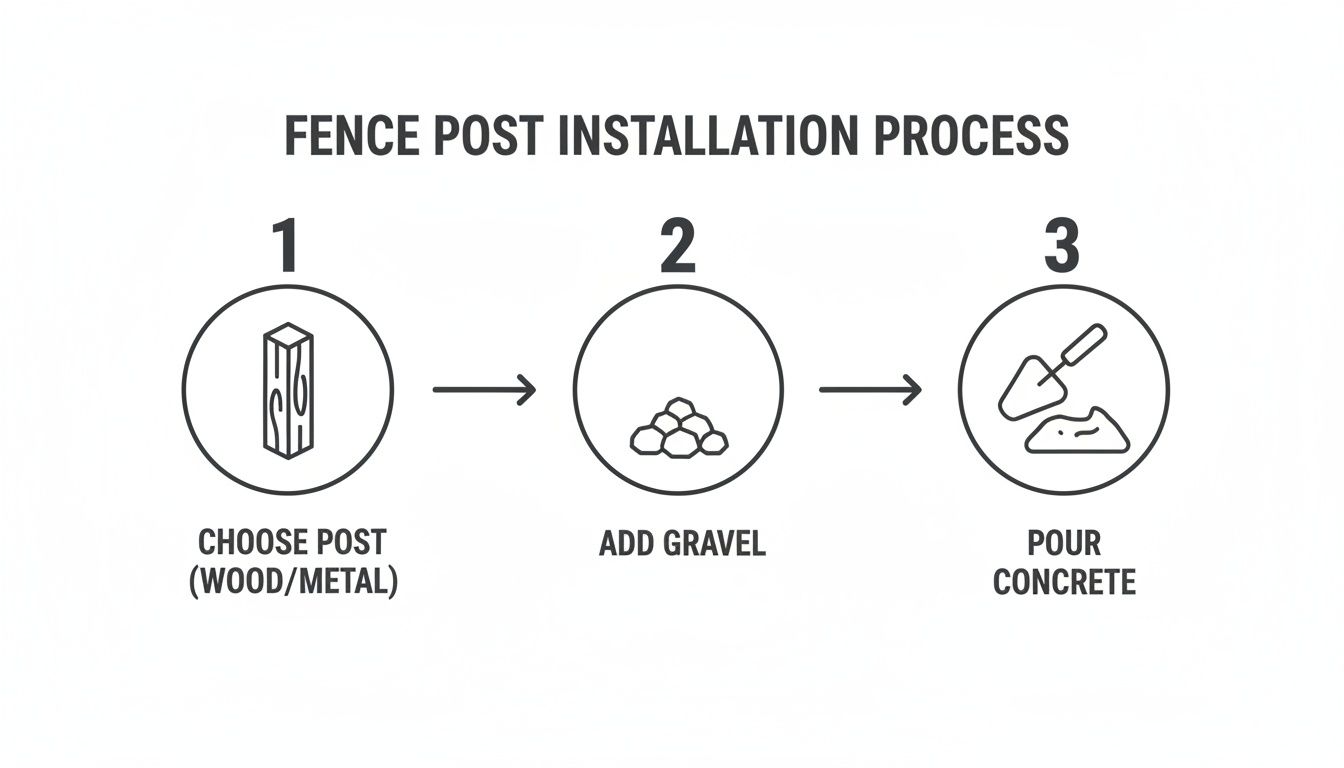
The process has three core stages: positioning the post, creating a drainage base, and pouring the concrete anchor. Master these three for a successful installation.
Before You Dig a Single Hole
The most critical step happens before you start: locate all underground utilities. Accidentally hitting a water, gas, or electrical line with a shovel or auger can create a dangerous and expensive emergency.
In Ontario, use the free Ontario One Call service to have crews mark the location of any buried lines on your property. This will show you exactly where it is safe to dig. Schedule this service a few business days in advance.
Creating the Perfect Post Hole
Your post hole dimensions are fundamental to your fence's stability, especially in the Ottawa–Gatineau region where the frost line is a major factor.
Depth is Your Defence: To prevent frost heave, each hole must extend below the local frost line. In our area, this means a minimum depth of 1.2 metres (48 inches). This places the bottom of your concrete footing deep enough that frozen ground cannot lift it.
Diameter for Strength: The hole’s diameter should be approximately three times the width of your post. For a standard 4x4 post (which is actually 3.5" x 3.5"), dig a hole 10 to 12 inches across. This provides ample space for a thick collar of concrete to create an immovable anchor.
While a manual post-hole digger can work for a few holes, renting a power auger is highly recommended for larger projects. Our region's rocky or clay-heavy soil can make manual digging extremely difficult.
The All-Important Gravel Base
After digging the hole to the correct depth, pour in a 4- to 6-inch layer of 3/4" clear stone or gravel before inserting the post. This step is essential, particularly for wooden posts.
The gravel layer creates a drainage bed, allowing water to flow away from the bottom of the post. Without it, water will pool at the end grain of the wood, leading to rot, even with pressure-treated lumber.
I’ve seen countless DIY fences fail prematurely, and nine times out of ten, the culprit is a missing gravel base. It’s the cheapest, easiest insurance policy you can buy for your fence posts.
Mixing Concrete to the Right Consistency
Achieve a workable but not soupy consistency. Adding too much water is the most common mistake and significantly reduces the concrete's final strength.
Aim for a texture like thick brownie batter or oatmeal—stiff enough to hold its shape but wet enough to flow around the post.
Pro Tip: Mix your concrete in a wheelbarrow or mixing tub, not in the hole, to control the water-to-mix ratio. Add the dry mix, create a well in the center, and slowly add water while mixing with a hoe until you reach the ideal consistency.
Setting and Bracing Your Post
With the concrete mixed, place the post in the center of the hole on top of the gravel base. Shovel the concrete into the hole evenly on all sides. Use a piece of rebar or scrap wood to poke the concrete as you fill to eliminate air pockets.
Fill the hole until the concrete is about 2-3 inches below ground level. This space allows you to add topsoil later for a clean finish.
As you fill, use a level to ensure the post is perfectly plumb (vertical) on two adjacent sides. This is a two-person job: one person holds the post steady while the other fills the hole and checks the level.
Once plumb, brace the post immediately so it stays vertical as the concrete sets.
Attach two scrap 2x4s to two adjacent sides of the post, about halfway up.
Angle the braces down to the ground, away from the post.
Drive stakes into the ground and secure the bottom of the braces to them.
Adjust the braces until your level shows the post is perfectly plumb on both faces.
Do not skip bracing. The braces are critical for the next 24 hours. Without them, you will likely return to a leaning post permanently set in concrete.
Finishing the Concrete Surface
Use a small trowel to slope the top of the concrete away from the post, creating a small dome or watershed.
This simple shaping ensures rainwater runs off instead of pooling against the base of a wooden post, adding another layer of protection against moisture and rot.
Now, do not touch it. Let the concrete cure for a solid 24-48 hours before removing the braces or attaching fence panels.
Dealing With Local Challenges: Frost Heave and Ottawa Soil
A fence is only as strong as its foundation. In the Ottawa–Gatineau region, frost heave and challenging soil types can compromise a new fence within a few years. Understanding how to manage these local conditions is the key to a professional, long-lasting installation.
Your Defence Against Frost Heave
Frost heave is the force that pushes fence posts out of the ground. It occurs when soil moisture freezes, expands, and grips the sides of the concrete footing. Each freeze-thaw cycle lifts the post slightly, and it never settles back down.
The only effective solution is to dig below the local frost line. In our area, the bottom of your concrete footing must be a minimum of 1.2 metres (48 inches) deep. This anchors the post below the frozen soil, preventing ice from getting underneath and pushing it up.
A common mistake I see is people thinking a deeper hole is all that matters. The shape of the footing is just as crucial. By digging the hole wider at the bottom than the top—a technique called "belling"—you create a cone-shaped footing. It becomes physically impossible for the frozen ground to push it up.
Adapting to Our Local Soil
The Ottawa area is known for its heavy clay soil, which retains water and drains slowly. This condition worsens frost heave and can accelerate rot in wooden posts. In contrast, softer or sandier soil offers less natural support against wind.
Here are actionable adjustments for different soil types:
For Heavy Clay Soil: A solid gravel base is essential. Install at least 6 inches of clear stone at the bottom of the hole to create a drainage path and prevent water from pooling at the base of your post.
For Softer/Looser Soil: Dig a wider hole. For a standard 4x4 post, a 12-inch diameter hole creates a much larger concrete anchor, distributing the load and providing significantly better stability.
The Bell-Shaped Hole: This technique is effective in any soil type. Once you reach your target depth, use a shovel to widen the bottom of the hole. This creates a mechanical lock that resists both upward and downward forces.
Why Drainage Is So Critical
Proper drainage is your best defence against long-term fence problems. Pooled water saturates the soil, weakens the concrete's grip, and fuels destructive frost heave.
Your first line of defence is the gravel layer at the bottom of the post hole. The second is sloping the concrete cap and surrounding soil away from the post. In some cases, you may need to improve yard drainage overall to prevent water from saturating the ground around your posts. By managing water effectively, you build an engineered system designed specifically for our climate.
Avoiding Common Mistakes for a Flawless Finish
Setting fence posts perfectly in concrete requires attention to detail. Small oversights can lead to wobbly posts, weak footings, or a fence that heaves after the first winter. Here is how to avoid common pitfalls and achieve a rock-solid result.
The most frequent mistake is adding too much water to the concrete mix. A soupy mix is easy to pour, but it severely compromises strength. Excess water makes the final concrete porous and can reduce its cured strength by up to 50%, leaving it vulnerable to cracking from freeze-thaw cycles.
The Problem of a Watery Concrete Mix
Aim for a consistency like thick brownie batter, not pancake batter. This ensures the concrete cures to its full potential. A mix that is too dry is also ineffective, so finding the right balance is crucial.
If you accidentally add too much water, the fix is simple: add more dry concrete mix to your wheelbarrow and stir until you achieve the correct thick consistency. It is better to use more mix than to set a post in weak concrete that is destined to fail.
Getting and Keeping the Post Perfectly Plumb
Another common error is failing to set the post perfectly vertical or failing to keep it plumb while the concrete sets. A slightly crooked post becomes highly noticeable once you attach the fence panels.
The solution requires two actions: meticulous leveling and solid bracing.
Use a Level on Two Sides: Always place your level on two adjacent faces of the post to ensure it is truly vertical from all angles.
Brace It Immediately: The moment the post is plumb, lock it in place with scrap 2x4s staked to the ground. Do not walk away until it is completely immobilized.
If you notice the post leaning after pouring the concrete, you have a brief window to correct it. Gently push it back into position and immediately add more bracing. If the concrete is still wet, the post can be saved.
Here's a pro tip that gets missed all the time: how you finish the top of the concrete. If you leave it flat, you're creating a little puddle right at the base of your post, which is a recipe for rot. Always slope the concrete so it forms a small dome or cone shape, directing water away from the post.
Long-Term Maintenance and Prevention
Your work isn't done when the concrete hardens. Proactive care helps your fence footings survive our tough seasons. It is normal for hairline cracks to appear over time due to ground shifting.
Prevent water from entering these cracks and freezing, which can widen them. Inspect your post footings each spring. If you find small cracks, clean them out and seal them with a flexible concrete caulk. This simple annual checkup prevents minor issues from becoming major problems.
When to DIY vs. Hire a Professional
Should you take on this fence project yourself or hire professionals? The answer depends on your project's scale and your willingness to undertake a weekend (or two) of demanding labour.
For small jobs, like installing two or three posts for a garden gate, a DIY approach can be cost-effective and rewarding, especially if you have the necessary tools.
However, the difficulty increases quickly with larger projects. If you have a long property line, rocky ground, or heavy clay soil, the physical effort required is substantial. In these situations, renting a power auger is essential, and even then, the work can be challenging.
Assessing Your Project Scope
Before you begin, evaluate your project realistically:
Project Size: A few posts are manageable. A full perimeter fence with 20 or more posts is a significant commitment of time and energy.
Soil Conditions: Digging in soft loam is straightforward. Hitting roots or rocks repeatedly, or battling dense clay, will quickly drain your stamina.
Tool Access: Consider the cost of renting or purchasing a power auger, wheelbarrow, level, and bracing materials. These expenses can narrow the price gap between a DIY project and a professional installation.
Hiring a professional crew offers efficiency and a guarantee of quality. They know exactly how much fence post concrete is needed—typically 20-30 kg per hole for a standard 4x4 post—to secure it against our local conditions. Their expertise ensures a fence built to last.
Honestly, the biggest benefit of hiring a pro is the peace of mind. Knowing for certain that every footing is dug below the frost line and every post is perfectly plumb—all without you breaking your back—is often worth the price tag alone.
When budgeting, it helps to read up on planning a realistic landscape installation budget to ensure you account for all costs. Ultimately, the decision is a trade-off between your budget, time, and skill level.
Your Fence Post Concrete Questions Answered
Here are answers to the most common questions homeowners have when starting a fence project.
How Long Before I Can Attach the Fence Panels?
Patience is crucial. While fast-setting concrete may feel solid in an hour, it is still curing internally. Wait a full 24 to 48 hours before attaching heavy fence panels or gates to avoid knocking the post out of plumb.
If you use a standard concrete mix, wait 3 to 7 days for it to reach maximum strength, which is essential for gate posts and corner posts. A little extra waiting time upfront prevents future problems.
Can I Set Fence Posts in the Winter?
Pouring concrete in freezing weather is not recommended. When water in the mix freezes, it forms ice crystals that disrupt the curing process, resulting in a weak, brittle foundation that will fail over time.
If a post absolutely has to go in during the winter, it's a job for the pros. It involves using special cold-weather admixtures and insulating the footings with thermal blankets—not your typical DIY Saturday. For your own projects, it's always best to stick to the warmer months.
Is Gravel at the Bottom of the Hole Really Necessary?
Yes, absolutely. Never skip this step, especially with wooden posts. A 10-15 cm (4-6 inch) layer of gravel at the bottom of the hole is your best defence against rot.
The gravel acts as a drainage bed, allowing water to flow away from the vulnerable end grain of the post. Even with pressure-treated wood, constant moisture exposure will cause decay. For metal or vinyl posts, the gravel provides a stable, level base for the post during the concrete pour.
Ready to build a fence on a foundation that will stand strong for years? The team at FenceScape has the local know-how and professional gear for any fencing project in the Ottawa–Gatineau region. Get in touch today for a free, no-obligation estimate.
Comments