
A Practical Guide to Cementing Fence Posts
- Eric Lafleche
- Dec 2, 2025
- 10 min read

Cementing your fence posts correctly is the single most important step in building a fence that lasts. This is what separates a fence that stands tall for decades from one that leans after the first big windstorm. Follow these actionable steps to ensure your investment stays secure, straight, and stable, no matter what the weather throws at it.
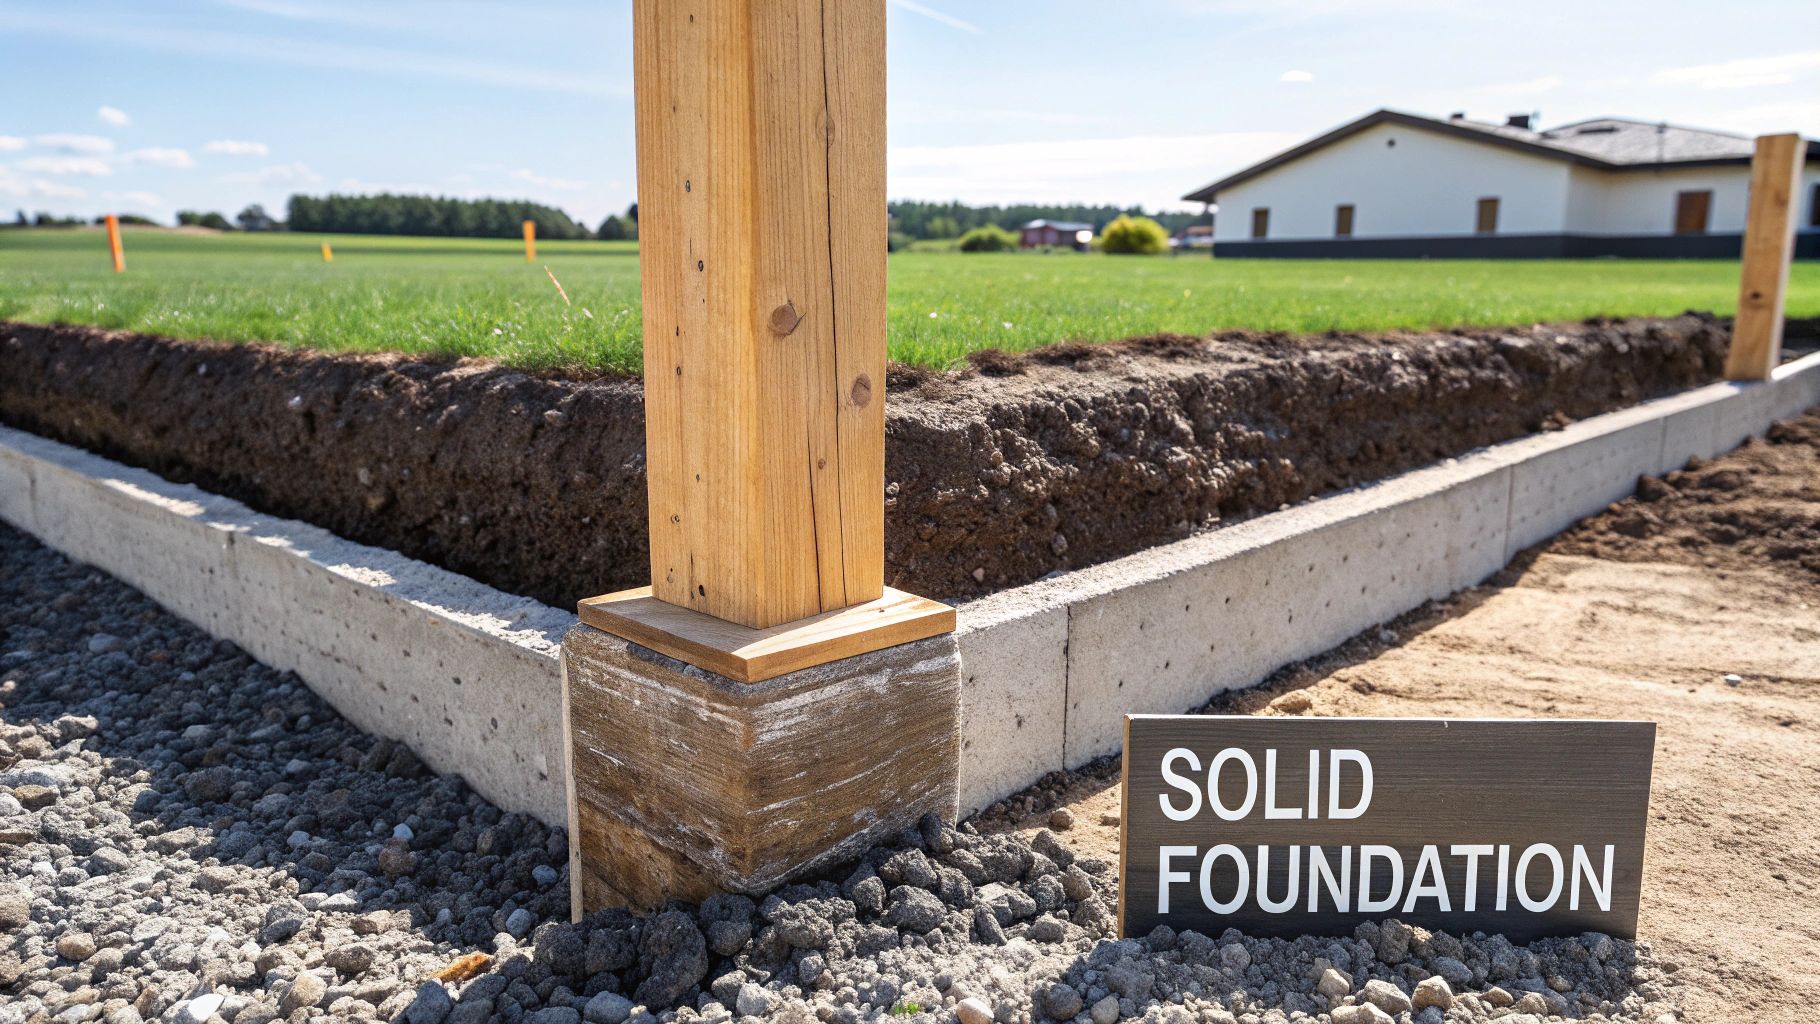
Why a Concrete Foundation Is Non-Negotiable
A strong fence is built from the ground up. While it might seem like extra work, cementing your fence posts is the only way to guarantee your fence will stay put. Think of the concrete footing as the anchor for your entire fence line; skipping it is asking for trouble.
The primary job of a concrete footing is to resist lateral forces. Wind catches a fence panel like a sail, putting immense pressure on the posts. A solid concrete base distributes that force into the surrounding soil, keeping your fence rigid and upright.
Counteracting Weather and Soil Shifts
In the Ottawa–Gatineau region, the ground itself is a major challenge. We deal with frost heave, where moisture in the soil freezes, expands, and pushes upwards. This force can easily shove a shallow post right out of the ground. Your only defence is to set your posts in concrete below the frost line.
Actionable Insight: A concrete footing does more than just hold a post; it creates a permanent, stable mass that resists wind, soil movement, and frost heave. This is the key to keeping your fence line true year after year.
The numbers back this up. A 2018 study showed that fence posts set in concrete had a 92% survival rate over five years. Compare that to posts set without concrete, which had only a 76% survival rate. On top of that, the concrete-set posts needed 30% less maintenance because they weren't leaning or getting damaged.
The strength and versatility that make concrete perfect for fence posts are part of a long history celebrating the marvels of concrete construction. This guide will walk you through the practical steps to get that same professional-grade result.
Getting Your Site Ready for a Flawless Fence Build
Before you mix any concrete, proper site preparation is critical. Getting this right is the difference between a straight fence and one that looks wonky after the first winter. Take your time here to avoid headaches later.
First, establish a perfectly straight fence line. Hammer wooden stakes in at every corner and endpoint where your fence will run. Then, pull a mason's string taut between them. This string is your guide for a perfectly straight line of posts. Trying to eyeball this will lead to a crooked fence.
Pinpointing Your Post Locations
With your string line up, you can mark the exact spot for each post hole. The spacing depends on your fence type.
For standard 8-foot fence panels, measure and mark a spot every eight feet on centre. For a custom picket or chain link fence, the spacing will differ. If you're using chain link, our guide on proper chain link fence installation techniques provides specific details.
Use a can of spray paint to mark a clear "X" on the ground directly under your string line at each measured point. This provides a clear target when you start digging.
The Most Important Call You'll Make
Before moving any dirt, you must call for utility locates. In our region, this service is Ontario One Call. It’s free, it’s the law, and it’s non-negotiable. They will mark all underground gas lines, electrical cables, and water pipes on your property.
Hitting a utility line isn't just an expensive headache; it's incredibly dangerous. Make this call your absolute first priority. Give them a few business days to get a crew out to mark your property before you plan to dig.
Figuring Out Your Concrete Needs
Running out of concrete mid-pour is a major hassle. To avoid this, estimate how much you'll need based on the diameter and depth of your holes, minus the volume of the post itself.
Here's a practical rule of thumb to get you started:
For a standard 4x4 post set in a 10-inch diameter hole that's 2.5 feet deep, plan on using one to two 27 kg (60 lb) bags of concrete mix.
For larger 6x6 posts or the deeper holes required in the Ottawa-Gatineau region, you will likely need two or three bags per post.
For a more precise number, use an online concrete calculator. Then, purchase 10-15% more than you think you need. It is much easier to return a few extra bags than to leave a post half-set while you race to the store.
Digging Post Holes With Precision
With your layout marked, it's time to dig. The dimensions of your post holes are the foundation of your fence's strength. Precision here is key.
Before you break ground, perform one critical safety check: confirm the location of underground utilities. Hitting a gas line or water main is a dangerous and costly mistake. Professionals use potholing for visual confirmation, which you can learn about by understanding utility locating. For any DIY project, your first and only action is to call your local utility locating service.
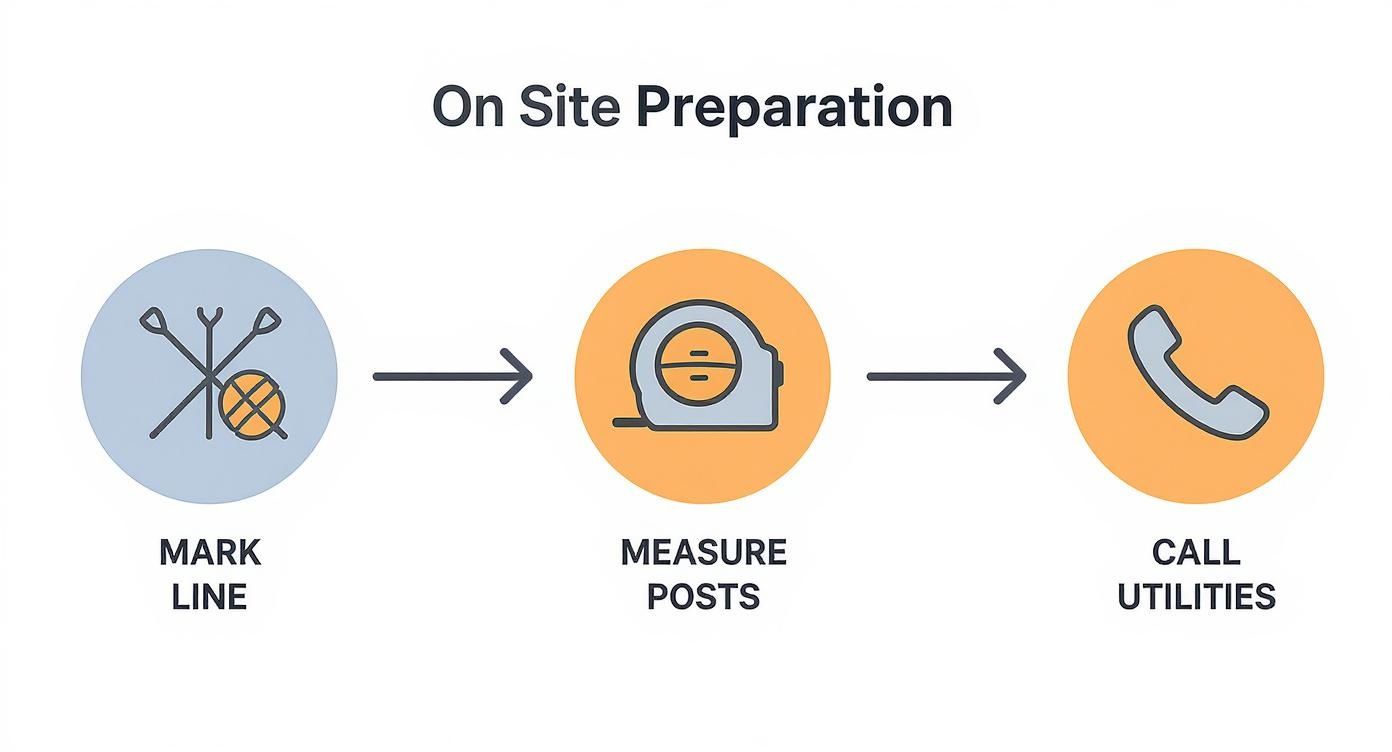
Following this workflow ensures your fence line will be straight, properly spaced, and, most importantly, safely installed.
Mastering Hole Depth And Diameter
Two numbers are critical right now: depth and width. A good starting point is the one-third rule: bury at least one-third of your post's total length. For a typical 6-foot fence using 8-foot posts, this means a hole depth of at least two and a half feet.
However, in the Ottawa–Gatineau region, a more important rule applies: dig below the frost line. The ground here can freeze solid down to 1.2 metres (4 feet). If your concrete footing is not below this level, frost heave will push your posts out of the ground.
For our climate, always dig below the frost line, even if it's deeper than the one-third rule suggests. This single action will protect your fence from our harsh Canadian winters.
For the hole's diameter, create a thick concrete collar for maximum stability. A reliable rule is to dig a hole that is three times the width of the post. A standard 4x4 post (actually 3.5 inches wide) requires a hole between 10 to 12 inches in diameter. For a deeper dive, our guide covers everything you need to know about fence post spacing.
Here's a quick reference for required depths:
Recommended Post Hole Depth by Region and Post Height
Post Height Above Ground | Standard Minimum Hole Depth | Recommended Depth in Ottawa–Gatineau (to bypass frost line) |
|---|---|---|
4 feet (1.2 m) | 24 inches (0.6 m) | 48 inches (1.2 m) |
5 feet (1.5 m) | 30 inches (0.75 m) | 48 inches (1.2 m) |
6 feet (1.8 m) | 36 inches (0.9 m) | 48 inches (1.2 m) |
As shown, our local climate demands a consistent minimum depth to secure your fence footings against frost heave, regardless of the fence's height.
Choosing The Right Digging Tool
You have two main choices for digging: a manual post-hole digger or a powered auger. Your choice depends on soil conditions and the number of holes.
Manual Post-Hole Digger: Use this for soft, loamy soil with few rocks. If you're only setting a few posts, it provides excellent control over the hole's shape.
Powered Auger: This is essential for rocky ground, dense clay, or any job with more than five or six posts. Rent one for the day to save time and your back.
The Final Touch Before Concrete
Before placing the post, perform this crucial step: pour about 15 cm (6 inches) of all-purpose gravel into the bottom of each hole and tamp it down firmly.
This creates a solid drainage base, preventing water from pooling around the bottom of the post. This simple action significantly reduces the risk of rot and is fundamental to building a long-lasting fence.
How to Mix and Pour Concrete Like a Pro
Working with concrete can be intimidating, but getting it right is what ensures your fence stands strong for decades. The goal is to create a solid foundation, not just fill a hole with mud.
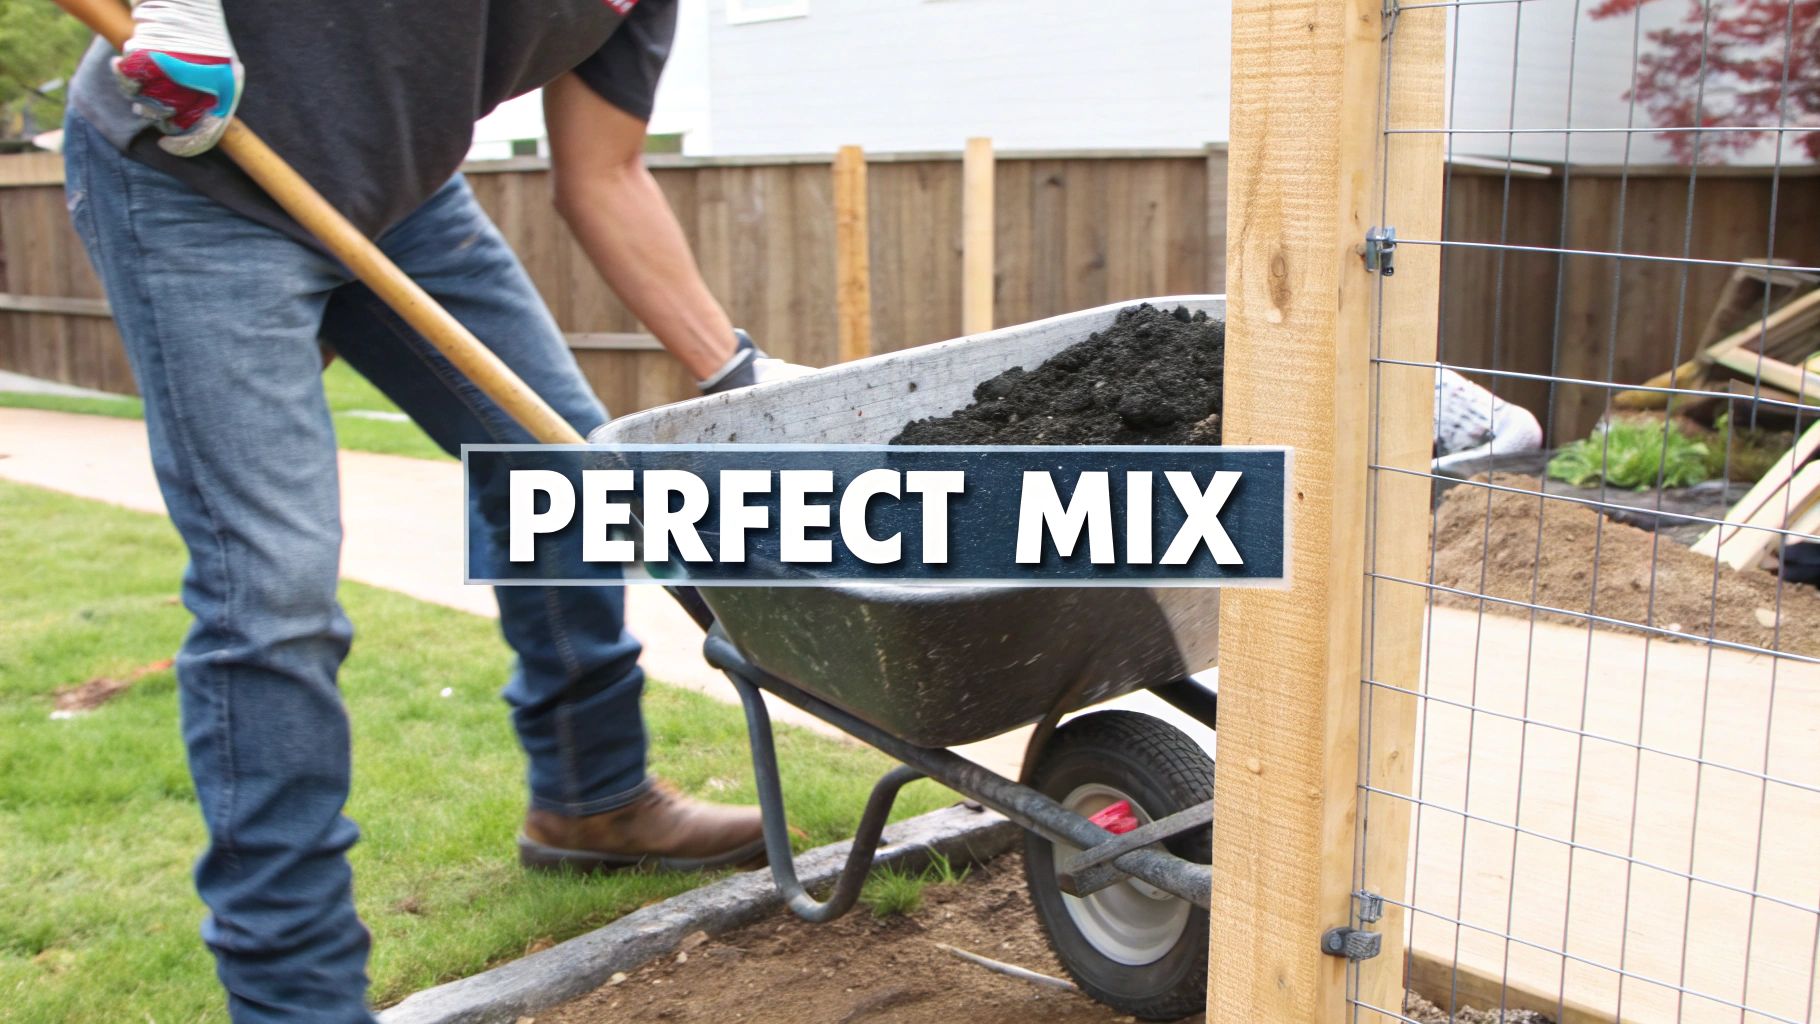
The key to strong concrete is consistency. Aim for a mix that has the texture of thick brownie batter or stiff oatmeal. If it’s too runny, the cured concrete will be weak. If it’s too dry, it will be crumbly and full of air pockets, failing to support the post properly.
This attention to detail is why professional installations last. Major public works projects follow strict guidelines because they work. Studies show that properly set concrete posts have a failure rate of less than 2% over a decade, compared to nearly 10% for posts set only in dirt. If you're curious about the technical side of things, this comprehensive report on infrastructure standards details why these methods are so effective.
Choosing Your Mixing Method
For most fence projects, you have two primary options: a wet mix in a wheelbarrow or a "dry pour" directly into the hole.
Wheelbarrow Wet Mix: This is the traditional, reliable method. Dump your dry mix into a wheelbarrow, create a well in the center, and slowly add water while mixing with a hoe. This gives you complete control over the consistency, guaranteeing a strong, uniform footing.
Dry Pour Method: This is a faster alternative. Pour about a third of the dry mix into the hole around the post, add water, and mix it in place with a sturdy stick. Repeat in layers. While quicker, it's harder to ensure a thorough mix, risking dry pockets and a weaker result.
For critical posts, especially those supporting a gate, always use the wheelbarrow method. The guaranteed strength is worth the extra ten minutes.
The Pouring and Bracing Process
Once your concrete is mixed, proceed with care. A wobbly post becomes a leaning fence.
First, position the post perfectly in the center of the hole. Use a level on two adjacent sides to ensure it is perfectly plumb (vertical).
Next, brace the post so it stays plumb. Use scrap 2x4s, screwing one end to the post and staking the other firmly into the ground. Brace on two sides to create a stable, tripod-like support.
Now you can pour. Fill the hole with concrete, stopping about 5-7 cm (2-3 inches) below ground level. This leaves space for topsoil and grass, creating a clean, finished look.
Pro Tip: As you pour, use a stick or piece of rebar to jab the concrete repeatedly. This tamping process removes trapped air bubbles, which are hidden weak spots that can compromise the footing's strength.
Finishing with a Professional Touch
This final detail makes a significant difference. Use a small trowel to shape the surface of the wet concrete, creating a sloped "collar" around the post's base. The concrete should be highest against the wood, sloping down toward the edges of the hole.
This simple slope actively sheds rainwater away from the wooden post, preventing it from pooling at the base. This step dramatically reduces the risk of rot and can add years to the life of your fence.
Giving Concrete Time to Cure & Avoiding Common Pitfalls
Pouring the concrete isn't the final step; the curing process is where concrete gains its incredible strength. Rushing this stage is a common and costly mistake.
Concrete doesn't just "dry out." It cures through a slow chemical reaction called hydration, which requires time and moisture to form strong crystalline bonds. Patience is essential for a durable foundation.
The Waiting Game: How Long Is Long Enough?
You must wait a minimum of 24 to 72 hours after pouring before attaching fence panels or hanging a gate. Although the surface may feel hard within hours, the core is still wet and weak. Attaching heavy panels too soon will stress the footing and can create a permanent lean in the post.
For gate posts, which endure constant dynamic stress, wait a full 48-72 hours for the concrete to cure. This small investment in time ensures the foundation is strong enough to handle the leverage and movement without shifting.
Sidestepping Common DIY Blunders
A few simple missteps can undermine your installation. Here’s what to watch out for to ensure a successful project.
The most common mistake is mixing the concrete too watery. While easier to pour, a soupy mix results in brittle, porous concrete that is prone to cracking under pressure or during a hard frost.
Another common pitfall is failing to check for plumb from two adjacent sides. A post that is level on one face but tilted on another will become glaringly obvious once the fence panels are installed.
The success of cementing fence posts is built on avoiding small, preventable errors. A properly cured, correctly mixed, and perfectly plumb post is the difference between a ten-year fence and a thirty-year fence.
Finally, never skimp on hole depth. In the Ottawa–Gatineau region, you must dig below the frost line. A shallow footing will be heaved out of the ground by frost, destroying your fence line in a single winter.
What About Alternatives to a Standard Concrete Footing?
Concrete is the gold standard for its strength, reliability, and permanence. A recent survey found that 78% of residential installations used concrete, with contractors reporting far fewer post failures as a result. You can discover more about these fence installation trends to see how heavily professionals rely on it.
However, a couple of other options exist for specific scenarios:
Gravel-Only Footings: In soil with excellent drainage, such as sandy or gravelly ground, a compacted gravel footing can work for light-duty fences. It allows for immediate water drainage but offers significantly less stability against wind.
Sonotubes: These are not an alternative to concrete but a tool to improve the pour. In loose or sandy soil, a Sonotube acts as a form to create a perfect concrete pier and prevents soil from contaminating your mix.
By allowing the concrete to cure properly and avoiding these common mistakes, you will set yourself up to finish the job with confidence, knowing your fence will stand strong for years.
Common Questions We Get All the Time
Even the most detailed guide can't cover every question. Here are straight answers to some of the most frequent inquiries we receive about setting fence posts.
How Many Bags of Concrete Do I Need for One Post?
For a typical 4x4 post in a 10-inch diameter hole about 2.5 feet deep, plan on one or two 27 kg (60 lb) bags of concrete mix. Use this as a starting point.
The exact amount depends on the volume of your hole minus the volume of the post. To be accurate, use an online concrete calculator before you shop. Pro tip: Always buy an extra bag or two. It's much easier to return an unused bag than to make a frantic trip for more while your concrete is setting.
Should the Wood Post Sit Directly on the Dirt?
No. Never let the end of a wood post rest directly on the soil. This invites moisture to wick up into the end grain, which is the fastest way to initiate rot.
Before you even think about dropping the post in, pour about 15 cm (6 inches) of all-purpose gravel into the bottom of the hole. This simple step creates a vital drainage layer, giving water a place to go and dramatically increasing the lifespan of your post.
This is the single most effective action you can take to prevent your posts from rotting from the bottom up.
Is Setting Fence Posts in the Winter a Good Idea?
Pouring concrete in freezing temperatures is a recipe for failure, especially in Ottawa. When the water in your concrete mix freezes, it expands, creating micro-cracks throughout the footing and destroying its structural integrity before it can cure.
The chemical reaction that gives concrete its strength, called hydration, requires temperatures to remain above freezing. To build a lasting foundation, schedule your post-setting for the warmer months. While some fence materials are more forgiving—our guide to plastic and vinyl fence solutions explores this—the concrete footing absolutely cannot handle the cold.
Ready to build a fence that stands strong for decades? The experts at FenceScape have the experience and high-quality materials to ensure your project is done right the first time. Contact us for a free, no-obligation estimate and let's get started: https://www.fencescape.ca
Comments