
A DIY Guide to Installing Posts for Fence
- Eric Lafleche
- Jan 26
- 10 min read

The secret to a fence that can stand up to Ottawa's harsh seasons isn't the panels you see—it's the posts you don't. Correctly installing your fence posts means digging below the frost line and setting them in a solid base. This is the single most critical step to ensure they won't heave or lean after the first winter, guaranteeing a long-lasting, straight fence.
Building the Unseen Foundation of Your Fence
While it’s tempting to focus on visible elements like panel style or stain colour, the real strength of any fence lies underground. A properly installed post acts as an anchor, designed to resist soil movement from freeze-thaw cycles and the force of strong winds.
This is especially critical in the Ottawa-Gatineau region, where "frost heave" can push improperly set posts upward. If a post isn't deep enough, it will be lifted over time, creating a wavy, unstable fence line that's difficult and costly to repair.
Why Technique Matters More Than Materials
You can invest in premium cedar or vinyl, but without a solid foundation, the entire structure is compromised. The goal is to install an unshakable post system that keeps your fence straight for decades.
This requires focusing on three key actions:
Dig Correctly: Your holes must be deep enough to bypass the frost line and wide enough for a solid concrete or gravel base.
Align with Precision: Every post must be positioned perfectly along your fence line. For specifics, see our guide to optimal fence post distance.
Choose the Right Setting Method: Select concrete or gravel based on your soil type, fence style, and local climate conditions.
Actionable Insight: Getting this first step right saves you from years of frustrating maintenance and the high cost of a premature replacement. Take your time here to avoid future problems.
This guide provides practical steps tailored for our local environment. Follow these foundational principles to build a fence that not only looks professional but also adds lasting value and security to your property.
Your Pre-Digging Project Checklist
Before you pick up a shovel, completing a few key checks will prevent costly mistakes, neighbourly disputes, and dangerous accidents. This is your action plan for a smooth start.
First, map out your fence line. Use stakes and a taut mason's line to create a straight guide along your property line. Mark the exact spot for every corner, end, and gate post. A common mistake is forgetting to account for gate hardware—leave extra space for hinges and latches beyond the gate's width.
First, Locate Underground Utilities
This step is non-negotiable. Hitting a buried utility line is both dangerous and expensive to repair. Before any digging, you must request a utility locate.
In Ontario: Contact Ontario One Call. This free service coordinates with local utility companies (hydro, gas, communications) to mark their buried lines on your property.
In Quebec: Use the Info-Excavation service. They provide the same essential service, giving you a clear map of what's underground.
Request the locate at least one week in advance. Once you see the flags and paint marks on your lawn, you'll know exactly where it is safe to dig. Do not skip this step.
Pro Tip: Use batter boards at your corners. These simple T-shaped frames built from scrap wood allow you to run string lines past the corner post location. This lets you dig the hole without moving your guide lines, ensuring perfectly square corners every time.
Check Local Bylaws and Permits
Before you break ground, confirm you are legally compliant. Check for any required local council permits. Fence regulations vary between the City of Ottawa and Gatineau, covering height limits, approved materials, and property line setbacks. A quick search on your municipality's website or a call to the planning department will clarify the rules.
Proceeding without a required permit can lead to fines or an order to tear down your work. For specific local requirements, our definitive guide on fence post depth for Ottawa-Gatineau provides essential details.
Knowing the codes is also crucial for budgeting. In this region, post installation labour can account for 30% to 60% of the total project cost. Professional work includes pulling permits and ensuring every post meets code for wind load and frost heave, which prevents future leaning.
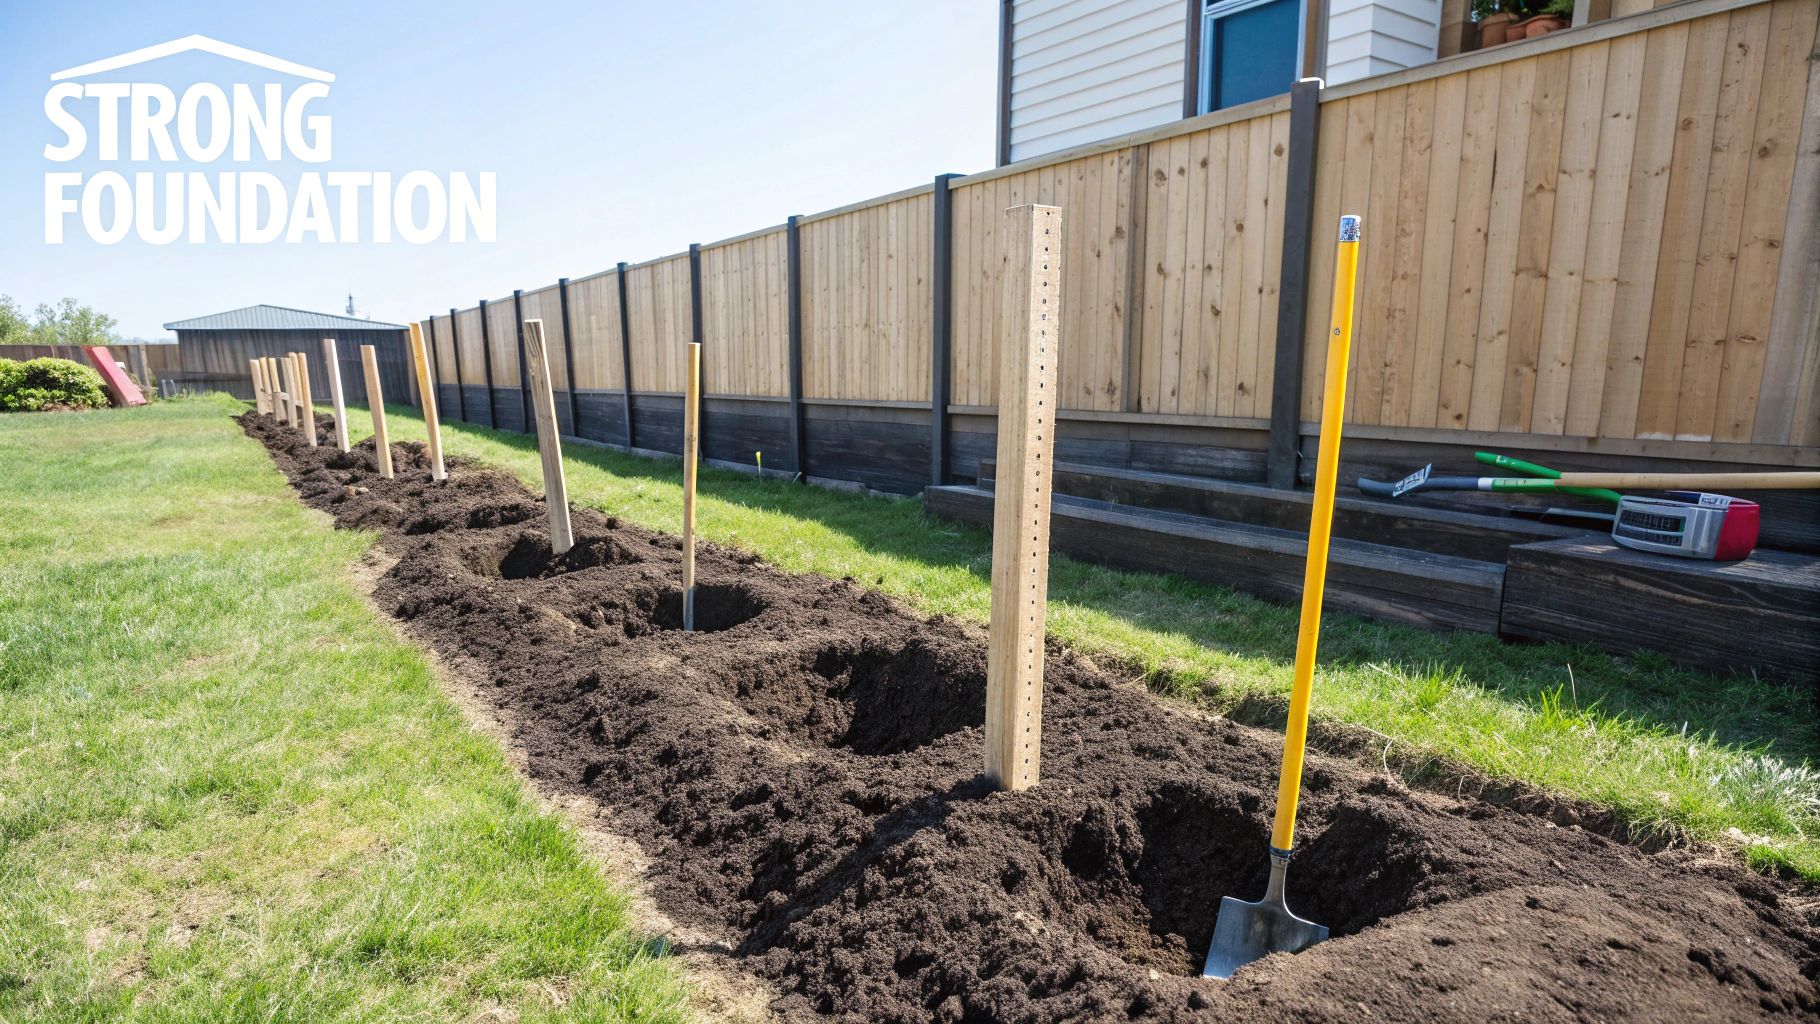
How to Dig and Set Your Fence Posts Correctly
With your layout marked and utilities flagged, it's time to dig. The precision you apply here directly impacts the strength and longevity of your fence.
First, choose your digging tool. For a few posts in soft soil, a manual post-hole digger may suffice. However, for most projects in the Ottawa-Gatineau region—where rocky ground or heavy clay is common—renting a gas-powered auger is a practical choice. It saves significant time and effort.
This graphic outlines the essential prep work before you start digging.
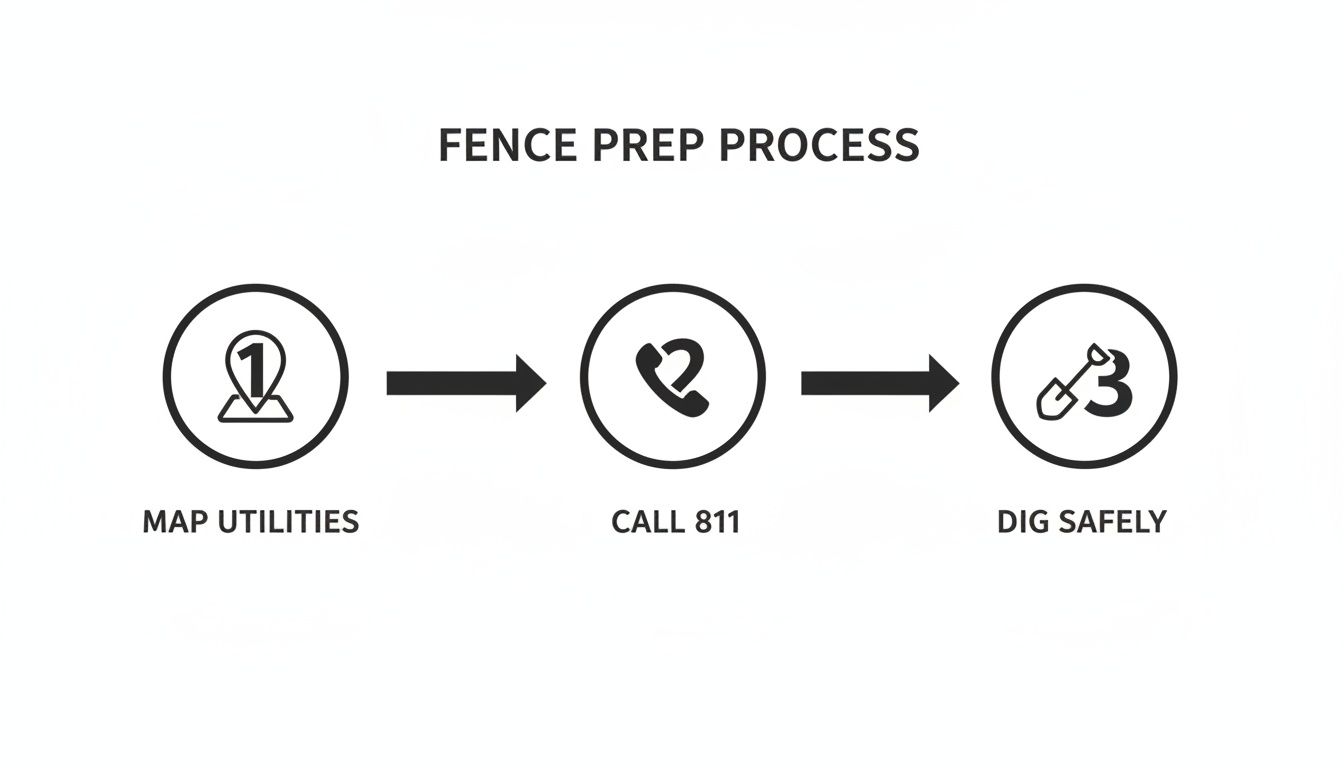
As shown, mapping your property and calling for utility locates are mandatory first steps for a safe project.
Getting the Hole Dimensions Right
The depth and diameter of your post holes are critical for stability, especially with our region's temperature swings.
Dig Deep: The frost line in the Ottawa area is 48 inches (4 feet). To prevent frost heave, the bottom of your hole must be below this line. This stops the freeze-thaw cycle from pushing your posts out of the ground.
Dig Wide: Make the hole's diameter approximately three times the width of the post. For a standard 4x4 post (3.5" x 3.5"), dig a hole that's 10 to 12 inches across. This provides ample space for concrete or gravel to create a secure anchor.
Actionable Insight: Setting your posts below the regional frost line is not a suggestion—it's the most important step for building a lasting fence in this climate. Skimping on depth will lead to a leaning, heaving fence within a few winters.
Concrete vs Gravel for Setting Fence Posts
After digging, you need to choose a setting material. Both concrete and gravel work, but the decision depends on your soil and fence type.
For heavy privacy fences or any post supporting a large gate, concrete is the superior choice. It creates a solid, immovable anchor that withstands wind and prevents movement. For most situations, it offers the best long-term stability. If you choose this method, our guide on setting a fence post in concrete provides a detailed walkthrough.
A compacted gravel base is a viable alternative, especially in yards with excellent drainage. Tamping crushed gravel in layers creates a firm base that allows water to drain away, which can help prevent post rot.
Here is a direct comparison to help you decide:
Factor | Concrete Setting | Gravel Setting |
|---|---|---|
Stability | Excellent. Creates a rigid, permanent footing ideal for heavy fences and gates. | Good. Can be very stable when properly compacted, but not as rigid as concrete. |
Drainage | Poor. Can trap moisture against the wood post unless a gravel base is added. | Excellent. Water drains away freely, helping to prevent post rot. |
Cost | Higher. Bags of concrete mix are more expensive than gravel. | Lower. Crushed gravel is generally less expensive per post. |
Ease of Install | More complex. Requires mixing, pouring, and bracing while it cures. | Simpler. Involves pouring and tamping gravel in layers. |
Repairs | Difficult. Removing a concrete-set post is a major undertaking. | Easier. A post set in gravel can be dug out and replaced with less effort. |
Best For | Heavy privacy fences, large gates, clay soil, and areas with high wind. | Lighter fence styles, well-draining soil, and DIYers looking for a simpler method. |
While gravel offers drainage benefits, the unmatched strength of concrete makes it the recommended method for most fence installations in the Ottawa region, ensuring your investment stands strong for years.
Getting Your Fence Line Perfectly Straight and Plumb
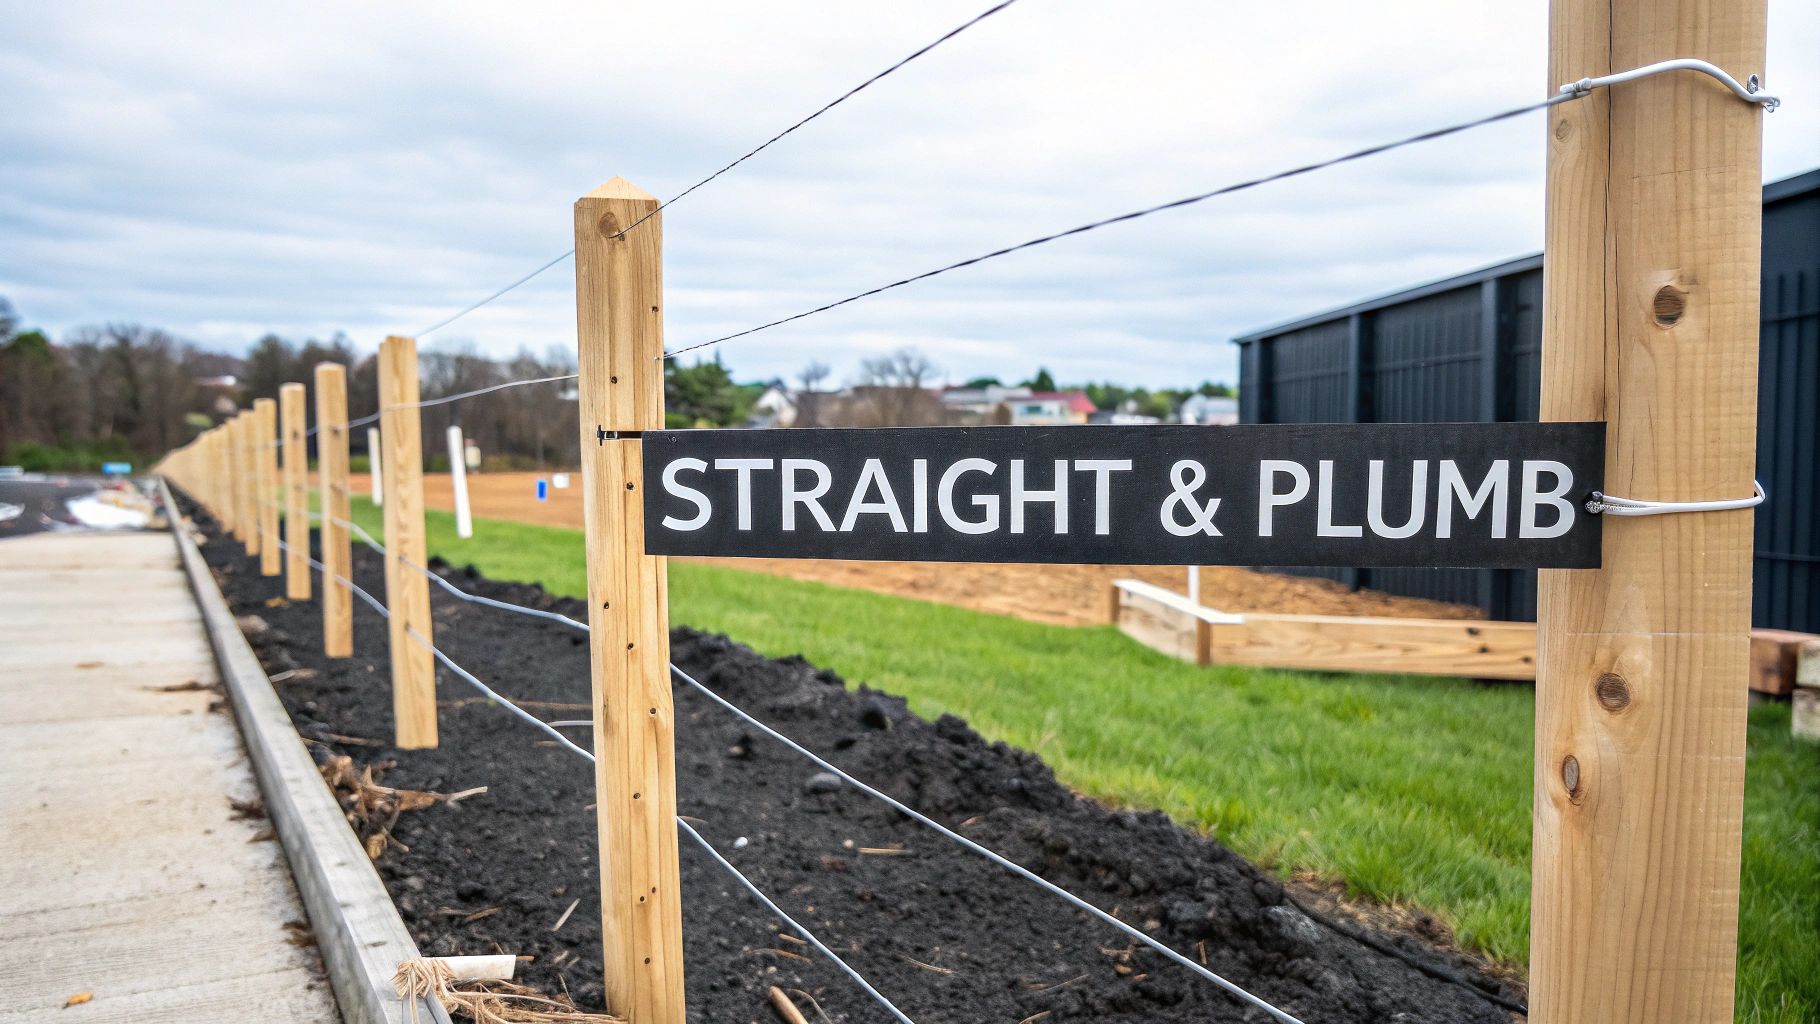
You've dug the holes and mixed the concrete, but this next stage determines the final look of your fence. A professional-quality fence requires two things: a perfectly straight line and posts that are truly vertical, or "plumb."
A wavy or leaning fence is an immediate sign of an amateur job. Getting it right is a matter of patience and proper technique.
Your most important tool here is a mason's line. Stretch it tightly between your corner posts to create a straight guide. As you set each intermediate post, position its face so it just touches the string without pushing it. Even a slight nudge will create a visible bow in your fence line.
Using a Post Level to Get it Right
Do not use a standard carpenter's level for this task. Instead, use a dedicated post level. This L-shaped tool wraps around the corner of the post, allowing you to check for plumb on two adjacent sides at the same time.
A post is only truly plumb when the bubbles on both sides of the level are perfectly centered. A common mistake is checking only one side, which can result in a post that leans forward or backward.
Actionable Insight: A post that is perfectly plumb and aligned with the mason's line is the foundation of a strong, straight fence. This detail is what separates a DIY project from a professional installation.
Brace for Success While the Concrete Cures
Once a post is perfectly positioned—touching the line and plumb on both sides—you must brace it to hold that position while the concrete sets. Use scrap 2x4s and stakes to create temporary braces.
Here is a simple and effective bracing technique:
Drive two wooden stakes into the ground a few feet away from the post, on adjacent sides.
Screw one 2x4 from a stake to one face of the post.
Attach a second 2x4 from the other stake to an adjacent face of the post.
This creates a rigid structure that prevents the post from shifting, twisting, or leaning as the footing hardens. Do not skip this step.
Dealing With Slopes and Hills
Installing fence posts on a slope requires a specific approach, but the core principle remains: every post must be perfectly plumb, regardless of the ground's angle. The fence panels will follow the slope; the posts must not.
The correct method is "stepping" the fence. You install all posts vertically, then install each fence panel level between them. This creates a neat step-down effect that follows the contour of the hill and ensures a professional, structurally sound result.
The Finishing Line: Final Touches and Sidestepping Common Pitfalls
With your posts standing straight, a few final actions are needed to lock in your work for the long term. Rushing this stage can lead to problems that appear seasons later.
Your first task is to be patient: let the concrete cure. It is tempting to hang fence panels the next day, but fresh concrete needs time to reach full strength. Adding weight too soon can pull a post out of plumb, undoing your careful alignment work.
Giving Your Posts a Polished, Professional Look
Apply these finishing touches to improve both the appearance and lifespan of your fence.
Cap Your Posts: This is mandatory for wood posts. A cap protects the exposed end grain, which absorbs water and leads to rot. This simple addition is the best defence against internal decay.
Trim to a Uniform Height: Once the concrete is fully cured, stretch your mason's line at the desired final post height. Use a reciprocating or circular saw to trim the tops for a crisp, uniform fenceline.
Seal or Stain for Protection: Apply a quality sealant or stain. This adds a protective layer against moisture and UV damage, extending the life of your wood posts and maintaining their appearance.
Actionable Insight: Your posts are the skeleton of your fence. Protect them with caps and sealant to shield them from the elements and ensure they remain strong for decades.
Dodging Common Installation Headaches
Even with good planning, you may encounter obstacles. Knowing how to adapt is key.
If you hit a large, immovable rock while digging, you don't need to change your layout. The best solution is often to dig around it, then drill into the rock and insert rebar to pin the concrete footing to it. This turns the obstacle into a solid anchor point.
Poor drainage, especially in heavy clay soil, can cause water to pool around the base. To prevent this, mound the concrete slightly at the top when you pour it. This creates a small slope that directs water away from the post.
These details prevent future problems. Industry reports show that up to 50% of DIY fence failures are due to improper post alignment and setting posts too shallow, causing them to lean within a few years.
Learn how a quality installation ensures fences last 20+ years by reviewing detailed industry findings. Getting these final steps right is your insurance against becoming a part of that statistic.
Knowing When to Call a Fencing Professional
Completing a DIY fence project is rewarding, but it's important to recognize your limits before you start. Some projects are more complex than they appear, and knowing when to hire an expert is a smart decision that saves time, money, and frustration. It guarantees the job is done right the first time, adding real value to your home.
Red Flags That Mean You Should Call a Pro
Consider hiring a professional if your project involves any of the following:
Tough Ground Conditions: If your yard has dense clay, extensive rock, or large tree roots, manual digging will be extremely difficult. Professionals use hydraulic augers that can handle ground conditions that would stop a DIY project in its tracks.
Steep Hills or Uneven Ground: Correctly "stepping" a fence down a significant slope requires precision and experience to ensure it is both aesthetically pleasing and structurally sound.
Long Fence Lines: Installing hundreds of feet of fencing is a large-scale project. A professional crew can set dozens of posts perfectly in the time it may take a DIYer to install just a few.
Complicated Layouts: Projects with numerous corners, multiple gates, or tight fits around existing structures like pools or patios require exact measurements with little room for error.
Actionable Insight: A professional brings more than just labour; they bring experience. A good crew can identify and solve potential issues with drainage, soil stability, or grading that a DIYer might not notice until it's too late.
If your project seems too demanding, learning how to hire the right hardscape contractor is your next step. A professional handles everything from permits and utility locates to final cleanup, providing peace of mind and a guaranteed result. For challenging jobs, hiring a pro is often the best long-term investment.
A new fence is a major upgrade to your property’s security and curb appeal. If you're dealing with a difficult yard or simply want a flawless result without the hassle, FenceScape is here to help. Our in-house crews are experts at building fences designed to last through the tough Ottawa-Gatineau seasons. Contact us today for a free, no-obligation estimate!
Comments