
Fence Post to Concrete: A Step-by-Step Guide for a Rock-Solid Fence
- Eric Lafleche
- Dec 10, 2025
- 10 min read

Securing a fence post to concrete comes down to two clear methods: setting the post in a new wet concrete footing for maximum strength, or using metal anchors to fasten it to an existing concrete slab. Your choice depends entirely on your starting point—are you breaking new ground or working with an existing surface? This guide provides the actionable steps for both.
Choosing the Right Foundation for Your Fence
A lasting fence starts with a solid connection to the ground. How you attach your fence post to concrete is the most critical decision you'll make, directly impacting your fence's stability, lifespan, and final cost.
The two primary methods are designed for different scenarios. Setting posts directly into poured concrete footings is the traditional, strongest method, ideal for new fence lines in soil. Conversely, if you're adding a fence to an existing patio, walkway, or concrete pad, anchoring the posts on top of the slab is the practical, efficient choice.
Understanding the pros and cons is essential. For detailed specifications on residential concrete foundation solutions, see what foundation specialists recommend. Local climate is also a critical factor; frost heave can destroy a fence. Consult our guide to frost depth in Ontario to ensure your footings are deep enough to resist seasonal ground movement.
Actionable Insight: Your foundation choice is your fence's primary defence against weather and time. Get it right from the start to prevent expensive repairs later. A deep footing in soil prevents frost heave; a secure anchor on a slab prevents wobble.
To help you decide, let’s compare the practical differences between these two methods.
Comparing Methods to Secure a Fence Post to Concrete
Use this table to weigh your options based on your project's specific needs.
Factor | Setting in Wet Concrete | Anchoring to Existing Concrete |
|---|---|---|
Durability | Action: Provides the highest stability and wind resistance. Creates a monolithic footing. | Action: Delivers strong results, but strength depends entirely on the quality of your anchors and precision of your drilling. |
Difficulty | Action: Involves digging, mixing concrete, and bracing posts. More physically demanding. | Action: Requires precise drilling and the right tools (hammer drill). Less manual labour but demands accuracy. |
Cost | Action: Lower material cost per post (concrete, gravel). Higher labour investment. | Action: Higher hardware costs (anchors, bolts). Saves significant time and eliminates excavation costs. |
Best For | New fences in soil, unpaved areas, or where maximum strength is non-negotiable. | Adding fences to existing patios, driveways, or concrete pads without demolition. |
Ultimately, if you have open ground, pouring new footings is the superior choice for long-term stability. If you're working with an existing slab, modern anchors provide a robust and reliable solution.
The Gold Standard: Setting Posts in Fresh Concrete
For a fence built to withstand the elements, setting posts directly into fresh concrete is the professional standard. This method creates a solid footing that grips the post deep underground, offering unmatched resistance to wind, soil shifts, and daily wear.
However, success depends on proper footing depth and drainage. Skipping these steps will lead to leaning fences and rotted posts. This is a job you only want to do once.
This diagram illustrates the two foundational approaches: building from the ground up versus anchoring to a pre-existing surface.
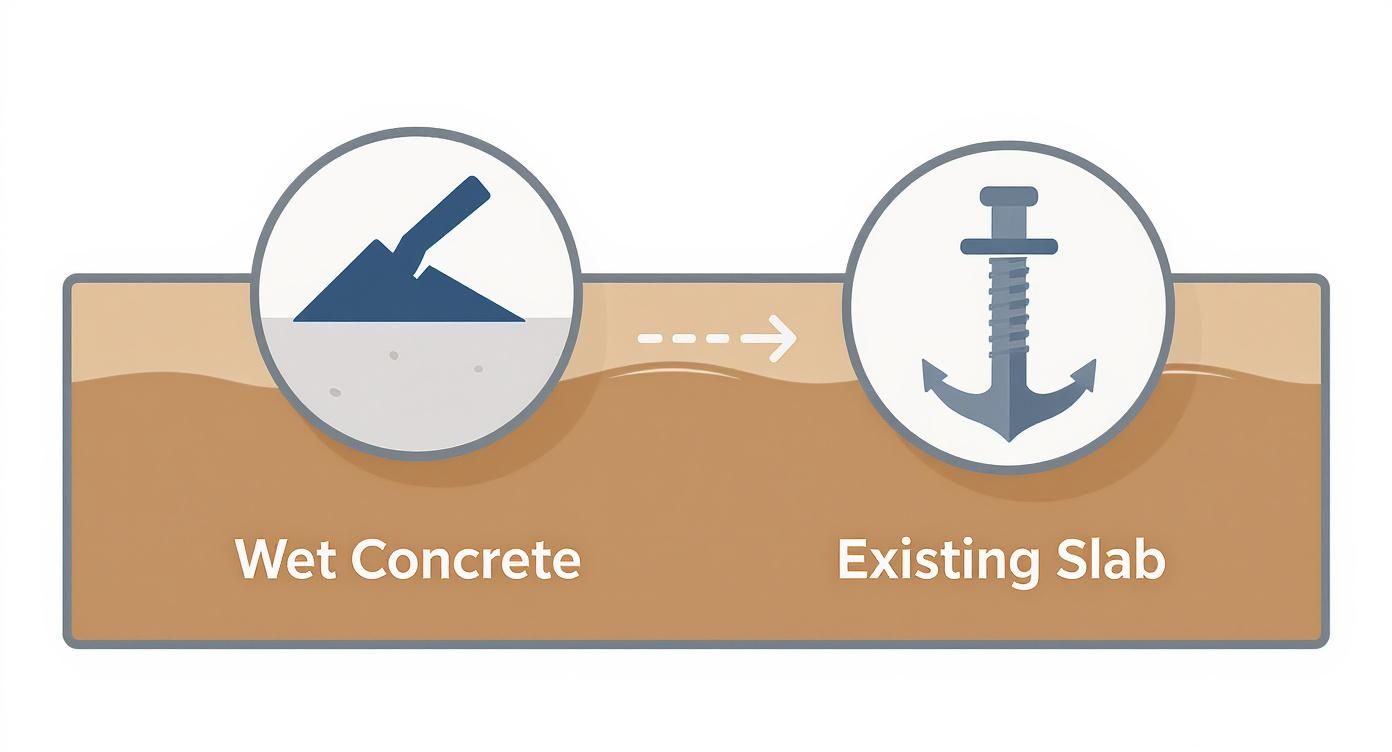
As shown, setting a post in wet concrete is a fundamental installation. Anchoring is a surface-level modification for existing concrete.
Getting the Footing and Drainage Right
The depth and width of your footing are your primary defence against frost heave—the force of frozen ground that can push posts out of alignment. For specific calculations, use our guide on how deep a fence post should be.
A common mistake is pouring concrete directly onto the soil at the bottom of the hole. This creates a concrete bowl that traps water against the post's end grain, accelerating rot.
Here's the correct, actionable procedure:
Step 1: Add Gravel. Pour 4-6 inches of ¾-inch clear gravel into the bottom of the hole.
Step 2: Compact the Base. Use a 2x4 or a tamper to pack the gravel down firmly. This creates a stable base and allows water to drain away from the wood.
This single step is your best defence against post rot. It ensures the most vulnerable part of your post doesn't sit in a pocket of moisture.
Mixing, Pouring, and Setting Your Posts Plumb
Your concrete should have the consistency of thick peanut butter—wet enough to consolidate without voids, but not so watery that it's weak.
Actionable Tip: Stop pouring concrete 2-3 inches below ground level. Then, shape the top of the concrete into a sloped collar that directs water away from the post. This simple step protects the post where it's most vulnerable to rot—at the ground line.
Once poured, immediately make your post plumb. Use a spirit level on two adjacent sides to ensure it's perfectly vertical. Brace the post with scrap wood and stakes to hold it steady while the concrete cures.
Allow 48-72 hours for the concrete to cure before attaching any fence panels. Any movement before it's fully hardened will compromise the footing and weaken your entire fence.
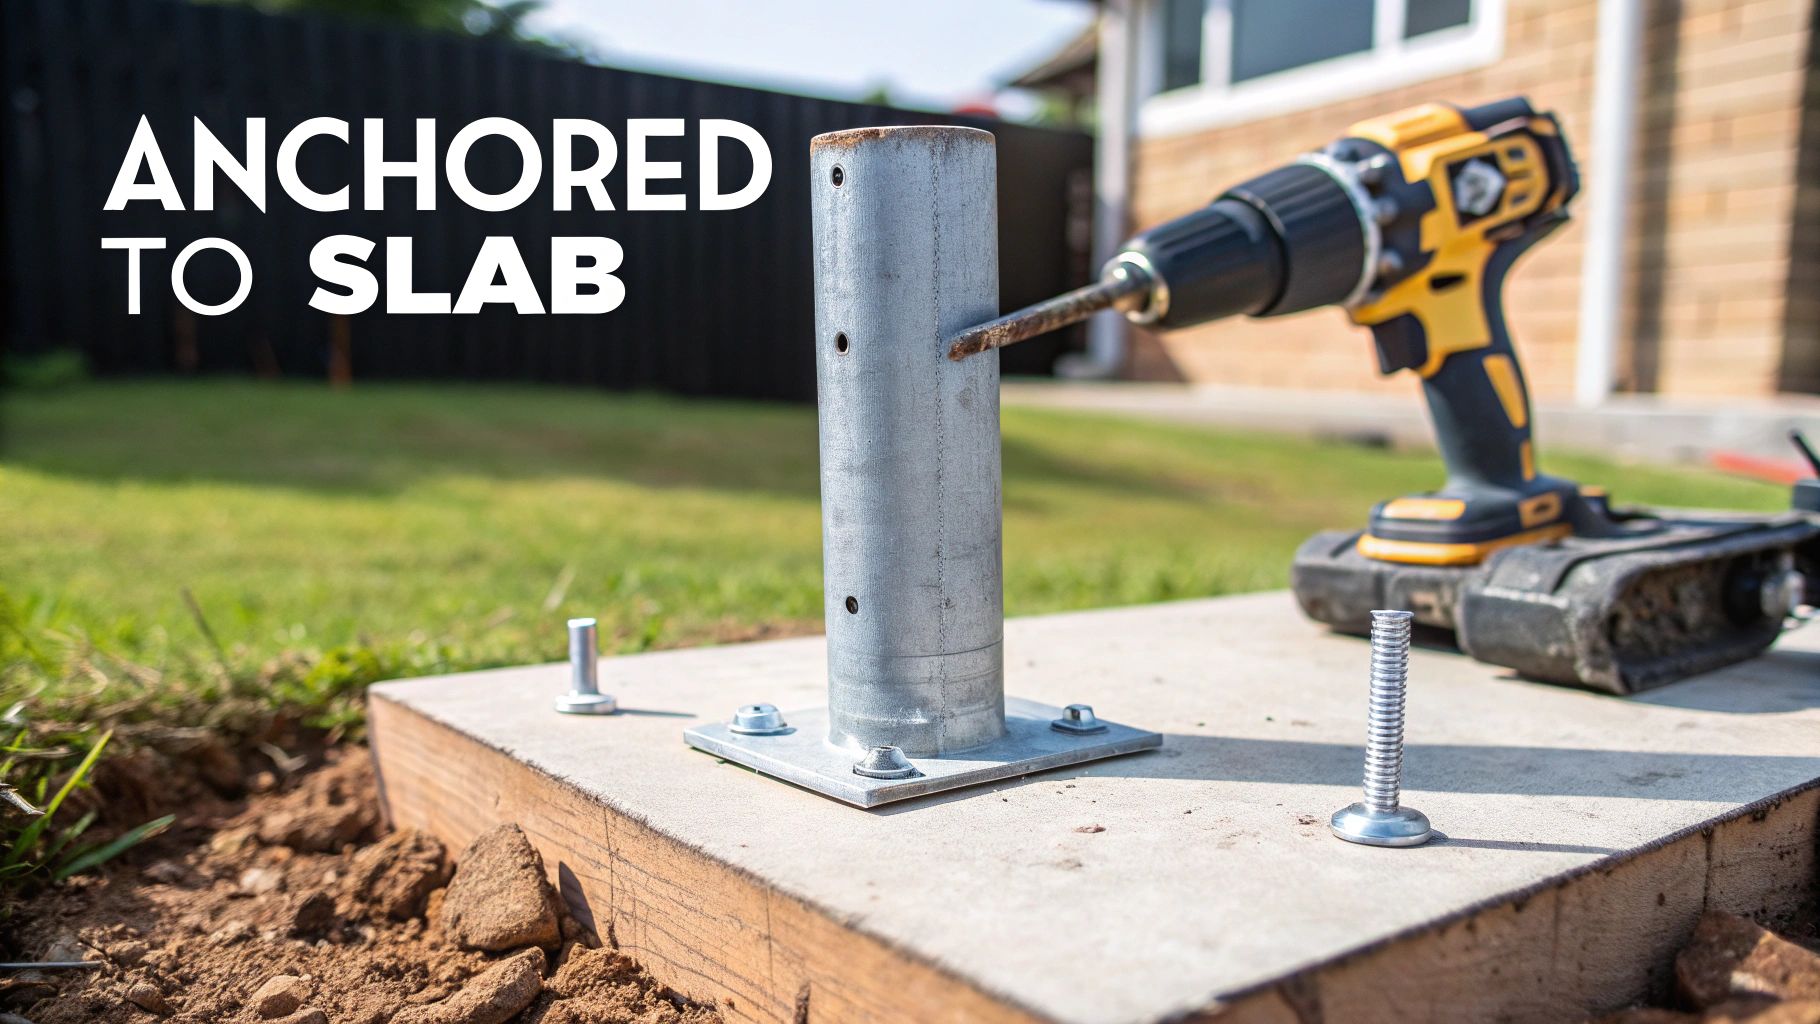
Anchoring Posts to an Existing Concrete Surface
When a concrete patio or driveway stands in the way of your new fence, demolition isn't your only option. Anchoring fence posts directly to the existing concrete with metal hardware is a smart, efficient alternative.
This method allows you to retrofit a strong fence onto an existing slab, avoiding the cost and mess of breaking up concrete. Success hinges on selecting the right hardware and installing it with precision.
The demand for versatile fencing solutions is growing. In California, for example, the fence construction industry has seen an average annual growth of 3.1% over the last five years, with approximately 639 businesses now in operation. This trend reflects the need for modern techniques like concrete anchoring. You can explore the data behind the fence construction industry's growth on ibisworld.com.
Selecting the Right Hardware for the Job
Your first action is to choose the correct post anchor. It must match your post's material and dimensions and be rated for the fence's height and wind load. A low garden fence requires a different anchor than a six-foot privacy fence.
Here’s a practical guide to what you’ll find:
Post Base Anchors: The most common style. A U-shaped or box bracket is welded to a flat plate that you bolt directly to the concrete.
Adjustable Post Bases: These offer slight adjustability after the anchor is secured, which is useful for correcting minor drilling inaccuracies.
Heavy-Duty Anchors: For tall fences, gates, or high-wind areas, choose anchors made from thicker steel with reinforced designs for maximum stability.
Actionable Insight: The strength of your fence depends directly on the fasteners connecting the anchor to the concrete. Do not use low-quality fasteners—it's the weakest link in your system.
Drilling and Fastening for a Rock-Solid Fit
Mark your layout, then begin drilling. You must use a hammer drill and a masonry bit. A standard drill will not work. The hammer function pulverizes the concrete while the bit's flutes clear away dust.
Choose the right fastener for your application.
Fastener Type | Best For | Actionable Tip |
|---|---|---|
Wedge Anchors | Heavy-duty applications needing maximum pull-out strength (e.g., gate posts, corner posts). | As you tighten the nut, a sleeve expands, creating an extremely tight friction grip. Do not overtighten. |
Sleeve Anchors | General-purpose use with solid holding power. A reliable all-rounder for most fence posts. | The entire sleeve expands, distributing pressure over a larger area. Good for less-than-perfect concrete. |
Concrete Screws | Quick installation for light to medium-duty applications. They are also removable. | These screws cut their own threads into the concrete. Ensure the pilot hole is the correct size and perfectly clean. |
Epoxy Anchors | Ultimate strength applications, or when drilling near slab edges, as they create no expansion stress. | Inject a two-part epoxy into the hole before inserting a threaded rod. This creates a powerful chemical bond. |
For most fences, high-quality wedge or sleeve anchors are sufficient. For a gate post or a corner post under high tension, use epoxy anchors to guarantee an unbeatable, stress-free bond.
Essential Tools and Materials for Your Project

Starting a fencing project without the right gear leads to frustration and poor results. Having all your tools and materials ready before you begin ensures a smoother, safer process and a professional-quality outcome.
The tools you need to secure a fence post to concrete depend on your method: setting new posts requires digging and mixing tools, while anchoring to a slab requires precision drilling tools.
For Setting New Posts in Wet Concrete
This method requires tools for excavation, concrete work, and precise alignment.
Digging Tools: For a few holes, a manual post-hole digger is effective. For a full fence line, rent a powered auger to save time and effort. A shovel is necessary for clearing loose dirt.
Mixing and Pouring Gear: A wheelbarrow is essential for mixing concrete. Use a hoe or shovel for mixing and buckets for measuring water accurately.
Measurement and Bracing: For accurate alignment, you will need a tape measure, a spirit level, and a string line. Use scrap 2x4s and stakes to brace each post perfectly plumb while the concrete sets.
Actionable Tip: Always add 4-6 inches of ¾-inch clear gravel to the bottom of the hole before placing the post. This provides drainage and is the most effective way to prevent the post from rotting prematurely.
For Anchoring to an Existing Concrete Slab
This method demands precision and the right power tools for hardened concrete.
Drilling Equipment: You must use a hammer drill with carbide-tipped masonry bits sized exactly for your chosen anchors. A standard drill will not be effective.
Cleaning and Safety Gear: Clean drilled holes thoroughly with a shop vacuum or compressed air to ensure the anchor grips properly. Always wear safety glasses and a dust mask to protect yourself from harmful concrete dust.
Fastening Tools: Use a socket wrench set to tighten anchor nuts. An impact driver with a socket adapter can speed up the process of tightening wedge anchors or driving concrete screws.
Estimated Project Costs and Materials
This table provides a rough cost estimate for materials and rentals. Prices vary by location and product selection.
Item | Estimated Cost (Setting Post) | Estimated Cost (Anchoring Post) |
|---|---|---|
4x4 Pressure-Treated Post | $15 - $25 | $15 - $25 |
Bag of Concrete Mix (80 lb) | $8 - $12 | N/A |
¾-inch Clear Gravel (bag) | $7 - $10 | N/A |
Post Anchor Bracket | N/A | $20 - $40 |
Wedge Anchors / Concrete Screws (4-pack) | N/A | $10 - $20 |
Tool Rental (Daily) | ||
Power Auger | $80 - $110 | N/A |
Hammer Drill | N/A | $40 - $60 |
The table illustrates the key trade-off: setting posts uses cheaper bulk materials but more labour, while anchoring requires more expensive specialized hardware but saves time.
Regardless of the method, the post quality is crucial. Learn more about your options in our guide on what is pressure-treated lumber. For optimal ground compaction, consider specialized tools like battery-powered compaction equipment.
Troubleshooting Common Installation Problems
Even the best plans can encounter issues. When securing a fence post to concrete, knowing how to solve common problems will save you time and frustration.
Most problems have a straightforward solution if you approach them methodically. Here’s how to handle the most frequent setbacks.
Solving Issues with New Concrete Footings
Digging often unearths unexpected obstacles.
Obstruction in the Hole: If you hit a large rock or root, stop the auger. Use a digging bar to pry rocks loose. For thick roots, a reciprocating saw with a pruning blade will cut through them cleanly without disturbing the surrounding soil.
A Leaning Post After Curing: If a post has settled at an angle, your options are limited. For a minor lean, you may be able to adjust the fence panels. For a significant tilt, the only correct fix is to break up the footing and reset the post.
Actionable Insight: This problem is almost always caused by hanging fence panels before the concrete has fully cured. Wait at least 72 hours for the concrete to gain sufficient strength. Patience now prevents rework later.
Fixing Problems When Anchoring to a Slab
Drilling into existing concrete can present unique challenges.
Anchor Bolt Won't Tighten: If the nut spins freely, the hole is too wide. The best solution is to abandon that hole, move the anchor slightly, and drill a new, correctly sized hole.
Concrete Chips During Drilling: Minor chipping at the surface is normal. If large chunks break off ("spalling"), you are likely drilling too close to an edge or crack. Action: Maintain a minimum distance of four inches from any edge. Use a sharp, high-quality masonry bit to minimize chipping.
A Broken Fastener: If a screw or bolt snaps off flush with the surface, use a screw extractor kit to back it out. If that fails, drill a new hole nearby, ensuring it's far enough from the first to get a solid grip in the concrete.
Getting Your Ducks in a Row Before You Dig
A successful fence project begins long before you break ground. Proper planning will save you from costly mistakes, neighbourly disputes, and project delays. Rushing this stage is the fastest way to turn a weekend project into a prolonged headache.
Your first step is to check your local building codes. These regulations dictate fence height, setback from property lines, and, most importantly, footing depth requirements to prevent frost heave.
Check Local Codes and Utilities
Complete this checklist before starting any work:
Building Permits: Call your local planning office to confirm if a permit is required. Many fences under six feet are exempt, but always verify.
Property Lines: Locate your property survey and mark your boundary lines clearly. Building even a few inches on a neighbour's property can lead to legal issues.
Utility Location: This is a critical safety step. Contact your local utility locating service ("Click Before You Dig" in Canada, 811 in the US). This free service marks underground gas, water, and electrical lines, preventing a dangerous and expensive accident.
Actionable Insight: Completing these checks provides a clear roadmap. Knowing your required footing depth, property lines, and utility locations eliminates guesswork and prevents you from having to tear down and rebuild your work.
Nailing Down Your Project Costs
With a clear plan, you can create a realistic budget. Your total cost will depend on your installation method and material choices. Setting posts in concrete involves buying bulk materials like mix and gravel, while anchoring requires more expensive hardware.
Factor in tool rentals like a power auger or hammer drill, which can be a significant but worthwhile expense.
For a professional cost benchmark, look at public project bids. For example, a recent bid in Fresno County for a chain-link fence with posts set in concrete came in at $35 per linear foot. Researching regional project bids and their concrete foundation costs can provide valuable data for your own budget planning.
A well-planned project is the bedrock of a fence that will stand tall for years. For professional guidance and installation in the Ottawa–Gatineau region, trust the experts at FenceScape. We handle everything from design to final walkthrough, ensuring your project meets all local codes and exceeds your expectations. Visit us at https://www.fencescape.ca to get your free estimate today.
Comments