
What Is Pressure Treated Lumber? A Practical Guide for Outdoor Projects
- Eric Lafleche
- Dec 9, 2025
- 16 min read

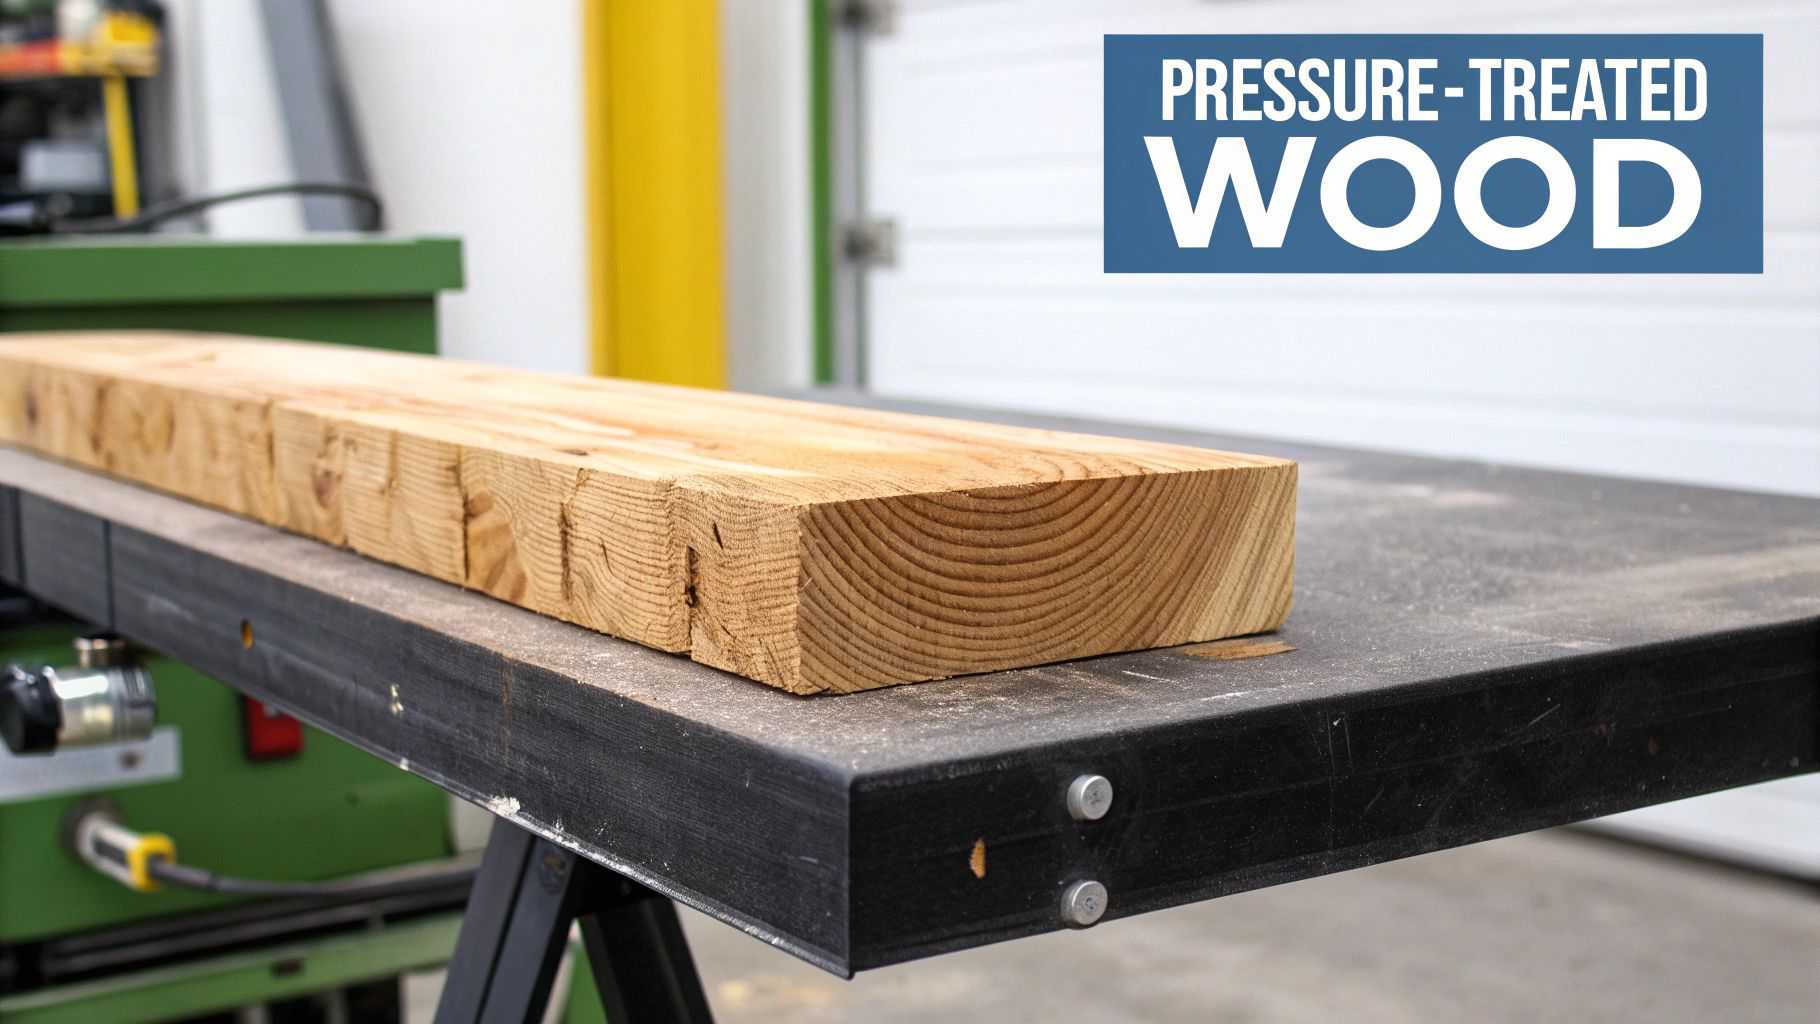
If you’ve ever walked through a lumber yard, you've definitely seen it: stacks of wood with a distinct greenish or brownish hue, sometimes with little incisions all over the surface. That’s pressure-treated lumber, and it’s the workhorse of outdoor construction for a reason.
Simply put, it’s regular wood—usually something common like pine or fir—that’s been given a serious upgrade to fight off its natural enemies: rot, mould, and bugs. This guide will show you how to choose the right kind, use it correctly, and make sure your outdoor projects last for decades.
Understanding Pressure Treated Lumber
Think of a piece of wood as a bundle of tiny straws. Untreated, these straws can soak up water, which leads to rot and decay. The pressure-treatment process forces a protective preservative deep into those straws, fortifying the wood from the inside out.
For homeowners and property managers, this means you get a building material that’s tough enough to stand up to the elements without breaking the bank. It delivers a fantastic mix of durability and value, making it the go-to choice for everything from backyard decks to sturdy fences that need to survive our harsh Ottawa–Gatineau seasons.
Here's a quick snapshot to help you decide if it's right for your project.
Pressure Treated Lumber At A Glance
Attribute | Description |
|---|---|
Primary Use | Outdoor construction (fences, decks, retaining walls) |
Key Advantage | High resistance to rot, fungal decay, and insects |
Cost | More affordable than composite, PVC, or cedar |
Typical Lifespan | 20-40 years, depending on grade and maintenance |
Appearance | Often has a green or brown tint from the treatment |
Maintenance | Requires periodic cleaning and sealing for best results |
This table gives you the basics, but let's dig into how this wood gets its superpowers.
How The Treatment Process Works
The transformation from ordinary lumber to pressure-treated wood is an industrial process designed for maximum protection. The wood is loaded into a massive, horizontal steel cylinder, which is then sealed shut.
The treatment process involves placing lumber into a cylindrical steel tank about 2 metres in diameter and 16 metres long, filling it with preservative chemicals, and pressurizing the tank to around 1 megapascal to deeply saturate the wood fibres. You can discover more insights about this industrial process and the science behind it.
This isn't just a quick dip. The intense pressure forces the chemical solution deep into the wood's cellular structure, so it's not just a surface-level coating. The preservatives become a permanent part of the wood, creating a lasting barrier against decay.
Key Benefits For Your Outdoor Projects
This deep-seated protection is what gives pressure-treated lumber its real-world advantages, making it a smart call for any outdoor build in our climate.
Longevity: When you install it correctly and keep it maintained, a pressure-treated structure can easily last for decades. It stands up to the dampness that encourages fungal growth and rot.
Pest Resistance: Those preservatives are also a major turn-off for termites, carpenter ants, and other critters that love to chew through wood.
Cost-Effectiveness: You get impressive durability for a much lower price point compared to expensive alternatives like composite decking, PVC, or even cedar.
Versatility: This stuff is incredibly versatile. You can use it for everything from the structural posts buried in the ground to the visible fence boards and deck railings.
What’s Actually In Pressure-Treated Wood?
When you look at the tag on a piece of pressure-treated lumber, the list of chemicals can seem a bit intimidating. But the science behind it is actually pretty simple. Imagine the wood is like a sponge, and the treatment process forces a protective solution deep into its pores to guard against its natural enemies: rot, fungus, and insects.
The preservatives used fall into two main camps: oil-based and water-based. For any project around your home, from a backyard fence to a deck, you'll be dealing almost exclusively with water-based preservatives. These are the standard you’ll find at any home improvement store because they’re much safer for regular human contact.
The heavy-duty, oil-based stuff like creosote? That’s reserved for industrial applications like railway ties and hydro poles—things you definitely don’t want in your garden. For residential use, the industry has shifted entirely to modern, effective water-based solutions.
The New Guard: Copper-Based Treatments
The secret ingredient in most of the treated wood you can buy today is copper. It’s a natural fungicide and insecticide that works wonders at stopping the organisms that cause wood to decay. Think of it as the wood's primary bodyguard.
But copper can't always do the job alone. Some particularly stubborn microbes have developed a resistance to it, which is why you'll see acronyms like ACQ and CA on the lumber tags. These represent team-ups where copper gets a little help from its friends.
ACQ (Alkaline Copper Quaternary): This blend pairs copper with a "quat" (quaternary ammonium) compound. The quat acts as a backup, taking care of any copper-resistant fungi or bugs. It’s a powerful one-two punch for protection.
CA (Copper Azole): Here, copper is mixed with azoles, a type of organic fungicide also commonly used in agriculture. This duo is fantastic at fighting off both rot and termites, and it often gets the job done with less copper than ACQ formulas.
These modern treatments are a direct result of the industry moving away from an older, more controversial preservative.
Moving On From CCA
For years, the gold standard in wood treatment was CCA (Chromated Copper Arsenate). It worked incredibly well, but public concern over the arsenic in the formula led to a voluntary phase-out for residential use back in the early 2000s.
You might still find old decks or fences made with CCA-treated wood, but you can rest assured that any new pressure-treated lumber you buy today is arsenic-free.
This shift was a huge deal for the industry. It made treated wood much safer for places where families gather—think playsets, garden boxes, and backyard decks. By embracing copper-based formulas like ACQ and CA, we get wood that’s just as durable without the health and environmental baggage of arsenic.
Knowing what these acronyms mean makes you a much smarter shopper. When you see "ACQ" or "CA" on a lumber tag, you're looking at a product engineered for both long life and safety around your home. It’s exactly this kind of durable material you want when building a durable wood fence that needs to stand up to the Ottawa–Gatineau climate. Choosing the right treatment ensures your investment is not just tough, but also safe for your family.
How To Decode Lumber Grades And Use Categories
When you’re at the lumber yard, it’s easy to think all pressure-treated wood is the same. But choosing the right board is about more than just finding a straight piece; it’s about matching the wood’s chemical armour to the job at hand.
Every single piece of treated lumber has a small tag stapled to the end. Think of it as the wood's instruction manual. This tag tells you everything you need to know about where and how that board can be used, and ignoring it is a classic rookie mistake. A board meant for a deck railing will rot away in a few years if you bury it as a fence post. Understanding the “Use Category” (UC) system is what makes the difference between a project that lasts for decades and one that fails prematurely.
This simple chart helps break down the first big decision: whether your project is for residential or industrial use.
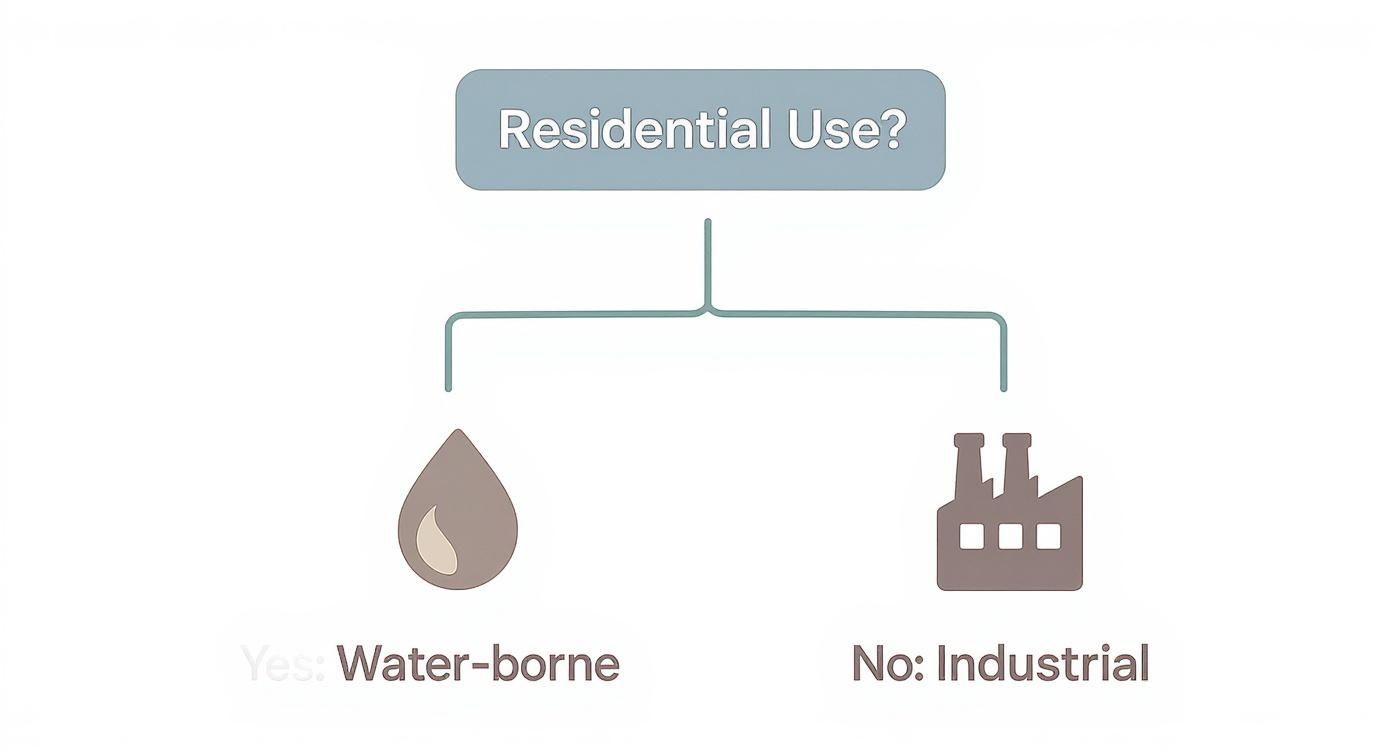
As you can see, virtually any project around your home will fall under the "Residential" category, meaning you'll be working with water-borne preservatives designed to be safe for family-centric spaces.
Translating The Use Category Codes
The Use Category system is just a simple scale that tells you how much protection a piece of lumber has. The higher the number, the tougher the conditions it can handle. It's a bit like buying sunscreen—you grab a higher SPF for a long day at the beach than you would for a quick walk to the store.
Here are the common codes you’ll see and what they actually mean for your project:
UC1 & UC2 (Interior Use): This lumber is for indoor projects where the wood is shielded from the elements but might still face some dampness or insects. You're not likely to find these at your local big-box hardware store.
UC3A & UC3B (Above Ground): This is the workhorse for most outdoor projects that do not touch the soil. UC3B is what you'll use for deck boards, railings, fence pickets, and the joists that hold everything up. It’s treated to handle rain and sun but can't survive constant moisture from the ground.
UC4A (Ground Contact): This is the one you absolutely cannot compromise on. Any wood that will be in the ground or sitting directly on it—like fence posts, deck footings, or garden beds—must be UC4A. It’s loaded with a higher concentration of preservatives to fight off the relentless moisture and microbes in the soil.
UC4B & UC4C (Heavy-Duty Ground Contact): These are for the toughest jobs imaginable, like posts set in marshy ground, permanent wood foundations, or even utility poles. You’ll rarely need this for a typical home project.
The need for clear grading became critical as construction evolved. For example, by 1977, California had become the largest manufacturing state in the US, which included a massive wood products industry. As builders worked in diverse climates, from damp coastlines to dry valleys, having lumber that could resist local pests and decay was essential. This boom reinforced why standardized grading is so crucial for building safe, long-lasting structures. You can dive deeper into a report on California's manufacturing history to see how it shaped the materials we use today.
Key Takeaway: If you remember only one thing, make it this: always use UC4A-rated lumber for anything that touches the ground. Putting a UC3B board in the ground as a fence post is a guaranteed recipe for rot. It just doesn't have the chemical fortitude to survive being buried.
A Real-World Deck Project Example
Let’s put this all together with a classic backyard project: building a ground-level deck. To do it right, you’ll need to buy at least two different grades of pressure-treated lumber.
The Foundation (Posts): Any posts that are buried in the earth or even just resting on concrete footings need to be UC4A. These are the legs your deck stands on, and they require the highest level of protection against moisture seeping up from the ground.
The Frame (Joists & Beams): The network of horizontal joists and beams that create the deck’s skeleton can be UC3B. Since they are held up off the ground with good airflow, they don’t need the same intense treatment as the posts.
The Surface (Deck Boards): The boards you actually see and walk on are also UC3B. They’ll get rained on constantly, but they are designed to dry out in the sun and wind, making this grade the perfect fit.
By using this two-grade strategy, you ensure every component of your deck gets the precise level of protection it needs to survive. You’re not overspending on heavy-duty wood where it isn’t necessary, but more importantly, you’re not cutting corners on the parts that matter most. It’s this smart material selection that forms the basis of a safe, durable outdoor space that will last for years to come.
Installation And Maintenance Best Practices
Pressure-treated lumber is tough right out of the gate, but how you install and care for it is what makes the difference between a fence that lasts a decade and one that lasts for decades. Think of it like a quality winter coat—it’s designed for the cold, but it’ll last much longer if you hang it up to dry and patch any small tears.
Getting the installation and maintenance right protects your investment and ensures your deck, fence, or pergola looks great and stands strong for years to come.
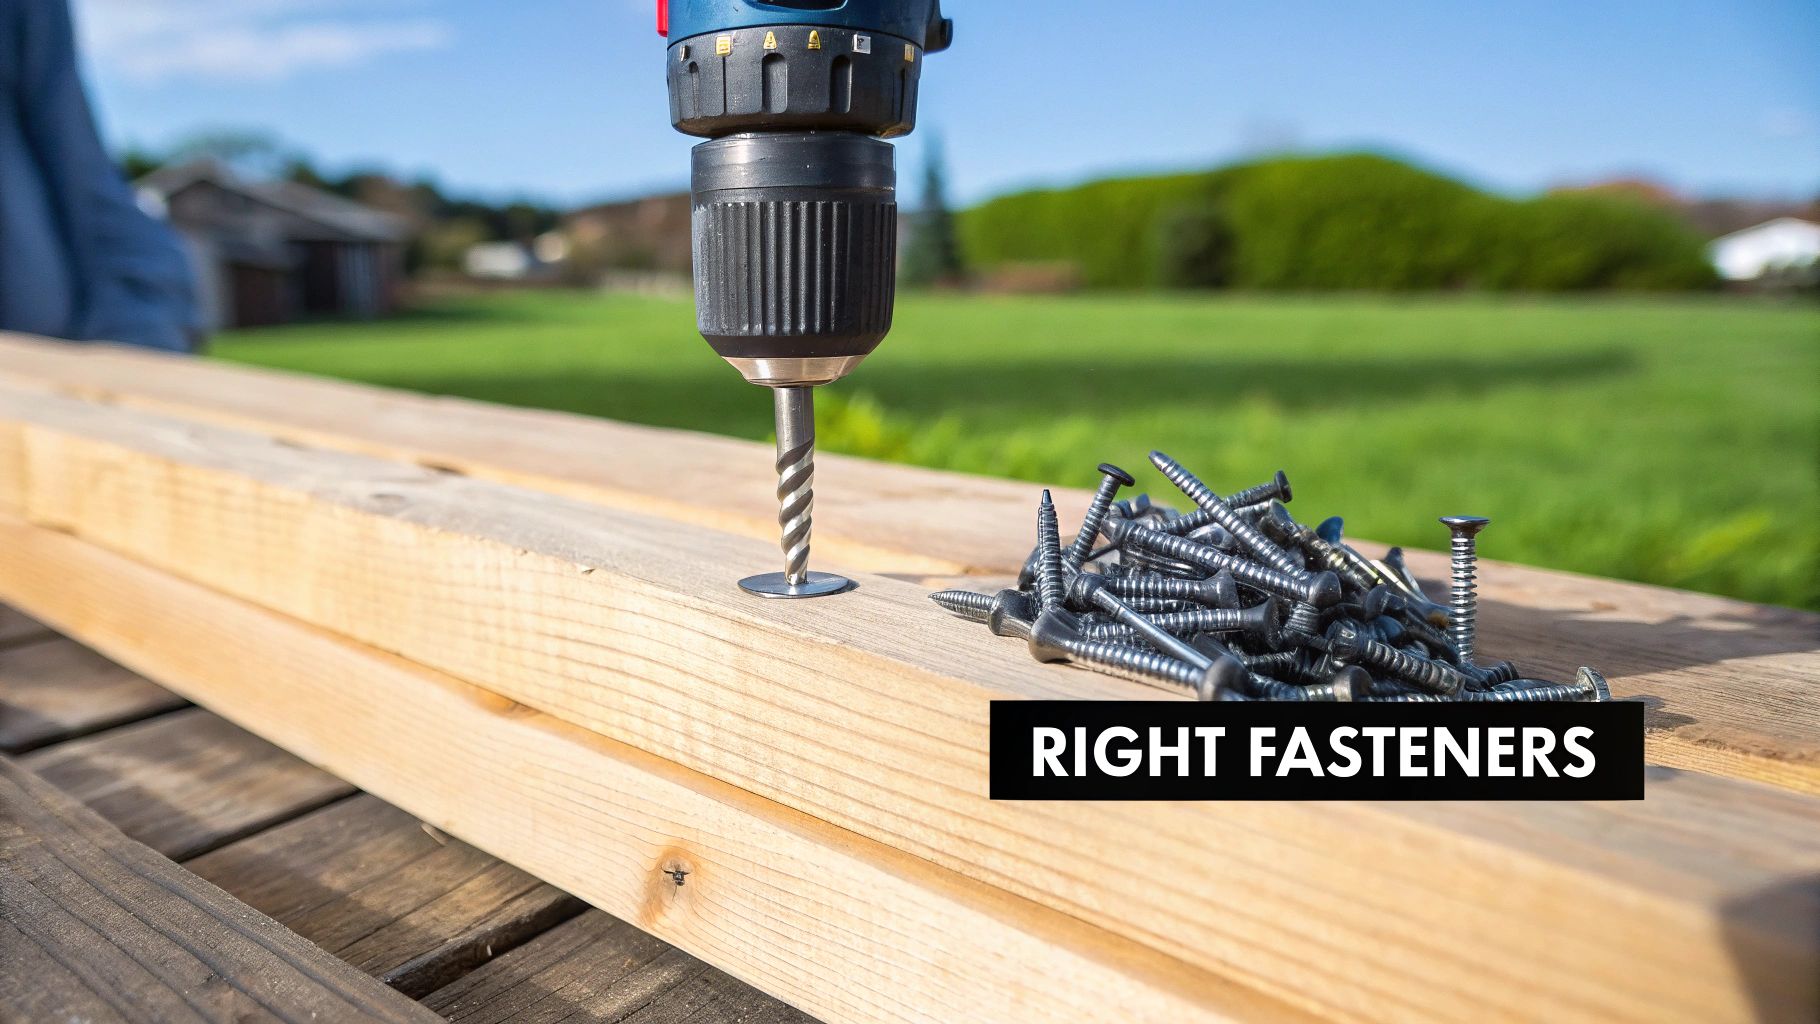
Choose The Right Hardware
Here’s a rookie mistake I see all the time: using the wrong fasteners. It’s an easy oversight that can have disastrous consequences. The copper preservatives in modern treated wood are highly corrosive to plain old steel. If you use standard screws or nails, the copper will literally eat them for lunch, leading to ugly rust stains and, worse, a structure that could fail.
You absolutely have to use hardware made specifically for pressure-treated wood. No exceptions.
Hot-Dip Galvanized: These are the workhorses. They're coated in a thick layer of zinc that acts as a sacrificial barrier against corrosion. For the best protection, look for fasteners rated to the ASTM A153 standard.
Stainless Steel: This is the top-tier option. If your project is near a pool, in a very damp area, or you just want the ultimate peace of mind, go with stainless steel. It costs more, but it’s virtually immune to corrosion.
Getting the hardware right is non-negotiable. For a fence project, this extends to how you set your posts. For step-by-step advice on creating a solid foundation, take a look at our practical guide to cementing fence posts.
Let The Wood Dry Before Finishing
When you get pressure-treated lumber from the yard, it’s often still damp from the chemical treatment process. If you rush to slap on a coat of stain or sealer, you’re just wasting your time and money. The finish can't soak into the wood fibres, so it will just sit on the surface, ready to peel and flake off after one Ottawa winter.
Patience is a virtue here. Before you even think about opening a can of stain, the wood has to be dry enough to drink it in. This can take anywhere from a few weeks to a couple of months, depending on how much sun and wind it gets.
So, how can you tell when it’s ready? The "sprinkle test" is a simple, foolproof method.
Find a flat spot, like the top of a deck board, and sprinkle a few drops of water on it.
Watch what happens for a minute or two.
If the water beads up, the wood is still too wet. It’s like a full sponge—it can’t absorb any more liquid. Hold off on staining.
If the water soaks right in, you’re good to go. The wood is thirsty and ready for a protective finish.
Waiting until it’s properly dry is the secret to a durable, beautiful finish that actually protects the wood.
Implement An Annual Maintenance Plan
Pressure-treated lumber is low-maintenance, but it's not no-maintenance. A quick check-up each spring is all it takes to catch small issues before they become big, expensive headaches. To keep your outdoor structures in top shape through our region’s distinct seasons, following a good seasonal home maintenance checklist can make all the difference.
Your annual routine should be simple and straightforward.
Inspect and Tighten: Give everything a once-over. Walk your fence line or check your deck for loose screws, wobbly posts, or splintered boards. A few turns with a wrench or drill can shore things up.
Clean Thoroughly: Use a stiff brush and a dedicated deck cleaner to scrub away the year's worth of dirt, green algae, or mildew. A gentle power wash works too, but don't get carried away with high pressure—you can easily gouge and damage the wood fibres.
Reapply a Water-Repellent Sealer: Every two to three years, plan on reapplying a quality water-repellent sealer (or a stain that includes one). This is arguably the most important step. It’s like putting sunscreen on the wood, shielding it from UV rays and moisture that cause it to crack, split, and turn that familiar faded grey.
Essential Safety And Disposal Guidelines
Pressure-treated lumber is a fantastic, long-lasting building material, but the very chemicals that give it that strength mean you need to handle it with respect. Taking the right precautions when working with and disposing of it is key to keeping yourself, your family, and the environment safe.
Working with treated wood isn't complicated, but there are a few straightforward rules that are non-negotiable. Most of these revolve around managing the sawdust that gets kicked up whenever you cut, drill, or sand the boards.
Personal Protective Equipment Is A Must
Any time you're cutting or shaping pressure-treated wood, you need to protect yourself from the preservative-laced sawdust. This isn’t a suggestion; it’s a fundamental part of working with the material safely.
Make sure your basic safety kit includes:
Gloves: A good pair of heavy-duty work gloves will save you from splinters and reduce skin contact with the chemical treatments.
Eye Protection: Safety glasses or goggles are non-negotiable. They shield your eyes from flying debris and fine dust.
Dust Mask: Always wear a NIOSH-approved dust mask. It’s your best defence against inhaling the fine particles created by cutting.
These simple pieces of gear are your first and best line of defence, making the job routine instead of risky.
The Golden Rule Of Disposal: Never Burn It
When this wood burns, the chemical preservatives are released into the air as toxic smoke and ash. Inhaling this is incredibly harmful, and it’s terrible for the environment. This rule applies to open bonfires, fireplaces, and wood stoves—no exceptions. The heat concentrates the chemicals in the ash and smoke, creating a serious health hazard.
The reason for this strict rule goes back to the history of wood treatment. Before 2004, the go-to preservative was chromated copper arsenate (CCA), which contained arsenic. While modern residential lumber is arsenic-free, the principle is the same. Those protective chemicals are designed to stay locked inside the wood, not get released into the atmosphere. You can learn more about the industry's shift away from arsenical preservatives and why proper handling is still so important.
How To Properly Dispose Of Scraps
So, what do you do with leftover pieces or the old boards from a demolished fence or deck? You can't just toss pressure-treated wood in with your regular trash, yard waste, or recycling. It has to be treated as a specific type of construction waste.
The best plan is to check with your local municipality. Here in the Ottawa–Gatineau region, the rules can differ slightly from one area to another, so a quick visit to your city’s website or a call to the public works department is the perfect first step. They’ll tell you exactly where to take it.
Usually, you’ll need to bring offcuts and old treated lumber to an approved landfill or waste transfer station that handles construction and demolition debris. When you get there, be sure to tell the staff you have pressure-treated lumber. They'll point you to the right spot to make sure it’s managed responsibly.
A Smart Buyer's Checklist For Your Project
Walking into a lumber yard can feel a bit overwhelming, but you don't need to be a seasoned contractor to pick the right stuff. With a little know-how, you can sort through the stacks and choose your materials with confidence.
Think of this as your game plan. A few simple checks on the spot can save you a world of headaches, a decent amount of cash, and the frustration of having to redo your work down the road.
First thing's first: find the little tag stapled to the end of the board. This is your cheat sheet—it holds the most important details you need to know.
Verify The Use Category
Before you even glance at the quality of the wood itself, check its Use Category (UC) rating. This is non-negotiable. It tells you exactly where that piece of lumber is meant to live, and using the wrong one is just asking for rot and an early project funeral.
UC3B (Above Ground): This is your go-to for deck boards, railings, fence pickets—anything that's off the ground and gets good air circulation.
UC4A (Ground Contact): You absolutely must use this for any wood that will touch soil or be buried. We're talking fence posts, deck footings, or the base of a garden retaining wall.
Inspect Each Board Carefully
Okay, you've found a pile with the right Use Category. Now it's time to get a little picky. Even boards from the same batch can vary wildly in quality.
Here’s a classic carpenter’s trick: pick up a board and look down its length like you're aiming a rifle. You're searching for straight, true lines. A slight curve is often workable, but anything with a major warp, twist, or "banana" bow will fight you every step of the way and can weaken your final structure.
Keep an eye out for deep splits or big, loose knots, especially along the edges. These are weak spots that will only get worse. Don't worry about a few small, tight knots; that's just the natural character of the wood shining through.
Grab The Correct Fasteners And Sealant
Don't sabotage your hard work with the wrong hardware. The high copper content in today's treated lumber is notorious for eating away at regular steel fasteners, causing ugly rust streaks and, eventually, structural failure.
Fasteners: Make sure your shopping list includes hot-dip galvanized or stainless steel screws, nails, and brackets.
End-Cut Sealer: Anytime you slice into a treated board, you expose a fresh, untreated core. Always have a can of copper-based end-cut preservative on hand to paint over these cuts and keep them protected.
It's always smart to weigh your options. While pressure-treated wood is fantastic, sometimes another material might be a better fit. If you're building a retaining wall, for instance, you might want to explore options for stone retaining walls for a different look and incredible longevity. And for fencing, the choice isn't always cut and dried; you can check out our guide on cedar versus pressure-treated fences to see which makes more sense for your yard and budget.
Common Questions About Treated Lumber
Even when you've done your homework on pressure-treated lumber, a few specific questions always seem to pop up before a project gets underway. Getting these details ironed out is key to making sure your project is safe, successful, and stands the test of time. Let's dig into some of the most common ones we hear from homeowners.
Can I Use Pressure-Treated Wood Inside My Home?
For most situations, the answer is a firm no. You should avoid using pressure-treated wood inside your house. The chemical preservatives are formulated for the outdoors and aren't meant for enclosed living spaces where they can release fumes into the air.
The one major exception is for specific structural elements where building codes demand it. For example, the sill plate—that first piece of wood that sits right on your home's concrete foundation—must often be pressure-treated. This is a crucial step to protect the entire frame from moisture creeping up from the foundation. But for things like indoor shelves or wall framing, regular, untreated lumber is the safe and correct choice.
How Long Should I Wait to Paint or Stain My New Deck?
This is probably the most-asked question, and getting it right is crucial. The simple rule is: you have to wait until the wood is completely dry. New pressure-treated lumber is often still wet from the treatment process, and if you slap a coat of stain on too soon, it’s just going to peel right off.
Drying time can be anywhere from a few weeks to a few months, depending heavily on how much sun and wind your deck gets. The easiest way to know for sure is the water sprinkle test.
Flick a few drops of water onto a deck board.
If the water beads up, the wood is still too saturated to accept a sealer.
If the water soaks in within a minute or two, you're good to go—it's ready for stain.
Rushing this step is a classic mistake that guarantees a finish you'll be unhappy with. A little patience allows the stain or paint to soak deep into the wood fibres, giving you that durable, professional look you're after.
Is It Safe for Building a Vegetable Garden?
Yes, modern pressure-treated lumber is considered safe for building raised vegetable garden beds. The copper-based preservatives used today (like ACQ and CA) bond incredibly tightly to the wood on a cellular level. This means the risk of any chemicals leaching into your soil is extremely low.
That said, if you're still feeling a bit cautious about your soil, you’ve got a couple of easy solutions:
Line the garden bed: Just staple a heavy-duty, food-grade plastic liner to the inside walls of your garden box. This creates a simple, effective barrier between the treated wood and your soil.
Choose untreated cedar: Cedar is a fantastic alternative. It's naturally resistant to rot and insects, all without any chemical treatments. While it costs a bit more upfront, it offers total peace of mind for growing edibles.
Ultimately, picking the right material for the job is what makes for a great result.
For any fencing project in the Ottawa–Gatineau region, from planning and material selection to professional installation, trust the experts at FenceScape. Get a free estimate and let's build a fence that’s designed to last.
Comments