
Installation Vinyl Fence: Your Complete Ottawa DIY Guide
- Eric Lafleche
- Dec 30, 2025
- 12 min read

Before you dig the first post hole, a successful project starts with choosing the right material. For Ottawa homeowners, this isn't just about style; it's about selecting a fence that can withstand our harsh climate and look great for years. A vinyl fence is a smart, long-term investment engineered for our demanding seasons.
Why Vinyl Fencing Is Perfect For Ottawa's Climate
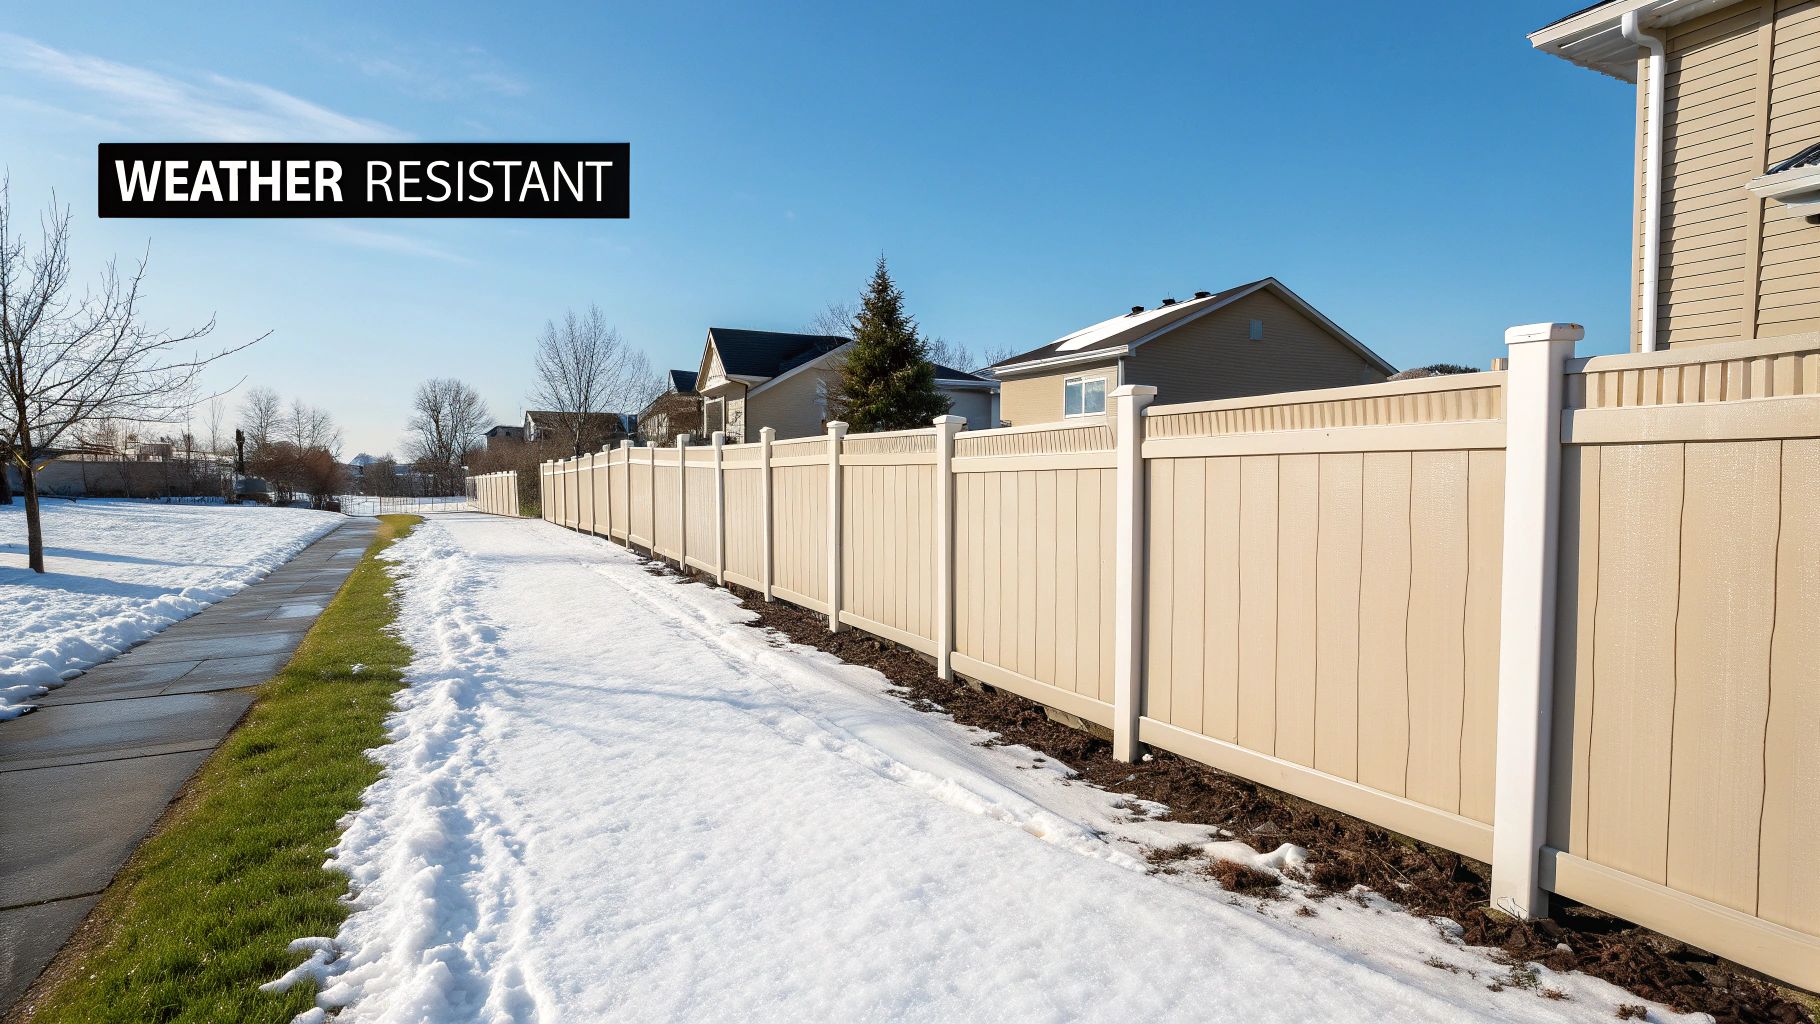
Let's break down exactly why vinyl is the superior choice for the Ottawa–Gatineau region. Modern PVC is specifically designed to handle the environmental challenges we face, making it a low-maintenance solution that adds real value to your property. Its built-in resilience means it won't warp, rot, or crack through our humid summers and deep freezes.
Built To Withstand Freeze-Thaw Cycles
Ottawa winters are defined by the brutal freeze-thaw cycle. When moisture penetrates materials like wood, it expands when frozen, causing splits, cracks, and warped boards.
Vinyl is non-porous. It doesn't absorb water, so there's nothing to freeze and expand. This allows it to maintain structural integrity and flexibility even in sub-zero temperatures, preventing the brittleness and cracking common in cheaper materials. This advantage is only effective if your posts are set correctly below the frost line—a critical step detailed in our guide to frost depth in Ontario.
Superior Resistance To Moisture And Sun
Once the snow melts, vinyl's benefits continue. The damp springs and humid summers in our region create ideal conditions for mould, mildew, and rot on wood fences. Since vinyl is moisture-resistant, these threats are eliminated. A simple wash is all you need to keep it looking new.
Modern vinyl fencing also includes UV inhibitors blended directly into the material. This is crucial for combating the intense summer sun that can cause wood stains to fade and other plastics to turn yellow. Your vinyl fence will retain its colour for years, freeing you from the annual chore of painting or staining.
Actionable Insight: Choose a vinyl fence for a true "set it and forget it" solution. Its inherent resistance to moisture, extreme cold, and UV damage makes it the most durable and cost-effective option for Ottawa's demanding climate.
Critical Planning Before You Break Ground
A successful vinyl fence installation is determined in the planning stage. The steps you take now will prevent costly mistakes, neighbour disputes, and project headaches later. By tackling these tasks methodically, you transform a large project into a series of manageable steps. Applying effective task prioritization strategies will help you stay organized and on schedule.
Know Your Lines: Property Boundaries and Utility Locates
First, you must establish your exact property lines. Do not guess based on lawn edges or old fence locations; this can lead to legal disputes that may force you to tear down your new fence.
Locate the property survey you received when purchasing your home. If you cannot find it, hire a licensed surveyor. Once your lines are confirmed, walk your neighbours through the plan to prevent future conflicts.
Next, and this is non-negotiable, contact Ontario One Call at least five business days before you plan to dig. This free service dispatches crews to mark all buried utility lines on your property, including gas, hydro, water, and internet. Hitting a line is dangerous and can result in significant repair bills.
Pro Tip: Immediately after the utility lines are marked with flags and paint, take photos with your phone. This creates a visual record of where lines are located in relation to your planned post holes, which is invaluable once you start digging.
Don't Skip the By-Laws: Understanding Ottawa's Fence Rules
The City of Ottawa has specific fence regulations. Ignorance of these by-laws will not prevent a compliance order requiring you to remove a non-compliant fence. Review the local fence by-law before purchasing materials.
Key regulations to be aware of include:
Height Limits: Maximum height in most residential backyards and side yards is 2.1 metres (7 feet). In front yards, the limit is typically 1.0 metre (3.3 feet).
Setbacks are Key: You must maintain specific clearances from public sidewalks, curbs, and fire hydrants.
Pool Enclosures: Fences for pools must adhere to stringent safety codes regarding height, gate hardware, and climb-resistance. There is no room for error.
Review the most current by-law on the city's official website. This quick check can save you from significant future problems.
The following table summarizes the essential tasks to complete before you start your installation.
Essential Pre-Installation Checklist
Task | Why It's Critical | Local Resource (Ottawa–Gatineau) |
|---|---|---|
Confirm Property Lines | Prevents legal disputes with neighbours and ensures your fence is on your property. | Your property survey documents or a licensed Ontario Land Surveyor. |
Call for Utility Locates | A legal requirement that prevents dangerous and costly damage to underground lines. | Ontario One Call (1-800-400-2255 or their website). |
Review Fence By-Laws | Ensures your fence meets local height, setback, and safety regulations to avoid fines. | City of Ottawa or Ville de Gatineau official websites. |
Draft a Site Plan | Helps you accurately estimate materials and plan for obstacles like trees or slopes. | Graph paper and a measuring tape. |
Completing this checklist provides the foundation for a professional, well-executed project.
Sketch it Out: Creating a Simple Site Plan
You don't need complex software to map your fence. A simple sketch on graph paper is an effective tool for visualizing the layout and identifying potential issues.
Measure your property and draw the fence line to scale. Mark the exact location for every post and gate. Note any obstacles, such as trees, sheds, or slopes, that you'll need to work around. This drawing forces you to consider the details, leading to more accurate material orders. It's also the ideal time to finalize your post spacing, a crucial factor for fence strength. For detailed instructions, consult our practical guide to fence post spacing.
Getting Your Fencing Tools and Materials Together
A successful vinyl fence installation depends on having the right tools and materials ready before you begin. Proper preparation eliminates last-minute trips to the hardware store and distinguishes a professional-quality job from a weekend project gone wrong.
Ottawa's dense clay soil can make digging difficult. While a manual post-hole digger is an option, renting a gas-powered auger is a strategic move. It saves your back and ensures each hole is uniform in depth and width—a requirement for a stable, long-lasting fence.
The Must-Have Tool Checklist
Assemble these tools to ensure a smooth and precise installation process.
Power Auger or Post-Hole Digger: You must dig holes at least 48 inches deep to get below Ottawa's frost line. An auger is the most efficient tool for this.
Tape Measure & Level: Use a 4-foot level for accuracy. Precise measurements are essential for plumb posts and a straight fence line.
Stakes and Mason's Line: The proven method for establishing a perfectly straight fence line. Do not skip this step.
Rubber Mallet: Use this to tap vinyl rails into post slots without causing cracks or damage.
Drill or Impact Driver: Required for attaching gate hardware and other fittings.
Wheelbarrow: Essential for mixing and transporting concrete to each post hole.
Safety is paramount. You will be cutting materials and mixing concrete, so proper eye protection is mandatory. Review this guide on choosing the right safety glasses to ensure you have adequate protection.
Nailing Your Material Calculations
Avoid guesswork when ordering materials. Inaccurate estimates lead to wasted money or project delays. Use your site plan to calculate your exact needs. Start by measuring the total linear footage of your fence.
My Two Cents: Always order 5-10% extra material. This buffer covers miscalculations, bad cuts, or damaged pieces and can prevent a major project delay.
Use this method to calculate your material list:
Fence Posts: Divide the total fence length by the panel width (typically 6 or 8 feet), then add one for the final post. For a 100-foot fence using 8-foot panels: . Round up and order 14 posts.
Fence Panels: Divide the total length by the panel width. For a 100-foot fence: . Order 13 full panels and plan to cut the last one to fit.
Post Caps: Order one cap for every post.
Concrete Bags: Plan for at least one 60lb bag of concrete mix per post. For 5x5 posts or in softer soil, use two bags per hole for added stability.
Gravel: Purchase one bag of 3/4" clear stone for each hole. This is essential for drainage and helps prevent frost heave, which can push posts out of the ground.
Your Step-by-Step Guide to Installing a Vinyl Fence
With your planning complete and materials on site, it's time to build. This is where meticulous preparation pays off as you watch a strong, precise fence take shape. We will walk through each step, focusing on the techniques that ensure a professional, long-lasting result.
A successful vinyl fence installation is all about precision. Each step builds on the last, from laying out the fence line to setting the final panel. Taking your time here will result in a fence that is not only straight but will also stand strong against Ottawa's harsh seasons for years to come.
Laying Out a Perfectly Straight Fence Line
Before you dig, you must establish a perfect guide for your fence posts. Attempting to eyeball the line will result in a wavy, unprofessional finish.
Drive a stake into the ground at the start and end of each straight section of your fence. Stretch a mason's line tightly between these stakes, about a foot off the ground. This string now represents the exact outside face of your fence posts, eliminating guesswork and ensuring perfect alignment.
Digging Post Holes for the Ottawa Climate
This is the most critical step for the longevity of your fence in the Ottawa–Gatineau region. Our severe winters cause frost heave, a powerful upward force from freezing soil that can push posts out of the ground.
To prevent this, you must dig your post holes to a minimum depth of 48 inches (4 feet). This places the bottom of your concrete footing well below the typical frost line. The hole should be 8-10 inches in diameter to allow for a solid 2-3 inch collar of concrete around a standard 5x5 vinyl post.
This visual shows the key components of the installation process.
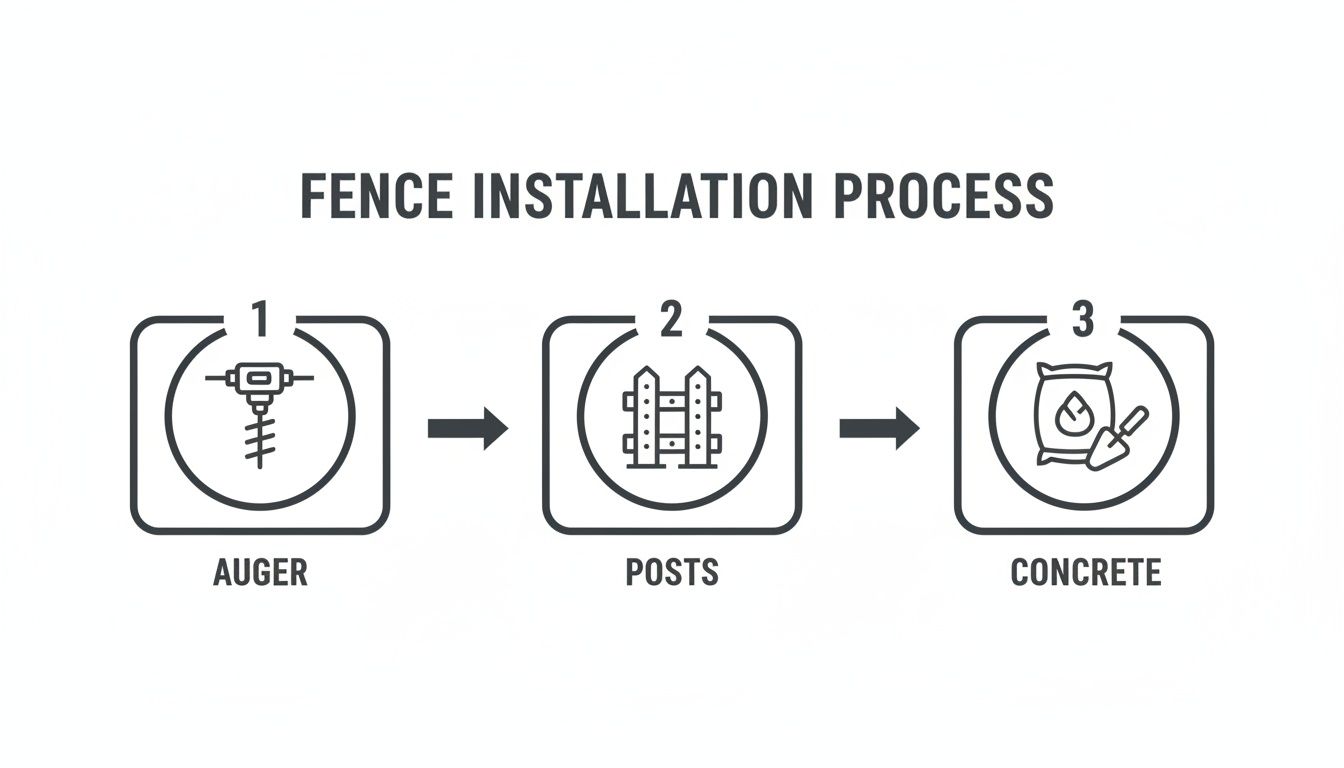
The power auger, posts, and concrete are the foundational elements for a durable fence.
Setting Posts in Concrete the Right Way
With your holes prepared, it's time to set the posts. Always set your corner and end posts first. Before placing the post, add a 4-6 inch layer of gravel to the bottom of the hole. This step is critical for drainage, preventing water from pooling at the base of the concrete and freezing.
Place the post in the hole, ensuring its outer face just touches your mason's line. Mix your concrete to the consistency of thick oatmeal. Shovel it into the hole, leaving the top few inches empty to be filled with soil later.
Pro Tip: As you fill the hole with concrete, use a scrap piece of 2x4 to poke up and down in the mix. This action, called tamping, eliminates air pockets and creates a solid footing. Continuously check that your post is perfectly plumb (vertically straight) with a level on two adjacent sides.
Assembling the Fence Panels
Allow the concrete for your corner and end posts to cure for at least 24 hours. Once set, you can begin assembling the panels.
Insert the bottom rail into the routed hole on your first post until the locking tabs click into place. Place your next post into its hole (without concrete for now) and slide the other end of the rail into it. This technique automatically sets the correct spacing.
With the bottom rail in place, slide the tongue-and-groove pickets into the channel one by one. After all pickets are seated, install the top rail, locking it into both posts. Now, ensure the second post is plumb and set it in concrete. Repeat this panel-by-panel process for the rest of the fence line.
Handling Slopes and Making Custom Cuts
Most yards are not perfectly flat. For gentle slopes, vinyl fence panels are "rackable," meaning they can angle to follow the ground's contour while the posts remain plumb. This creates a clean line without large gaps underneath.
For steeper grades or to finish a fence run, you must cut a panel to a custom length. Use a circular saw or mitre saw with a fine-toothed blade for a clean cut. You will also need to re-notch the end of the rail to lock into the post. Follow the mantra "measure twice, cut once." Careful measurement and a steady hand will result in a custom-fit section that looks factory-made.
Finishing Touches and Sidestepping Common DIY Pitfalls
With the last panel installed, the heavy lifting is complete. Now is the time to focus on the final details that elevate your project from good to great. A final, meticulous walkthrough will ensure your fence looks polished and stands strong for years while allowing you to correct common DIY mistakes.
Polishing the Final Product
Small details make a significant impact. First, install the post caps. They provide a finished look and prevent water from pooling inside the posts and freezing. Secure them with a small dab of silicone instead of permanent glue, allowing for easy removal if a future repair is needed.
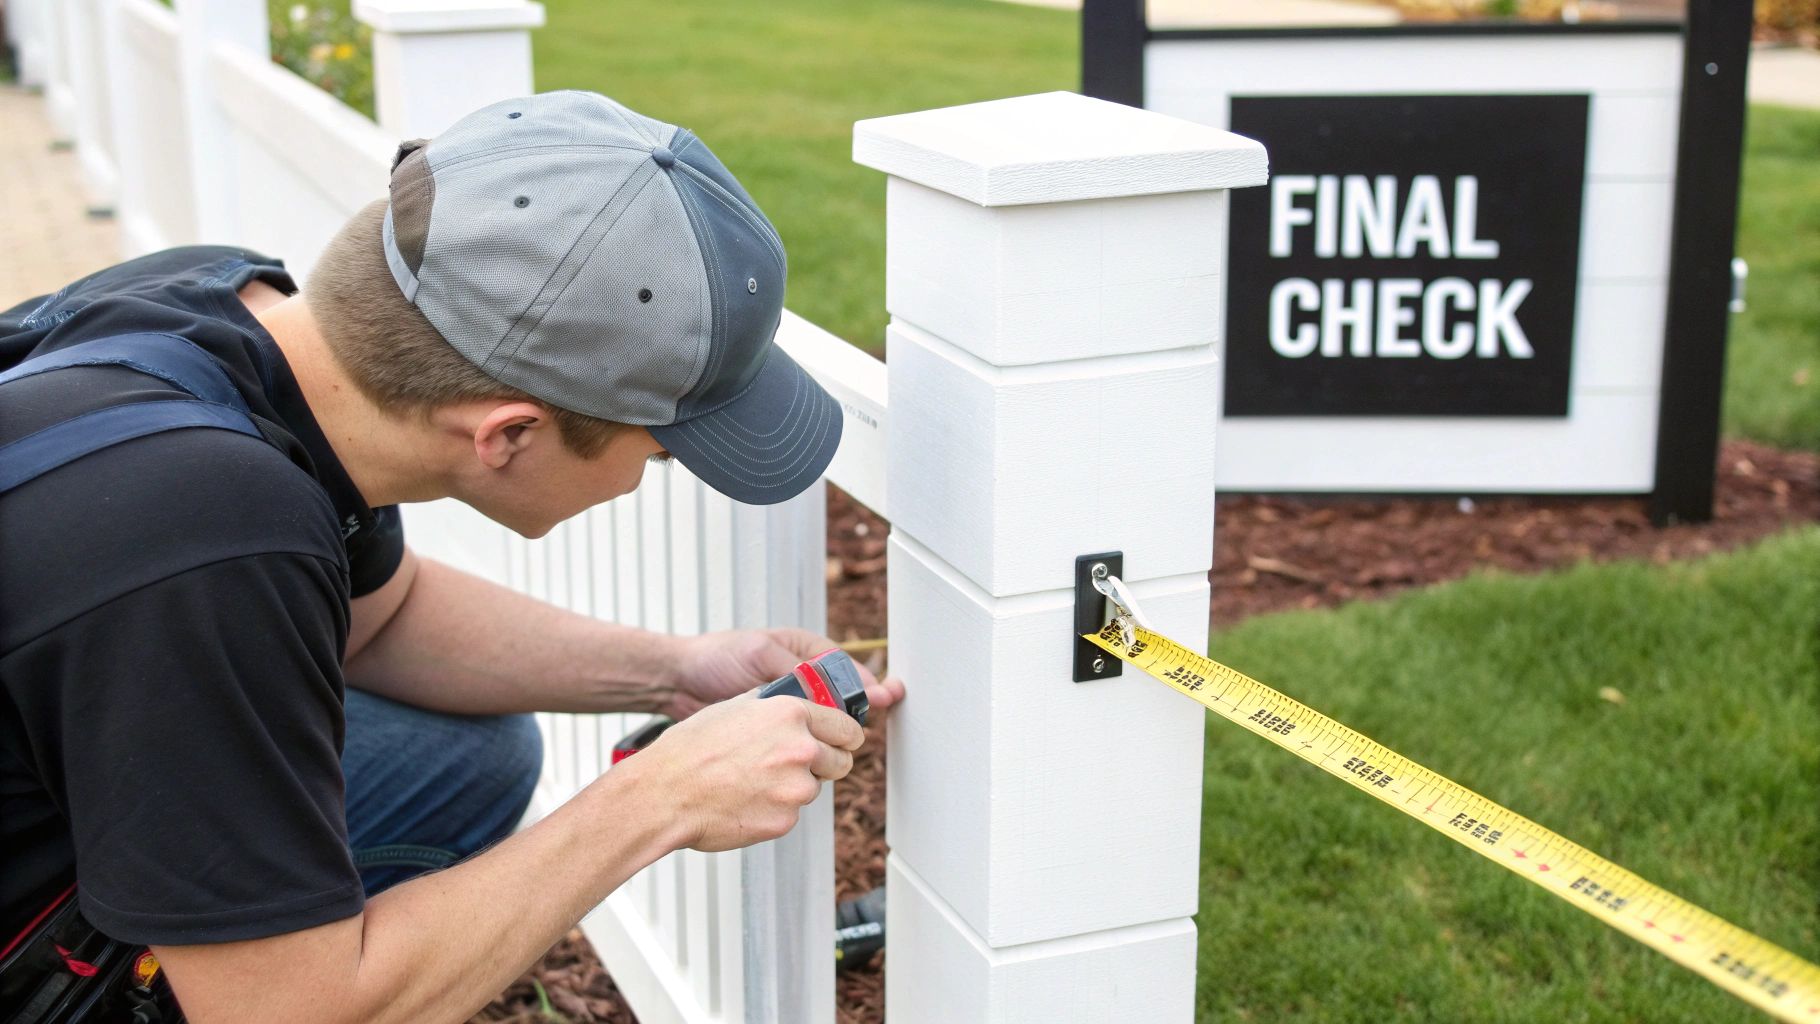
Next, conduct a final inspection. Walk the entire fence line with a bucket of soapy water and a rag to clean off any dirt, scuffs, or concrete smudges. Confirm that every rail is fully seated in its post pocket and that all locking tabs are engaged. This quick check verifies the structural integrity of your fence.
Expert Tip: After setting a post, instead of adding water to the concrete mix in the wheelbarrow, you can use the "dry-pour" method. Fill the hole with dry mix and slowly pour a few litres of water over it. This allows the surrounding soil to absorb moisture and promotes a strong, consistent cure from the ground up.
Troubleshooting Common Installation Issues
Even with careful planning, issues can arise. Knowing how to address common problems is key to a successful installation vinyl fence project. Most issues are easy to fix if caught early.
Misaligned Posts: If a post is leaning slightly after the concrete has cured, you may be able to adjust the rails to hide the imperfection. For a significant tilt, the only solution is to dig out the post and reset it. This is why checking for plumb at every step is crucial.
Gaps Under the Fence: Uneven terrain is common in Ottawa. For small gaps under the fence, build up the grade with topsoil and seed for a seamless transition. For larger gaps, consider installing decorative lattice or ordering a custom-cut bottom panel to close the space.
A Sagging Gate: A gate that drags on the ground is usually caused by improperly set gate posts. These posts support significant weight and require extra concrete and sometimes internal reinforcement to remain plumb. Before adjusting hinges, ensure the posts are perfectly straight, as they are the typical source of the problem.
By focusing on these finishing touches and preparing for potential issues, you can complete your project with professional confidence, ensuring your new fence is a sturdy, beautiful, and lasting addition to your home.
Sometimes, the smartest decision is not to do the work yourself, but to hire a professional. A well-executed DIY fence is a great achievement, but it's important to be realistic about the demands of the job.
Situations That Call for a Pro
Certain property features can make a standard fence installation extremely challenging. If your yard includes any of the following, hiring an expert like FenceScape is the most effective course of action.
Steep Grades or Slopes: Fencing on a significant incline requires expertise to step panels down the slope evenly without creating large gaps, all while keeping posts perfectly vertical.
Bedrock and Rocky Soil: Hitting solid rock a foot into digging will stop a DIY project immediately. Professionals use heavy-duty hydraulic machinery to power through terrain that standard rental equipment cannot handle.
Pool Enclosures: This is non-negotiable. Pool fences are a matter of safety and legal liability, governed by strict City of Ottawa by-laws for height, gate latching, and climb-resistance. The risk of an improper installation is too great.
The Real Value of a Professional Installation
Hiring a professional team provides more than just labour; it provides project management, accountability, and peace of mind. A company like FenceScape manages everything from material delivery to site cleanup and backs their work with a warranty.
Consider the total value. Professionals bring efficiency, specialized tools, and creative solutions. They can also offer neighbourhood group discounts, coordinating multiple projects on a single street to reduce costs for everyone, making a professional installation more affordable than you might think.
The long-term value of vinyl is undeniable. Recent 2025 cost analyses show that its low maintenance requirements offset the initial investment over time. You can discover more insights on vinyl fence economics to see how the numbers apply to homeowners in Ottawa and Gatineau.
Got a Question About Your Vinyl Fence Installation?
Here are answers to the most common questions we receive from homeowners in the Ottawa area about installing a new vinyl fence.
Can I Put a Vinyl Fence on My Concrete Patio?
Yes. You can install a fence on an existing concrete surface without demolition. We use specialized steel post mount towers bolted directly to the concrete with heavy-duty anchors. The vinyl post sleeves over the mount, creating a solid base. This is an ideal solution for patios, pool decks, and walkways.
How Long Does the Concrete for the Posts Need to Cure?
Patience during this step is crucial. Allow the concrete to cure for a minimum of 24 hours before installing fence panels. This initial cure time is essential for creating a strong foundation. In cool or damp weather, extend the curing time to 48 hours. Rushing this step can push a post out of alignment, forcing you to re-dig and reset it.
What’s the Best Way to Clean My New Fence?
Vinyl's low-maintenance nature is one of its biggest advantages. To clean dust, dirt, or minor scuffs after installation, use a bucket of warm, soapy water and a soft cloth or brush. For stubborn marks, a magic eraser is effective. Avoid using harsh, abrasive cleaners or scouring pads, as they can damage the finish.
Thinking of skipping the hassle and getting a perfect result from day one? The crews at FenceScape have the right tools and years of local experience to handle any project, from a simple backyard fence to a tricky installation on sloped ground. Get your free, no-obligation estimate today!
Comments