
Your Guide to Optimal Fence Post Distance for a Lasting Build
- Eric Lafleche
- Dec 20, 2025
- 11 min read

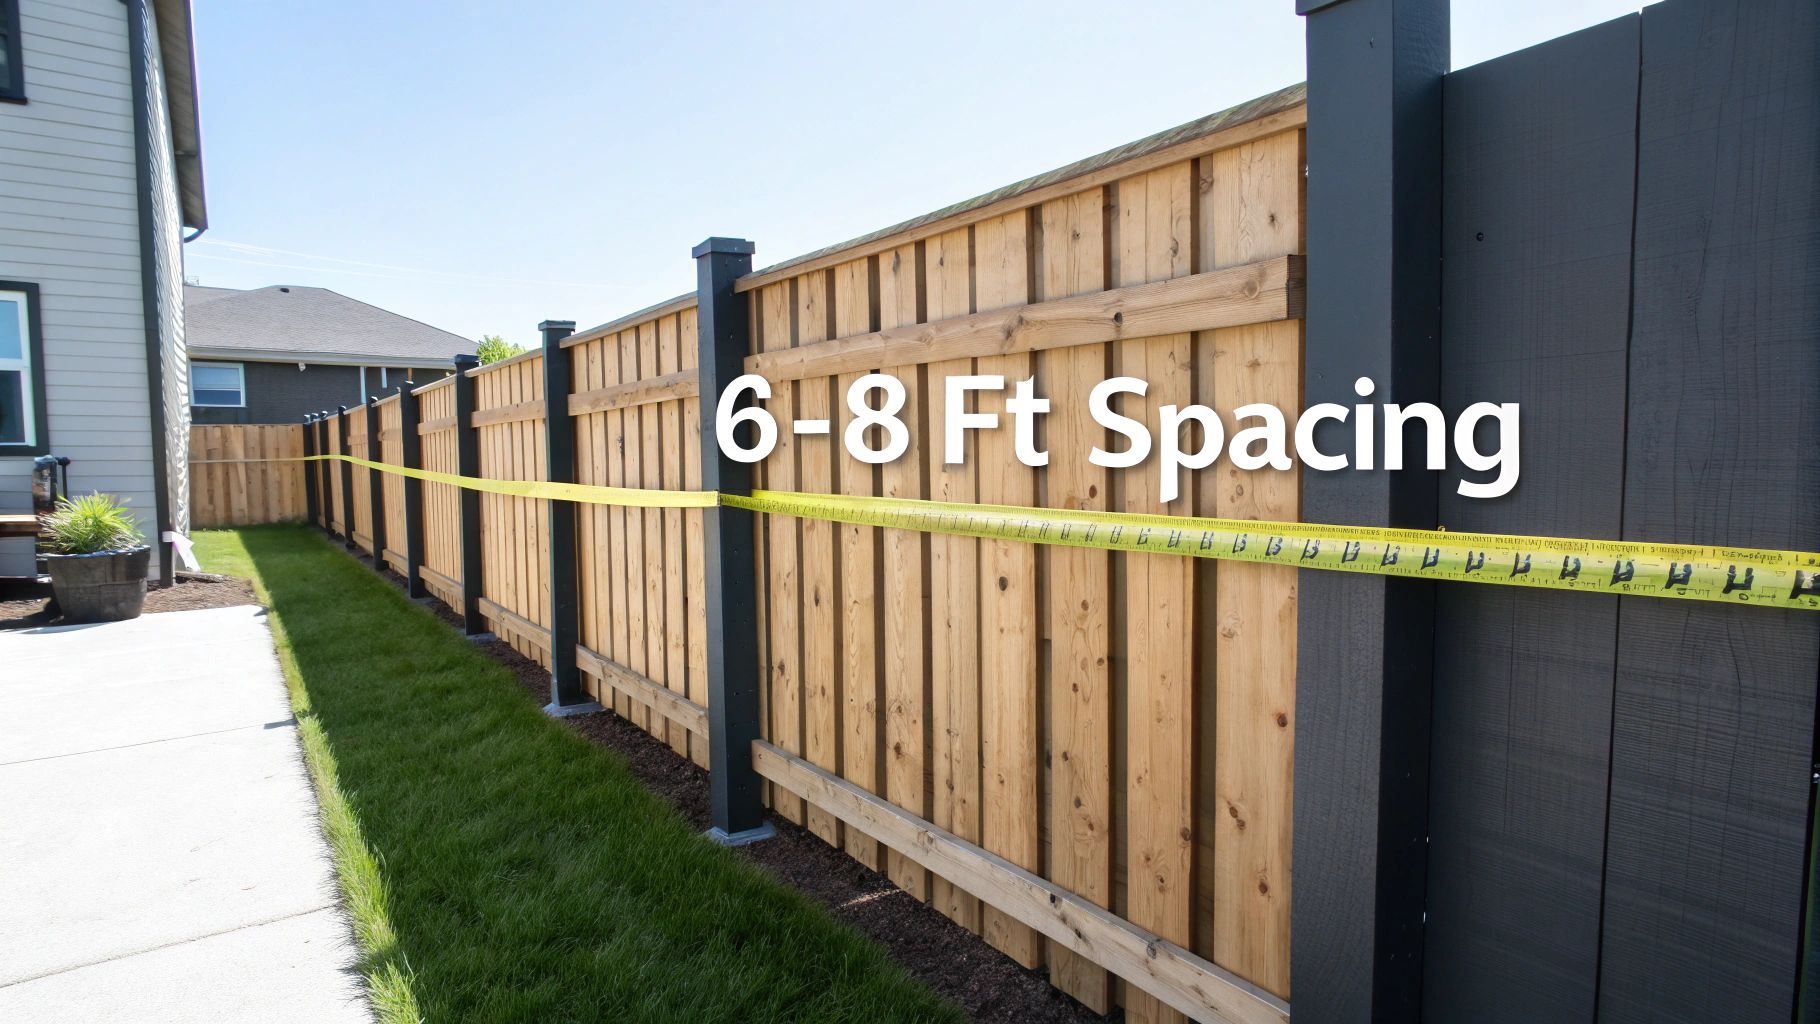
If you’re building a fence, one of the first questions you’ll ask is, "How far apart should I put the posts?" Getting this right is the key to a fence that stands strong for years.
The most practical answer? For most residential fences in Canada, set your posts 6 to 8 feet apart. This isn't just a random number; it's the industry standard that hits the perfect balance between strength, cost, and labour. Sticking to this guideline is your best defense against sagging rails and ensures your fence can handle our Canadian seasons.
Why 6 to 8 Feet Is the Magic Number
Think of your fence posts as the skeleton holding everything together. Spacing them too far apart forces the horizontal rails to bridge a long gap. Over time, gravity, wind, and the weight of the fence itself will cause those rails to bow and sag—a clear sign of structural failure.
Conversely, placing them too close together is usually unnecessary. You'll spend more on posts and concrete without adding meaningful strength for a typical backyard fence.
The 6 to 8-foot rule is practical because it aligns perfectly with standard building materials. Most pre-built fence panels are sold in 6-foot or 8-foot sections. Matching your post spacing to these dimensions simplifies installation and minimizes material waste.
Quick Reference for Recommended Fence Post Distance
While the 6-to-8-foot range is a solid baseline, you need to adjust based on your specific fence material. Heavier materials require more support, which means closer spacing.
Here’s a practical breakdown for your project:
Fence Type/Material | Standard Post Spacing (Feet) | Actionable Advice |
|---|---|---|
Wood Fences | 6 to 8 feet | For tall (6ft+) privacy fences, stick to a 6-foot spacing for maximum stability. For shorter, lighter styles, 8 feet is acceptable. |
Vinyl (PVC) Fences | 6 to 8 feet | Always match the spacing to the manufacturer's recommended panel width. This is non-negotiable to prevent sagging, as vinyl is flexible. |
Chain-Link Fences | 8 to 10 feet | Chain-link is lightweight and lets wind pass through. You can safely increase the span to 10 feet without compromising strength. |
Ultimately, your goal is to create a solid structure where every post effectively carries its share of the load. This decision is just as critical as getting the post depth right.
Expert Insight: The goal is to create a structure where each post effectively supports its section without being so far from its neighbour that the fence loses its integrity. It’s a foundational decision that impacts the entire project, and getting it right is just as important as post depth. To learn more, check out our guide on how deep a fence post should be.
This approach is so reliable that it's standard practice even when local codes don't specify spacing. For instance, 72% of residential privacy fences use 6-to-8-foot spacing to manage structural and wind load demands effectively.
Adapting Your Spacing for Real-World Conditions
Standard guidelines are a great start, but your backyard has unique variables like wind, soil, and your fence's design. Adjusting for these factors is what separates a fence that lasts for decades from one that’s leaning after its first year.
A tall privacy fence acts like a sail. In an open, windy area, it catches a huge amount of force. If your posts are too far apart, that constant pressure will eventually cause them to fail.
To combat wind, you must shorten the fence post distance to create more anchor points. For properties in exposed, high-wind zones, reducing the standard 8-foot spacing down to 6 feet can increase the fence's wind load capacity by over 30%. That's a critical upgrade in stability.
The Ground Beneath Your Feet Matters
The soil in your yard dictates how well a post can be anchored. You must adjust your spacing based on soil conditions for a long-lasting fence.
Here’s how to assess and adapt:
Dense Clay: This is ideal for fence building. It's heavy, compact, and provides an excellent grip for concrete footings. If you have stable clay, you can confidently use the standard 8-foot spacing.
Loose or Sandy Soil: This soil is unstable and offers poor resistance, allowing posts to shift over time. To compensate, you must reduce your spacing to 6 feet or even less. This distributes the load across more posts, increasing the chance each one stays put.
Key Takeaway: A fence's strength is a battle between environmental forces (like wind) and its anchors (the posts). If you have stronger winds or weaker soil, you need more anchors placed closer together. It's that simple.
Accounting for Height, Weight, and Stress Points
The design of your fence also creates forces that require specific adjustments. Taller and heavier fences put more strain on the structure and need more support.
For example, a 6-foot-tall cedar privacy fence is much heavier than a 4-foot picket fence. That extra weight constantly pushes down on the rails. Stretching the span to 8 feet is a recipe for sagging. To prevent this, drop the spacing to 6 feet to give the rails the support they need to stay straight.
Pay special attention to high-stress points like gates and corners. A gate is a heavy, moving part that pulls on its hinge post every time it opens. Action: Place the posts on either side of a gate closer together than the rest of the fence. Corners handle tension from two directions, so tighter spacing here provides essential reinforcement. These principles are also crucial when you build a fence on a slope, as the angled ground creates unique load-bearing challenges.
How to Confidently Lay Out Your Fence Line
With your ideal post spacing determined, it's time to transfer your plan to the ground. Careful layout work is what ensures a straight, professional-looking fence.
First, get a precise measurement of your property line.
Imagine you're fencing a straight run of 100 feet and you've decided on an 8-foot spacing. Simple division (100 ft / 8 ft = 12.5) shows you'll have 12 full sections and one half-sized one. This will look awkward.
To avoid a short, odd-looking section, a better approach is to divide the 100-foot run into 13 equal sections. This results in a spacing of about 7.7 feet (or 7' 8") for each, giving you a balanced, professional appearance.
Mapping Your Posts with Stakes and String
This traditional method is still the best way to guarantee a perfectly straight fence line. It's a simple, foolproof technique that removes all guesswork.
Follow these steps:
Set Your Anchors: Drive a sturdy stake into the ground at the beginning and end of your fence line. These mark your critical corner or end post locations.
Run a Guide Line: Tie a mason's string tightly between the two stakes. Pull it completely taut so there is zero sag. A sagging string will result in a crooked fence.
Mark Your Post Locations: Using a measuring tape, walk along the taut string and mark the exact spot for each post hole based on your calculated spacing. Use small flags, spray paint, or temporary stakes for clear marking.
A taut string line is your single source of truth for the entire fence line. It acts as an unwavering guide, ensuring every post aligns perfectly, from the first to the last. Trust the string, not your eyes.
This visual guide breaks down the key factors you should have already considered to arrive at your final spacing decision.
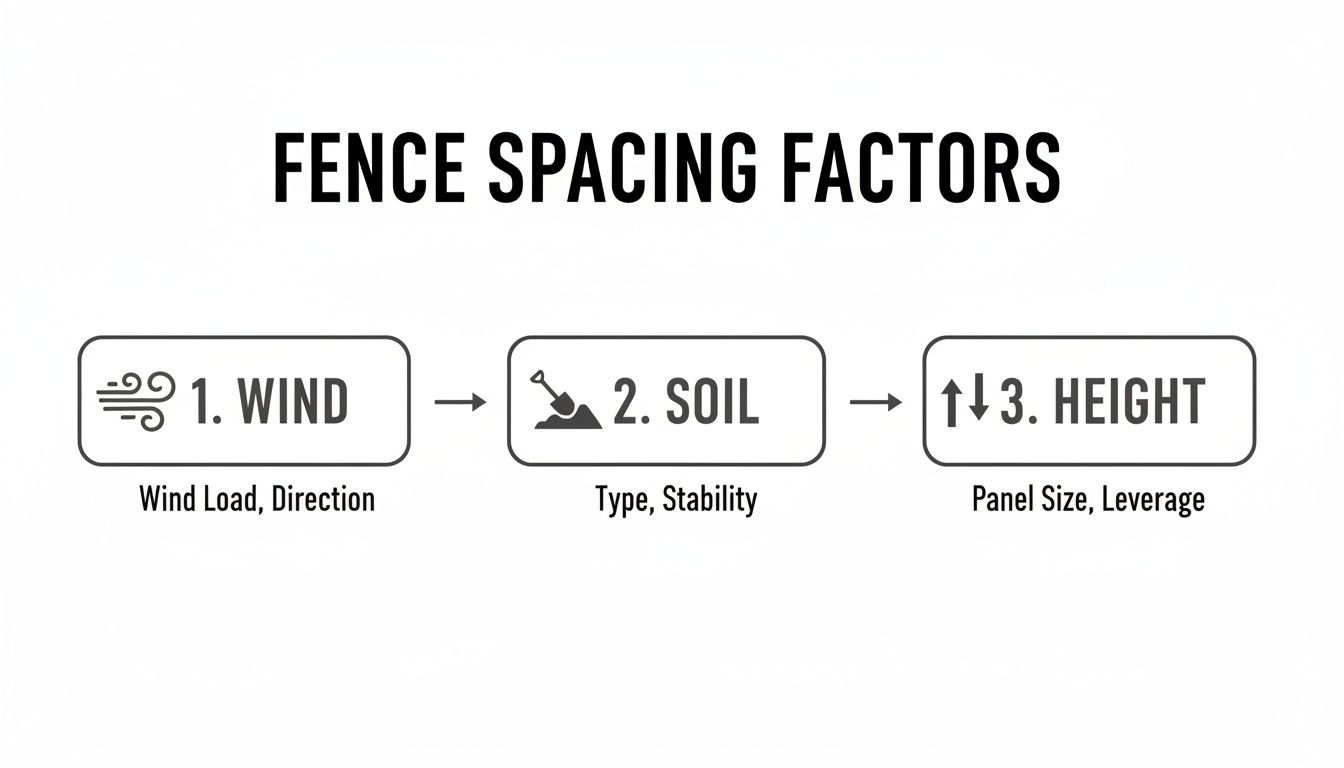
As you can see, factors like wind exposure, soil type, and fence height all influence each other. Getting this balance right is what produces a durable, long-lasting fence.
Adjusting for Real-World Obstacles
It’s rare to find a property line without obstructions. You will likely encounter tree roots, utility boxes, or sheds. The key is to adapt your plan on the fly without weakening the fence.
When an obstacle like a large tree root blocks a planned post location, don't just shift the post over and create one extra-long, weak section. Instead, adjust the spacing on both sides of the obstacle. For example, instead of two 8-foot sections, re-plan that area to have three shorter, stronger 5.3-foot sections. This maintains structural integrity as you navigate the obstruction.
Gates are a special case. Always place the posts on either side of a gate closer together. The hinge post endures significant stress from the gate's weight and movement. Shortening the adjacent fence sections is the best way to reinforce it, prevent sagging, and ensure your gate swings smoothly for years.
Balancing Your Budget with a Sturdy Fence
Every decision in a fence project impacts your budget, and fence post distance is a major factor. The logic seems simple: wider spacing means fewer posts, less concrete, and less digging, which should save money.
However, stretching the distance creates a hidden cost. Longer spans place more stress on horizontal rails. To prevent them from sagging, you’ll need to upgrade to thicker, more expensive lumber or reinforced rails. What you save on posts may be spent on beefier materials to compensate for the weaker frame.
Conversely, placing posts closer together increases initial material and labour costs, but it buys you a much stronger, more reliable fence that requires fewer repairs down the line.
Comparing Costs for a 100-Foot Fence
Let's apply this to a common scenario: building a 100-foot wood privacy fence.
8-Foot Spacing: This industry standard requires 13 posts. For most situations, this spacing provides a good balance of material efficiency and structural integrity.
6-Foot Spacing: This closer spacing requires 17 posts. While you'll spend more on the extra posts, concrete, and installation time, you are investing in a significantly stronger structure that will better resist high winds and sagging.
When planning your fence's finances, it's crucial to balance costs effectively. Consider how efficiently tracking your project's jobs and costs can help you stay on budget. You can find more specific figures in our complete overview of the price of a wood fence.
The smartest financial decision isn't about the lowest upfront cost. It’s about finding the economic sweet spot where you invest enough in the structure to avoid costly repairs down the road.
Remember that local regulations can also affect your budget. Setback and height restrictions may indirectly influence your material and labour costs. For example, tightening post spacing from 8 feet to 6 feet on a typical residential fence can increase your total project cost by 20–30%. It’s a significant investment, but one that pays off in durability and ensures your fence remains compliant and valuable over time.
Solving Common Fence Spacing Problems
Even with a solid plan, issues can arise. A once-straight fence might start to sag, or a sturdy post may begin to lean. These problems often trace back to the original fence post spacing. The good news is you can often fix them without a complete teardown.
The most common complaint is a sagging fence. When you see a dip in the top rail between two posts, you're seeing a classic sign of posts spaced too far apart. The horizontal rails can't support the weight over that distance, and gravity eventually wins.
Reinforcing a Sagging Fence Section
Before considering a full replacement, try these practical fixes to add support right where it’s needed: the middle of the span.
Install a Mid-Span Post: This is the best long-term solution. Dig a new post hole in the center of the sagging section, set a new post in concrete, and securely fasten the existing rails to it. This provides immediate, permanent support.
Use a Tension Rod or Brace: For a quicker fix, install a diagonal brace. Run a piece of lumber or a metal tension rod from the bottom of one post up to the middle of the sagging rail. This transfers the load back to the post and straightens the panel.
Add a "Kicker" Support: A simple "kicker" or prop post (often a 2x4) can be wedged under the sagging rail to provide temporary support. This isn't a permanent solution but can prevent the problem from worsening until a proper repair can be made.
Correcting Leaning Fence Posts
A leaning post often indicates that the spacing was too wide for the local conditions, especially in windy areas or in heavy clay soil. The constant force on the fence panel acts like a lever, slowly loosening the post's footing.
A leaning post is a clear signal of structural weakness. It means the footing is failing, often due to frost heave or shifting soil.
The Root Cause: A leaning post is a symptom. The real disease is usually a combination of excessive post spacing and an inadequate footing that just couldn't stand up to the side-to-side forces over time.
To fix a leaning post permanently, you must address the footing. Dig out the soil around the post's base, pull it perfectly upright (use a level), and then pour fresh concrete to create a larger, more solid anchor. If your fence is in a high-wind area, add angled braces to give your posts extra reinforcement against future storms.
Local Know-How for Ottawa–Gatineau Fence Projects
Building a fence in the Ottawa-Gatineau area involves more than just measuring and digging. Our local climate presents unique challenges, from deep winter freezes to specific soil types. Getting your fence post spacing right here means planning for these local conditions.
The ground here gets extremely cold. The frost line can reach 4 feet (48 inches) deep. If your post footings do not sit below this line, the freezing and thawing cycle of the ground will push them upward. This process, known as frost heave, can destroy a straight fence line in a single season.
A fence is only as strong as its foundation. In Ottawa, a 4-foot deep footing isn’t just a recommendation; it's a non-negotiable requirement for a fence that will survive its first winter and stand straight for years.
Coping with Snow Load and Leda Clay
Frost heave isn't your only concern. Heavy, wet snow piling up against fences puts immense downward pressure on the rails. A standard 8-foot span that might be adequate elsewhere can lead to bowed or broken rails under this load.
Action: Reduce your post spacing to 6 feet. This adds an essential support point to better distribute the weight of the snow and prevent long-term sagging.
Additionally, much of the Ottawa area is built on Leda clay, which is notoriously unstable. When wet, it can become soft and lose its load-bearing capacity; when it dries, it shrinks and can pull away from post footings.
To counter this, you must give your posts a solid anchor. Pour wider concrete footings—using a Sonotube to create a bell shape at the bottom is a great technique—to give the post a larger base. This wider footing provides the stability needed to keep posts locked in place as the surrounding soil shifts.
Answering Your Top Questions About Fence Post Spacing
Even with careful planning, questions arise during the actual build. Here are answers to the most common questions we encounter in the field.
What Happens If My Fence Posts Are Too Far Apart?
Stretching post spacing is a common DIY mistake with clear consequences. The first and most obvious result is sagging rails. The weight of the fence panels will cause the horizontal rails to dip and bow, creating an unprofessional look.
More importantly, it creates structural weakness. A fence with posts spaced too widely is vulnerable to strong winds and heavy snow. This leads to leaning posts, broken panels, and a repair bill far greater than the cost of a few extra posts.
Can Fence Posts Be Spaced 10 Feet Apart?
For nearly all residential privacy fences, 10 feet is too far apart. While it might be acceptable for a lightweight wire farm fence or a short chain-link run in a sheltered location, it is not suitable for wood, vinyl, or composite fences.
A 10-foot span puts excessive stress on the fence rails, guaranteeing they will sag over time. It also severely compromises the entire structure's ability to withstand weather. To build a fence that lasts, stick to the 6 to 8-foot guideline.
Here's the bottom line: The heavier your fence material and the more wind or snow it has to handle, the closer your posts need to be. Don't try to save a few dollars on posts only to compromise the strength of your entire fence.
How Do I Adjust Spacing for Uneven Ground?
Building on a slope requires a different approach to measuring, but the spacing principle remains the same. You must maintain consistent spacing measured along the actual contour of the ground. Use a flexible measuring tape to mark your post holes accurately as you follow the terrain.
The main adjustment will be the height of each post, not the distance between them. You will cut each post to a different length to ensure the top of your fence either follows the slope smoothly or has a clean, stepped look. Consistent horizontal spacing is what provides the necessary strength.
Planning a fence in the Ottawa–Gatineau area means accounting for our unique climate and soil conditions. At FenceScape, we’ve seen it all. We make sure every single post is set at the perfect distance and depth to build a beautiful, sturdy fence that stands the test of time. For a professional installation you can trust, visit us at https://www.fencescape.ca to get your free estimate.
Comments