
Your Guide on How to Repair a Leaning Fence
- Eric Lafleche
- Dec 7, 2025
- 13 min read

A leaning fence is more than an eyesore; it's a sign of a failing foundation. In most cases, the problem is one or two compromised posts. Before mixing concrete, you must diagnose the root cause to ensure your repair is permanent.
Getting to the Root of Your Leaning Fence Problem
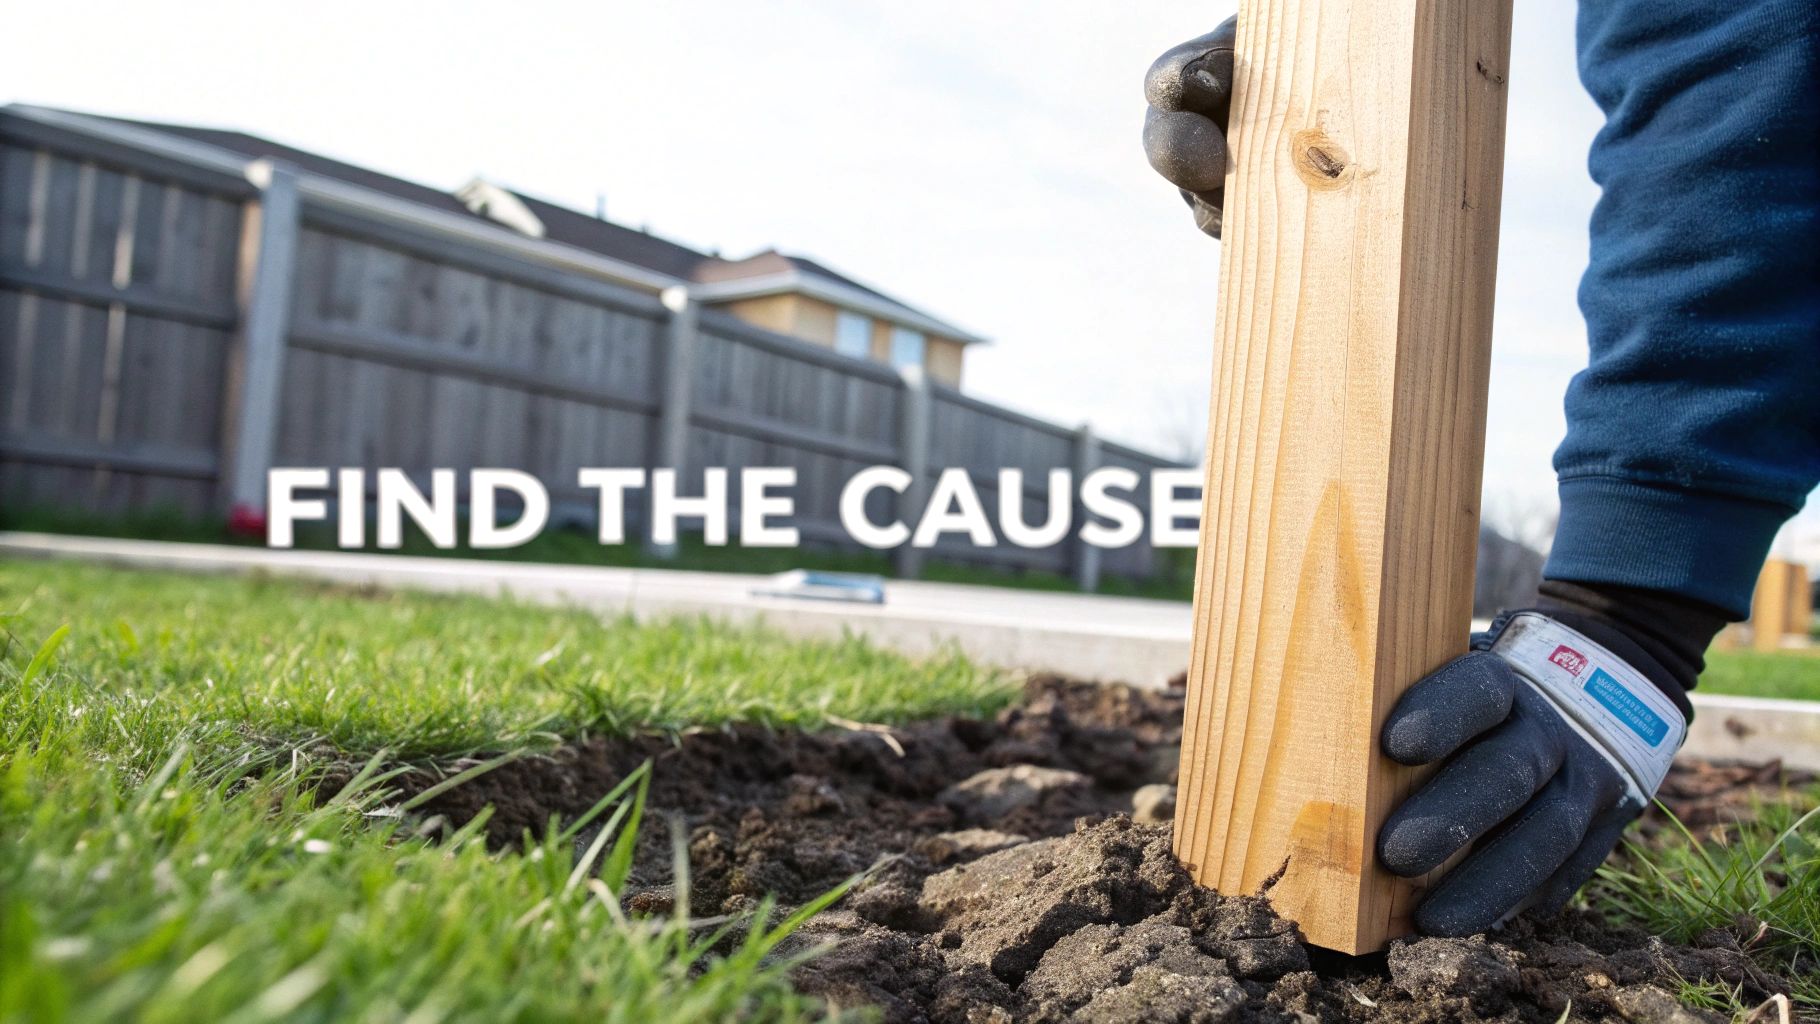
Don't just push the fence upright and hope it stays. A five-minute inspection now will prevent you from redoing the work next year.
First, give the wobbly post a firm shove at shoulder height. Does it pivot at ground level, or does the entire post and its base move as one solid, angled piece? This simple test tells you whether you're dealing with a broken post or a failed concrete footing.
Next, get low and inspect where the post meets the ground. Use a screwdriver to probe the wood at the soil line. If the screwdriver sinks in easily, you’ve confirmed the problem: wood rot.
The Usual Suspects: Why Fences Lean
In the Ottawa–Gatineau region, our heavy clay soil and harsh freeze-thaw cycles put immense stress on fence posts. The reasons for failure, however, are typically consistent.
Here’s how to quickly identify what’s happening below the surface.
Common Causes of a Leaning Fence
Symptom | Likely Cause | Action Required |
|---|---|---|
Post feels soft or spongy at the base. | Rotted Wooden Post | Prepare for a full post replacement. |
The whole post and its concrete footing move. | Failed Concrete Footing | Plan to dig out the old footing and pour a new, larger one. |
Post has risen out of the ground over winter. | Shallow Post Depth | The post was not set below the frost line. It must be removed and re-dug. |
Post is solid, but leans after a big storm. | High Wind Load | Reinforce the footing or consider wind-friendly fence panels. |
As this table shows, the problem almost always starts underground. A rotted post is the most common issue we see; moisture gets trapped at the soil line, causing the wood to decay until it can no longer support the fence's weight.
Another major culprit here is frost heave. If a post isn’t set deep enough—below our region's frost line—the freezing and thawing ground will literally push the entire concrete footing upward. You can learn more about proper depth in our practical guide on how deep a fence post should be.
Finally, strong winds can gradually loosen even a well-set post, especially on tall privacy fences that act like sails.
A leaning fence is almost always a foundation problem. Whether it's a rotted post or a heaved footing, the issue starts below the ground. Fixing the base correctly is the only way to achieve a straight, long-lasting fence line.
Once you know the cause, you can select the right repair strategy. A rotted post requires a complete replacement, while a solid but wobbly one may only need a new, stronger footing. Correctly diagnosing the issue is half the battle.
Gathering the Right Tools for a Lasting Repair
Attempting a fence repair without the right gear is a recipe for frustration and a job that won't last. Having everything on hand before you start is crucial for doing the job correctly and efficiently.
Being prepared with a complete toolkit means you're ready for surprises like stubborn old concrete or the dense clay soil common in Ottawa. It’s the difference between a Saturday project and a week-long headache.
Essential Digging and Demolition Tools
The real work begins with digging, and a standard garden shovel won't be enough.
Digging Bar or Pry Bar: This is essential for breaking up old concrete footings. Use it to smash the old footing into manageable pieces for removal.
Post-Hole Digger (Clamshell): Once the old concrete is out, use this tool to clear the hole and reach the proper depth. Its design is perfect for lifting soil straight out.
Trenching Spade: This narrow shovel is ideal for squaring the edges of the hole and digging precisely around the post base without tearing up your lawn.
Tools for Precision and Assembly
Getting the post perfectly straight is non-negotiable. Eyeballing it is a common mistake that will be obvious once the fence panels are reattached.
The most common mistake in DIY fence repairs is failing to get the post perfectly plumb. A 4-foot level is non-negotiable. It provides the accuracy needed to ensure the post is straight on all sides, which is critical for the fence's strength and appearance.
Here’s what you need to get it right:
4-Foot Carpenter’s Level: Do not use a short torpedo level. A longer level gives a much more accurate reading against the post.
Cordless Drill or Impact Driver: You'll need this to drive screws for the temporary 2x4 braces that will hold your post steady while the concrete sets.
Rubber Mallet: Use this to make fine adjustments to the post's position without causing damage.
Materials for a Rock-Solid Foundation
The quality of your materials is as important as your tools. For a standard, single-post repair, here’s your shopping list:
Fast-Setting Concrete Mix: One or two bags per post. This product hardens in about 20-40 minutes, making it ideal for repairs. For more details, see our practical guide to cementing fence posts.
¾-inch Gravel: One bag of all-purpose gravel. You will pour this into the bottom of the hole to create a drainage base, preventing water from pooling and rotting the post.
2x4 Lumber: Two 8-foot pieces. Cut these to create temporary braces that will hold the post perfectly plumb while the concrete cures.
Galvanized Screws: A handful of 3-inch deck screws are perfect for attaching your temporary braces. They are strong enough for the job and easy to remove.
With these supplies, a single post repair should take about 2 to 4 hours of work, plus concrete curing time. Expect a budget of $50 to $75, assuming you own the basic tools.
Proven Repair Methods for Different Fence Types
You’ve diagnosed the problem and gathered your gear. Now it's time to execute the repair.
The correct method depends on your fence material. A technique for a wood fence won’t work for chain-link, so let's break down the right approach for each type to ensure a permanent fix.
First, here’s a visual rundown of what any good fence repair setup includes: the right tools, materials, and safety gear.
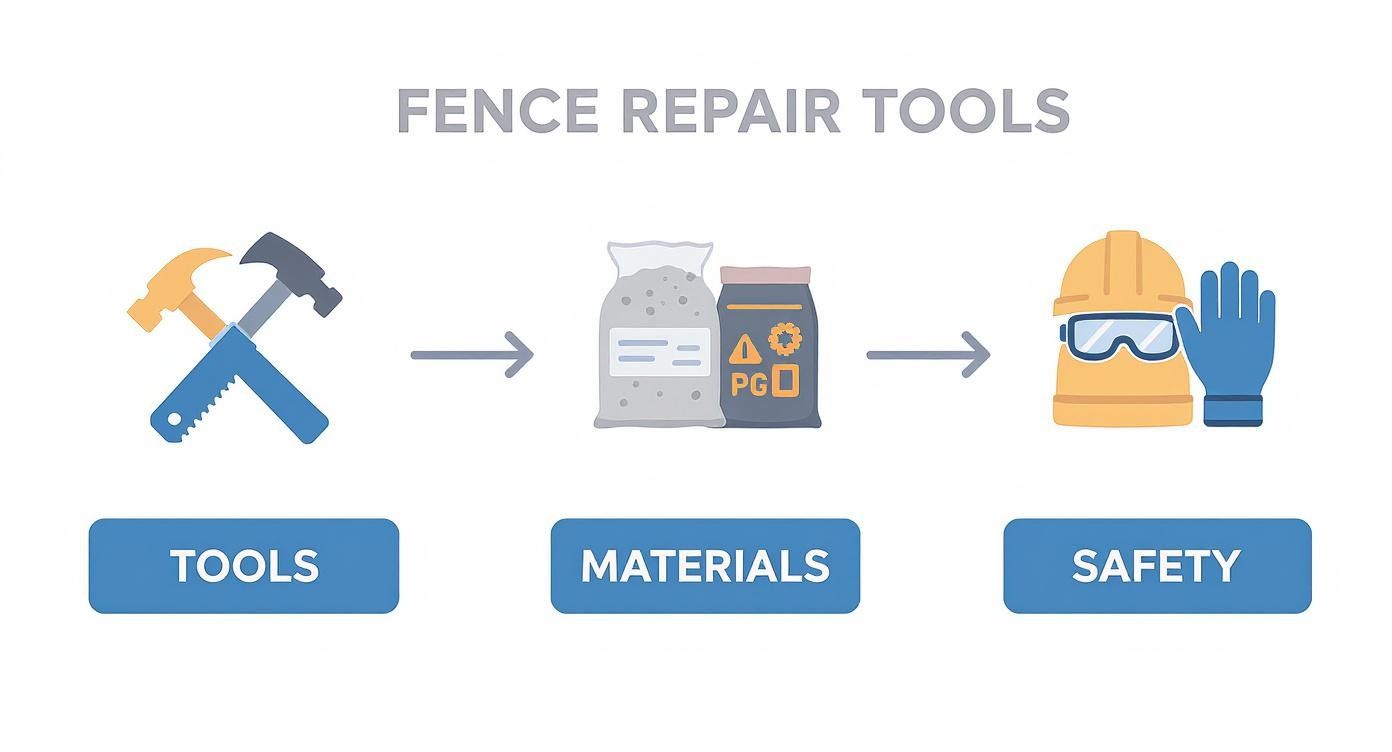
These three elements—tools, materials, and safety—are essential. If one is missing, the entire project is compromised.
Straightening and Securing Wooden Fences
For wood fences, you must first decide whether to save or replace the post. If the post is solid but the footing has failed, you can likely reinforce it.
If the wood is sound, start by digging out soil on the side the fence is leaning towards to expose the old concrete footing. Next, install temporary 2x4 braces and use them to push the post back to a perfectly vertical position. Use your 4-foot level on two adjacent sides to confirm it is plumb.
Once the post is straight and braced, mix and pour fresh concrete into the hole. This new concrete will bond to the old footing, creating a wider, more stable base that locks the post in place.
Homeowners often attempt to reinforce a rotted post to save time, but this is a critical mistake. If a screwdriver sinks into the wood at ground level, the post is compromised. Reinforcing it is a temporary patch; the rot will continue, and the fence will lean again. Replace the post to do the job right once.
For a rotted post, replacement is the only option. Carefully detach the fence panels by backing out the screws or prying out the nails holding the rails. Have a helper support the panels to prevent them from falling.
With the panels free, use a digging bar to break up the old concrete and remove the post and its footing. Set the new post by adding a few inches of gravel at the bottom for drainage, positioning it to the correct depth, and filling the hole with fast-setting concrete.
Resetting Vinyl and Ornamental Fences
Vinyl (PVC) and ornamental iron posts don't rot. When these fences lean, the problem is almost always the concrete footing, often due to frost heave pushing the post out of the ground. The post itself is usually fine; it just needs a new, properly set foundation.
The repair focuses entirely on the foundation. Begin by carefully disconnecting the panels from the post. Most vinyl and ornamental systems use simple brackets and screws that are easy to remove.
With the panels aside, dig around the entire footing. If possible, push the post and its concrete base back to plumb and pack new concrete around it.
If the footing is too small or has heaved significantly, it must be removed. Use a long 2x4 as a lever to pry the post and its concrete anchor out of the ground; place a block of wood near the hole to act as a fulcrum for added force.
Once the post is out, dig a deeper, wider hole. This is your opportunity to correct the original installation flaw: dig below the frost line, add a proper gravel base, and pour a solid new footing.
Re-Tensioning and Straightening Chain-Link Fences
A leaning chain-link fence indicates either a bent or loose post, or slack in the mesh itself.
First, inspect your posts. If a line post (in the middle of a run) is slightly bent, you may be able to straighten it. Remove the wire ties holding the mesh, then use a long pipe or a post straightener to gently lever it back into a vertical position.
If a post is badly bent, or if it's a terminal post (at a corner, gate, or end), replacement is the best course of action. Follow the same process: detach the hardware, dig out the old footing, and set a new post in concrete.
Next, address the chain-link fabric. Sagging mesh can pull posts out of alignment. Re-tensioning the mesh can solve the problem.
Release the Tension: At one end of the sagging section, loosen the nuts on the tension bands that hold the vertical tension bar to the terminal post.
Pull the Fabric: Use a "come-along" or a fence stretcher. Hook it to the end of the mesh and anchor the other end to the terminal post.
Tighten and Reattach: Slowly crank the tool to pull the fabric taut, eliminating the sag without over-tightening, which can bend your posts. Once snug, re-insert the tension bar and secure it with the tension bands.
Fixing a leaning fence requires accurate diagnosis and the correct technique for your fence type. A methodical approach will restore your fence line to be straight, strong, and secure.
Adapting Your Repair for Ottawa's Climate
Repairing a fence in the Ottawa-Gatineau region requires specific techniques due to our heavy clay soil and harsh winters. Failing to account for these conditions can cause your repair to fail by the next spring.
Our ground freezes deep and thaws aggressively, creating a powerful force called frost heave that can push posts right out of the ground. A standard repair that works elsewhere will fail here.
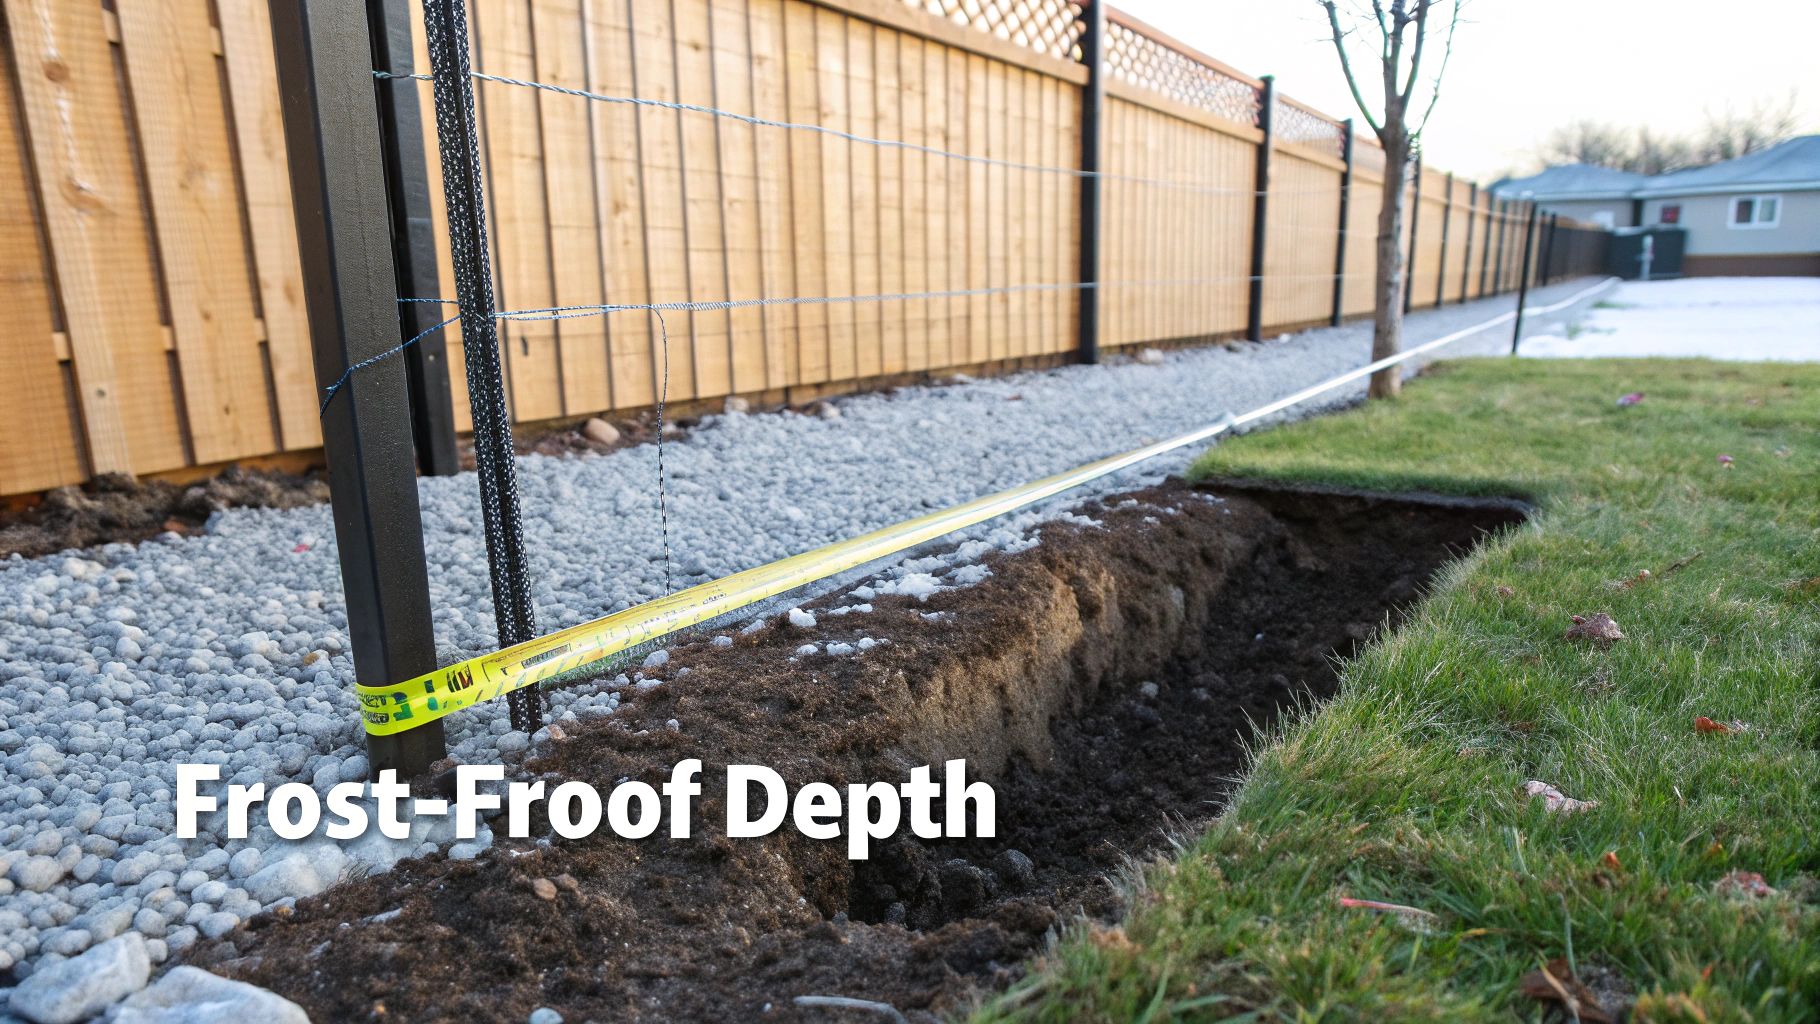
Beating the Frost Heave
The most critical factor for a lasting fence repair in our area is digging below the frost line. In Ottawa, the mandated minimum depth for a fence post is 48 inches (4 feet or 1.2 metres). This anchors your post in stable soil that doesn’t move during freeze-thaw cycles.
When soil moisture freezes, it expands and grips your post's footing. As the ground heaves, it pulls the post upward. A shallow footing will cause your newly repaired post to lift and lean within a single season.
Any repair that involves resetting or replacing a post must go down 4 feet. No exceptions. It's the difference between a one-time fix and an annual headache.
For a detailed explanation, see our complete guide to frost depth in Ontario. It clarifies why this step is essential for any outdoor construction in this region.
Working with Heavy Clay Soil
Our region's dense clay soil holds moisture, which makes digging difficult and accelerates wood rot.
To combat this, you must improve drainage at the post's base. Follow these steps:
Widen the Hole: Dig the post hole to be three times the width of the post. A 4x4 post needs at least a 12-inch wide hole.
Add a Gravel Base: Before setting the post, pour 6 inches of ¾-inch clear stone gravel into the bottom. This creates a drainage bed, allowing water to escape from the post's end grain.
Slope the Concrete: When you pour the concrete footing, shape the top to slope away from the post. This collar directs surface water away, preventing it from pooling where the wood and concrete meet.
These adjustments significantly extend the life of a wooden post in our wet, clay-heavy soil.
Navigating Local By-Laws and Permits
Before you dig, check local municipal regulations. Ottawa and Gatineau have specific by-laws governing fences.
Key points to remember:
Height Restrictions: Most residential backyard fences are limited to a height of 2.1 metres (about 7 feet).
Permit Requirements: A single-post repair likely won't require a permit. However, replacing a large section of fence or a fence enclosing a pool almost certainly will.
Property Lines: Confirm your property lines before you start. A repair is a good time to ensure you aren't encroaching on your neighbour's land.
A quick visit to your city's website can clarify these rules and prevent issues. By accounting for our local climate and regulations, you'll ensure your repair is built to last.
Deciding Between DIY and Calling a Professional
Fixing a single wobbly fence post can be a satisfying DIY project. However, knowing when to call a professional is a crucial skill.
Sometimes, a leaning post is a symptom of a much larger problem. The key is to recognize the difference before you're in over your head.
When to Tackle the Repair Yourself
A DIY approach is suitable for isolated, straightforward problems. You can likely handle the job yourself if:
A Single Leaning Post: Only one post is loose, and the rest of the fence is stable.
Solid, Unrotted Wood: The post itself is in good condition and just needs its footing reset or reinforced.
Clear and Easy Access: You have ample room to work around the post without damaging landscaping or accessing a neighbour's property.
For these repairs, the cost for materials is often under $100, and your effort will save you on labour costs.
Signs You Need to Call a Professional
Some fence problems require professional expertise and equipment. It's time to call a contractor like FenceScape when you see these red flags:
Multiple Leaning Posts: A row of leaning posts indicates a systemic problem, such as widespread rot, a faulty initial installation, or poor drainage.
Major Foundation Issues: Large cracks in concrete footings or entire fence sections heaving out of the ground require professional diagnosis and repair.
Damage to Ornamental or Custom Fences: Repairing aluminum, wrought iron, or other custom fences requires specialized knowledge to avoid causing further damage.
Safety Concerns: Hitting a buried utility line is a serious risk. If you are not 100% certain what's underground, let a professional who follows the "Call Before You Dig" process handle it.
A professional contractor doesn't just patch the problem; they figure out why it happened in the first place. Their experience lets them spot underlying issues a homeowner might miss, ensuring the repair is a long-term solution, not just a temporary band-aid.
Hiring a professional also offers logistical benefits. A reputable company uses effective contractor asset and inventory management to ensure they arrive with the right tools and materials. Their systematic process, from detailed quotes to a full warranty, provides peace of mind that is often worth the cost.
While a minor DIY repair may cost $100 to $200, professional structural work can exceed $1,000. Getting a quote provides a clear, upfront cost to help you make an informed decision.
DIY Repair vs. Professional Contractor
This table breaks down the key factors to help you decide whether to do it yourself or hire an expert.
Factor | DIY Approach | Hiring FenceScape |
|---|---|---|
Complexity | Best for single, simple post repairs with no underlying issues. | Handles complex problems: multiple posts, foundation failures, and systemic issues. |
Cost | Lower upfront cost (typically under $200 for materials). | Higher initial cost, but prevents expensive future repairs by fixing the root cause. |
Time & Effort | Can take a full weekend or more. Requires physical labour and multiple trips to the hardware store. | Efficient and fast. Most repairs are completed in a day, with no effort required from you. |
Tools & Expertise | Requires you to own or rent tools like post-hole diggers and levels. Success depends on your skill. | Professionals arrive with all specialized equipment and years of local experience. |
Guarantees | No warranty. If the repair fails, you're back to square one at your own expense. | Workmanship is guaranteed, offering long-term peace of mind and protecting your investment. |
Safety | You assume all risks, including potential injury or hitting underground utility lines. | Fully insured and responsible for all safety protocols, including utility locates. |
The right choice depends on the scale of the problem and your skill level. For a simple fix, a DIY approach can be rewarding. For anything more complex, or for a guaranteed, professional result, calling an expert like FenceScape is the smarter, safer option.
Got Questions? Here Are Some Common Fence Repair Scenarios
Even with a solid plan, questions often arise mid-project. Here are direct answers to the most common fence repair challenges.
Can I Just Straighten a Leaning Fence Without Replacing the Post?
Yes, but only if the post itself is structurally sound. If the wood is solid and the problem is just a wobbly or cracked concrete footing, you can often save it.
The best method is to dig out around the old footing and pour a new, larger concrete base to stabilize the existing post. Another effective option for a solid but loose post is a steel support stake or "fence post mender." You drive this stake deep into the ground alongside the post and then bolt them together for reinforcement.
However, if the base of the post is soft or crumbling, these are temporary fixes. The rot will continue to spread, and the fence will lean again. In that case, replacement is the only reliable long-term solution.
How Deep Do Fence Posts Need to Be in Ottawa?
In the Ottawa-Gatineau region, this is non-negotiable: fence posts must be set to a minimum depth of 48 inches (4 feet or 1.2 metres) to get below the frost line.
If posts are too shallow, the freeze-thaw cycle of the ground will push them upward. This process, called "frost heave," is the primary cause of leaning fences in our area. Any repair involving resetting a post must reach the 4-foot depth to be permanent.
What's the Best Way to Actually Set a Fence Post?
A long-lasting post requires both gravel for drainage and concrete for strength. This combination manages moisture and creates a solid foundation.
Here is the correct procedure:
Start with drainage. Before setting the post, pour a 6-inch layer of ¾-inch clear stone gravel into the bottom of the hole. This drainage pad allows water to escape instead of rotting the end of the post.
Set the post and pour the concrete. Place the post on the gravel base and fill the rest of the hole with concrete.
Slope the top. As the concrete begins to set, shape the top into a slight dome that slopes away from the post, directing surface water away from the wood.
For repairs, use fast-setting concrete. It typically hardens in under an hour, allowing you to reattach your fence panels much sooner.
Many DIY repairs fail due to poor drainage. Digging a hole in our heavy clay soil and filling it with concrete creates a bucket that traps water against the wood. That 6-inch gravel base is the single most important step to ensure your repair lasts for years, not just one season.
What's the Ballpark Cost for a Professional Fence Repair?
The cost of professional repair varies based on the job's complexity. A single leaning post in an accessible location might cost a few hundred dollars. However, if multiple posts are failing or there are significant foundation issues, the cost will be higher. The type of fence and site accessibility also affect the final price.
If you are doing the repair yourself, remember to account for waste disposal. A guide on what size skip you need can help you efficiently manage old wood and concrete. While a DIY approach saves on labour, hiring a professional ensures the job is done correctly, includes cleanup, and often comes with a warranty—offering invaluable peace of mind.
Ready to get your fence standing straight without all the guesswork? The team at FenceScape knows Ottawa's soil and climate inside and out. We can diagnose the real problem and give you a permanent solution that lasts. Contact us today for a free, no-obligation estimate and let's get your fence back in top shape.
Comments