
Wrought Iron Fence Installation: A Complete Guide

You're looking at an elegant iron fence for a front yard, pool, or commercial boundary. The panels are attractive, the gate design is chosen, and the quotation seems straightforward. Then the practical questions appear: Where exactly can the fence go? How deep must the posts be? Will the gate still align after the spring thaw? Does the design satisfy the local pool enclosure by-law?
Those questions determine whether wrought iron fence installation becomes a durable property improvement or an expensive correction project. In Ottawa–Gatineau and other Canadian communities, the visible metalwork is only one part of the job. Permits, property lines, frost-depth footings, bar spacing, drainage, welding, and coating repairs all influence the final result.
A reliable installation starts below grade and well before the first hole is dug. The following guide focuses on the details that generic fencing advice often leaves out.
Navigating Permits and Local Bylaws
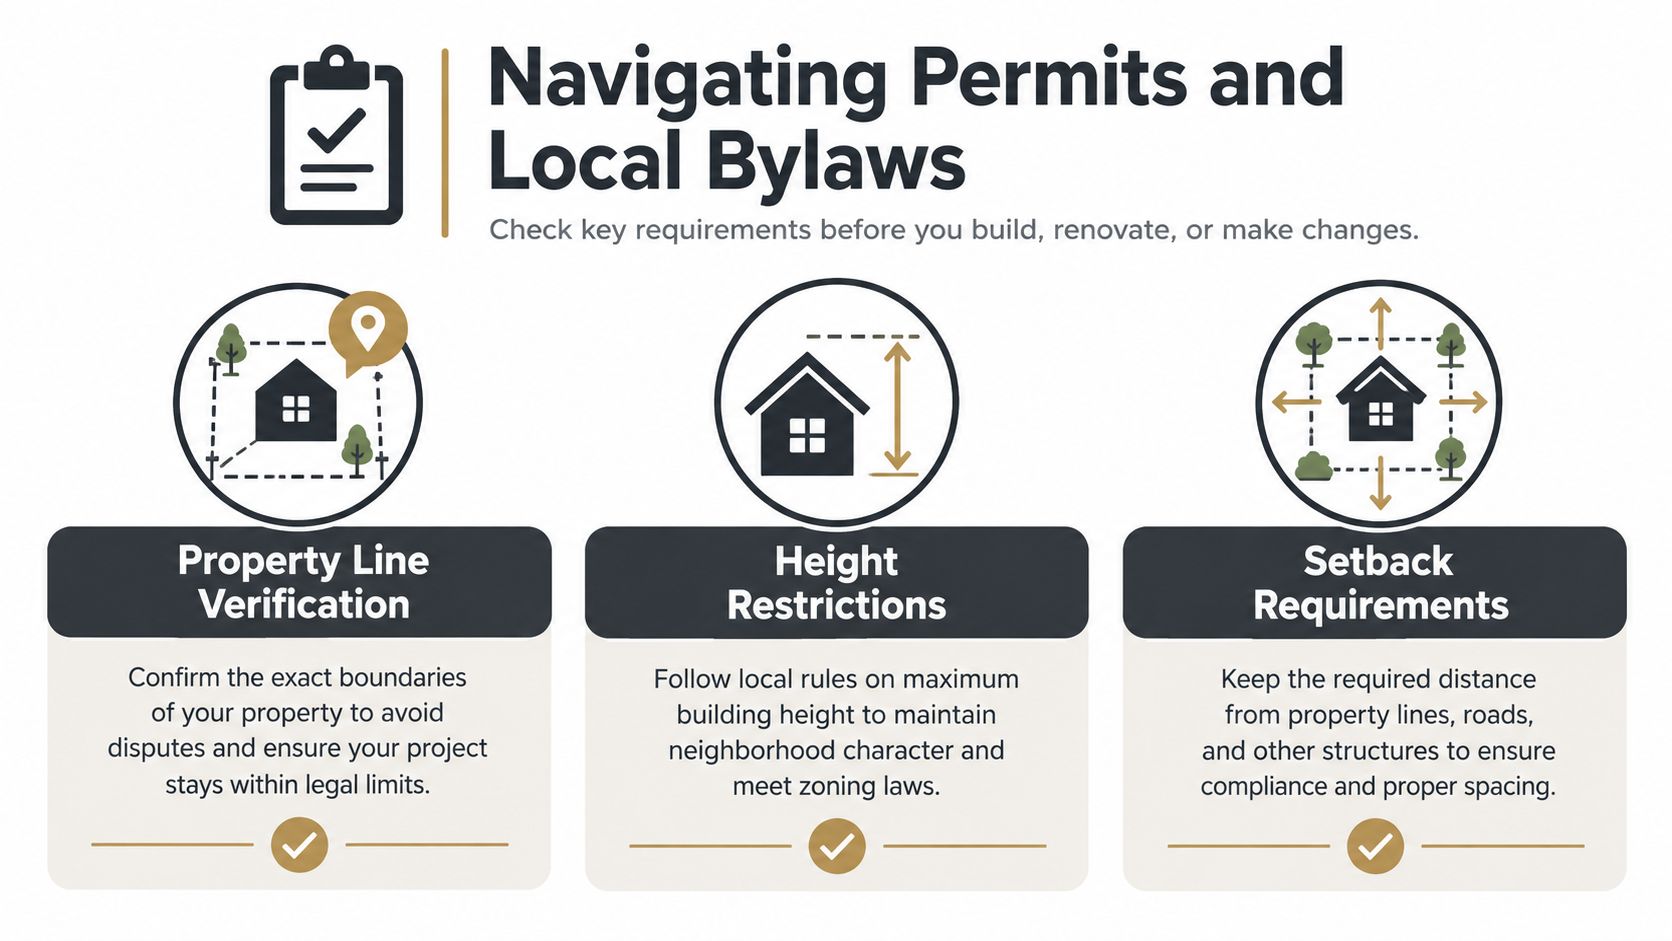
A local by-law can change the project timeline before materials arrive. In Ottawa-area municipalities, wrought iron is explicitly recognised as an approved fence material, but installation may require a permit and, in some cases, a survey confirming the fence line. One Eastern Ontario municipal guide states that permits are required for fences in certain residential or village zones and identifies wrought iron among the permitted materials. It also requires metal fences to resist rust and remain protected against weather. Eastern Ontario municipal fence requirements
That means design approval isn't the only concern. The municipality may control the fence location, height, setbacks, material, and durability, while the property owner remains responsible for proving that the installation stays on the correct line.
Verify the boundary before layout
A property survey is often the safest starting point, particularly where neighbouring fences, hedges, retaining walls, or irregular lots make the boundary unclear. A contractor can measure from visible features, but those features don't necessarily identify the legal property line. Installing posts first and resolving the boundary later can force panel removal, concrete demolition, and a complete relocation.
Use a written checklist:
Confirm the property line: Locate the current survey or arrange a boundary survey where the line isn't clear.
Check zoning restrictions: Ask the municipality about height, setbacks, corner-lot visibility, and placement near sidewalks or roads.
Confirm permit needs: Don't assume decorative fencing is exempt just because it isn't a building.
Document approvals: Keep the permit, survey information, approved drawings, and contractor correspondence together.
For Ottawa homeowners, the Ottawa fence by-law guide can help organise the questions to raise before requesting an installation quote. It shouldn't replace confirmation with the municipality, because rules and interpretations can change.
Treat prohibited materials seriously
The same municipal guidance prohibits barbed wire, razor wire, and electrically charged fencing on residential properties. Those restrictions provide a useful regional baseline: ornamental fencing may offer visibility and security, but it still has to fit residential safety expectations.
Ask the installer to identify any required setback and permit condition in the written scope. A clean design can't compensate for a fence installed in the wrong place or with an unacceptable finish. Regulatory planning is part of the installation, not paperwork added after the design is complete.
Preparing the Site and Digging Frost-Depth Footings
A wrought iron fence can leave the fabrication shop perfectly straight and still lean after its first Canadian winter. Shallow posts, trapped water, and frost movement usually cause the failure, not the steel panels. Gates reveal the problem first because a small shift in either post can affect the latch, swing, and clearance.
Frost heave occurs when water in the soil freezes and expands. The movement can lift a footing, tilt a post, and transfer stress into nearby rails and hinges. A rigid fence therefore needs a foundation designed for the soil, drainage, wind, gate movement, snow pressure, and occasional impact.
Build below the frost line
A Toronto-area fencing standard specifies post installation at a minimum depth of 1.2192 metres, or 4 feet, with line-post spacing up to 3 metres, or 9.84 feet, depending on the system (Ontario fence construction guidance). Those dimensions turn a general digging task into measurable installation requirements.
For a step-by-step breakdown of setting posts correctly, see the how to install a fence post guide. Post depth still has to match the local soil, exposure, fence design, and gate loads.
A separate installation guide identifies typical frost depth in southern Ontario as about 1.2 metres and recommends concrete footings roughly 8 to 12 inches in diameter over a 4-inch gravel drainage base (Ontario ornamental fence footing guidance). The gravel gives water somewhere to drain instead of leaving it beneath the concrete, where freezing can push the footing upward.

Prepare for the actual site
A post-hole digger may suit accessible, consistent soil. Rocky ground, buried construction debris, roots, and narrow side yards can require different equipment and slower layout work. Before excavation, the crew should identify underground services, mark the fence line, confirm gate positions, and measure grade changes.
Do not reduce footing depth because the visible fence is light. Wrought iron transfers wind, gate movement, snow pressure, and impact into the posts. The concrete must resist those forces through the surrounding soil, not merely support the panel above ground.
Posts should remain plumb while concrete is placed, with alignment checked again as the footing settles. Depth, diameter, drainage, and post position operate together. Removing one control to save time can produce a fence that looks acceptable on completion day but needs adjustment after winter.
Practical rule: A rigid fence needs a rigid foundation. If the footing moves, precise fabrication above ground will not preserve gate alignment.
Executing the Installation and Structural Tolerances
Once the footings and layout are ready, installation becomes a controlled assembly process. Posts must remain aligned, finished elevations need to be established, and panels or rails must follow the site without forcing rigid sections out of position.
Ground clearance affects both performance and appearance. A Toronto-area standard identifies a bottom clearance range from 30 millimetres to 500 millimetres, depending on site conditions and design. Too little clearance lets soil, leaves, and snow load the lower rail. Too much can weaken the sense of enclosure or create an opening that does not suit the property's purpose.
Set the posts before chasing the panel lines
Line posts may be spaced up to 3 metres, or 9.84 feet, under the cited Toronto-area standard. The correct spacing still depends on panel design, wind exposure, grade, and gate loads. Wider spacing reduces the number of footings, but it can increase rail deflection and make a long run less forgiving.
A reliable installation sequence includes:
Establish the reference line: Use string lines, measured offsets, and finished-grade marks instead of relying on visual judgment.
Set and brace posts: Check plumb from more than one direction before the concrete takes hold.
Match the grade: Step or rack panels deliberately. Rigid sections should not be forced to follow a changing slope.
Install rails and panels: Keep clearances consistent while preserving the intended top line.
Finish field work: Grind rough welds smooth, remove spatter, and repair damaged protective coating before inspection.
Bar spacing may also be regulated by the municipality. The Ajax fence by-law specifies wrought iron bar spacing of no more than 10 centimetres, about 4 inches, for pool enclosures. Decorative patterns that look open in a catalogue may therefore fail the requirements at the property.
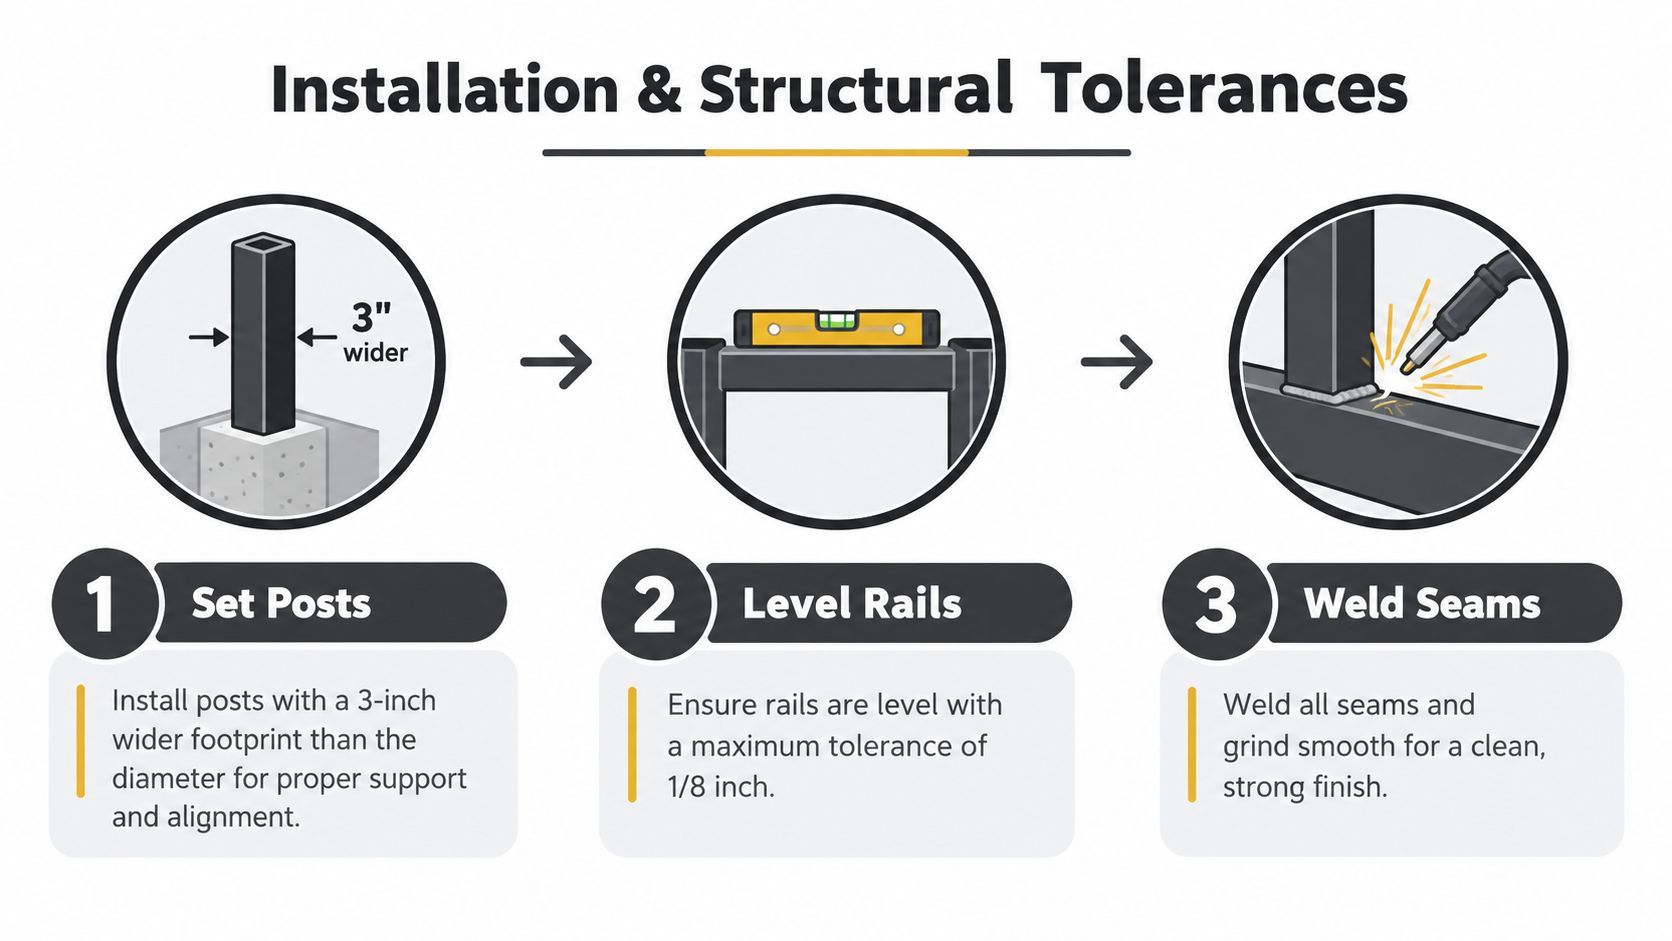
A practical installation demonstration helps owners see how post alignment, rail level, and finished seams affect the completed fence:
Inspect the fence from both the street and the property side. Check the top line, spacing, grade transitions, welds, and gate movement. A premium installation is measured in repeatable details, not just an attractive first impression.
Meeting Strict Pool Enclosure Safety Codes
A catalogue fence can pass as a property boundary and still fail beside a pool. Pool enclosures are inspected for height, climbing resistance, opening size, access control, and construction quality. Municipalities apply similar safety principles but set different tolerances, so confirm the local by-law before ordering panels.
The recurring requirements are practical: horizontal members must not provide easy climbing points, vertical openings must remain narrow, and the enclosure must reach the required height from finished ground level.
Compare the municipal requirements
Municipality | Max Vertical Bar Spacing | Min Horizontal Member Spacing |
|---|---|---|
Ajax, Ontario | 10 centimetres | 1 metre |
Aurora, Ontario | 10 centimetres | 1 metre |
Brampton, Ontario | 3.5 inches | 4 feet |
Ajax requires wrought iron pool enclosures to keep at least 1 metre between horizontal members and no more than 10 centimetres between vertical bars. An alternative construction is permitted only when it provides an equivalent degree of safety and receives written approval through a swimming pool enclosure permit, as stated in the Ajax fence by-law.
Aurora uses the same 1-metre horizontal-member separation and 10-centimetre maximum vertical-bar spacing for wrought iron fencing around a swimming pool. The fence must also be constructed in a good, workmanlike manner. Aurora municipal requirements
Brampton sets out more component-level requirements. The by-law specifies a minimum height of 4 feet, 1.5-inch square tube, 16-gauge posts set in concrete, 1-inch square tube, 18-gauge horizontal bars spaced at least 4 feet apart, and 1/2-inch round or square tube, 18-gauge vertical bars with maximum spacing of 3.5 inches. Vertical bars may sit no more than 3 inches above ground elevation, and posts may be no more than 8 feet apart. Canadian model pool enclosure by-law
The linked municipal reference states that wrought iron or similar metal fencing for a pool enclosure must extend from the ground to at least 1.5 metres and remain within the maximum height allowed by the applicable zoning by-law. Milton pool enclosure reference
Have the contractor verify the municipality, check the proposed spacing and gate arrangement, submit required details, and allow time for inspection or written approval where an alternative design is requested.
Ensuring Corrosion Protection and Long-Term Durability
A steel fence doesn't rust because it is made from steel. It rusts because water, oxygen, salt, and damaged protection reach the steel. In Canadian installations, field-repairing the protective zinc layer is one of the most important durability steps because cuts, drilled holes, and welds often occur after the original coating process.
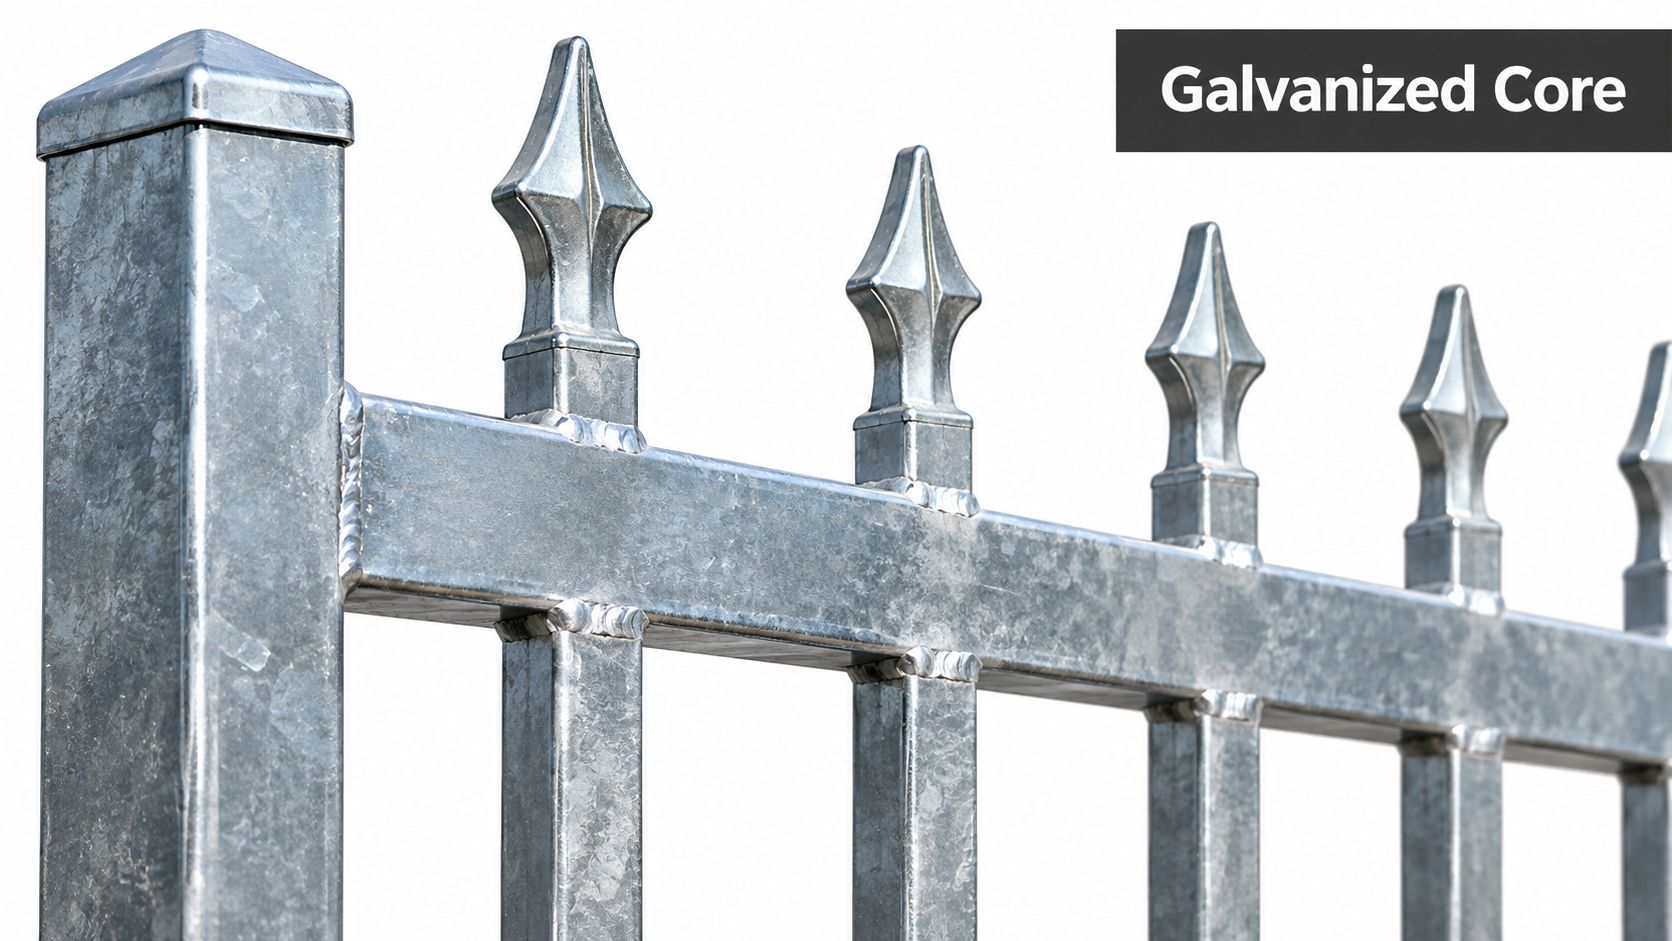
Canadian standards guidance emphasises galvanised structural steel and repair of zinc damage in the field. Repair methods should align with ASTM A780M and related Canadian steel and coating requirements. Canadian steel fencing standards The principle is straightforward: every exposed or abraded area needs compatible protection before moisture and de-icing salt begin the corrosion cycle.
Inspect the vulnerable points
Pay particular attention to:
Weld seams: Heat can damage nearby galvanising, while grinding can expose bare steel.
Drilled holes and cuts: Fresh edges have no effective coating unless the installer treats them.
Gate hardware zones: Frequent movement can scratch finishes around hinges, latches, and stops.
Ground-level areas: Snow, wet soil, and salt splash keep the lower fence exposed for longer periods.
A powder-coated finish improves appearance and can provide a durable barrier when the underlying preparation is sound. It isn't a substitute for repairing damage created during installation. The powder coating guidance for Ottawa fencing is useful when comparing finish options, but the contractor should still explain how field cuts and welds will be treated.
Owners sometimes ask whether a general protective product can be used over metal. A resource such as APEX NANO coating for cars may help explain coating concepts, but a fence installer should specify a system suitable for galvanised steel, outdoor exposure, and the existing finish. Don't apply an unverified product over powder coating or zinc without confirming compatibility.
Look for early warning signs, including bubbling paint, orange staining at seams, coating loss around fasteners, and rust streaks below scratches. Clean the area, identify the cause, and repair it before corrosion spreads beneath the finish. The best coating is only as reliable as the weakest unprotected installation mark.
Evaluating Cost Factors and Selecting a Contractor
A wrought iron fence quote should describe more than the price of the panels. The final cost reflects excavation, concrete, drainage, access, gates, finish, permit handling, boundary verification, grade changes, and the amount of field fabrication required.
Two quotes can look similar on paper while delivering very different foundations. A low price may come from shallow holes, wider post spacing, limited surface preparation, or a finish that doesn't account for field damage. A higher quote can be justified when it includes difficult access, frost-depth excavation, custom gates, careful survey coordination, and documented corrosion repairs.
Read the scope, not just the total
Ask each contractor to identify:
Site work: How will the crew handle rock, roots, narrow access, existing concrete, and changes in grade?
Footings: What depth, diameter, gravel base, and concrete method are included?
Fabrication: Are panels stock-sized, modified on site, or custom fabricated for the property?
Gates: Does the quote include hinges, latches, stops, posts, and final alignment?
Compliance: Who confirms the permit, survey, zoning requirements, and pool enclosure details?
Finish: How will cuts, drilled holes, welds, and scratches be protected?
Aftercare: What inspection, adjustment, and maintenance support is included?
The contractor's working method matters as much as the material specification. An in-house crew may provide more direct control over layout and workmanship, while a project involving several subcontractors requires clear responsibility for each stage. Ask to see how the company records measurements, handles change orders, and checks the fence before leaving.
A separate fence painting cost guide can provide useful context for thinking about preparation and finishing labour, although outdoor Canadian steel requires advice suited to galvanised metal, local weather, and the installed coating system.
FenceScape is one Ottawa–Gatineau option for owners who want planning, permit handling, ornamental iron installation, and post-install support coordinated through a fencing contractor. Whatever company you choose, insist on a written scope that connects structural work, regulatory compliance, finish protection, and final adjustment. That is how you compare long-term value rather than surface appearance.
Finalizing the Project and Planning Maintenance
The final walkthrough should happen before the crew packs away its tools. Open and close every gate, test each latch, check the stops, inspect the bottom clearances, and view the fence from both sides. The posts should remain plumb, the rails should follow the intended line, and the site should be free of concrete splatter, metal filings, packaging, and excavation spoil.
Record any adjustment before signing off:
Gate operation: Confirm smooth swing, secure latch engagement, and correct stop position.
Surface finish: Look for scratches, weld marks, bare edges, and coating damage.
Footing condition: Check that concrete is sound and that soil has been restored around posts.
Documentation: Keep permits, product information, finish details, and maintenance instructions.
Seasonal care is simple but deliberate. Clear snow and packed debris from the lower rails rather than allowing moisture to remain against the finish. After the spring thaw, inspect gate posts, hinges, latches, and footings for movement. Wash off salt residue and repair small coating scratches before they become rust points.
The completed fence should look calm and precise because the difficult work is hidden below grade and inside the finish. Good wrought iron fence installation is a process of controlling movement, moisture, alignment, and compliance from the first survey check to the first winter.
FenceScape provides Ottawa–Gatineau homeowners and property managers with ornamental iron design, permit coordination, installation, and post-install support for projects shaped by Canadian frost and local by-laws. Request a detailed plan and final walkthrough through FenceScape, so your fence is built for accurate placement, durable protection, and reliable gate operation.
Comments