
How to Install Fence on Uneven Ground the Right Way

A fence line that looks simple from the patio can become a very different job once it reaches the back corner. The ground rises beside the gate, drops toward a retaining edge, and collects spring water where the neighbour's lot sits lower. If you set every post to the same visual height, the panels will gap, the rails will stop running parallel, and the gate may drag before the first serious freeze.
The right way to install a fence on uneven ground starts with a layout decision, not a post-hole digger. Stepped panels, racked panels, and contoured construction each handle slope, drainage, panel movement, and frost differently. On Ottawa–Gatineau lots, the most attractive option on installation day isn't always the one that survives wet clay and freeze–thaw movement.
Why Uneven Ground Changes Everything
After spring thaw, a sloped yard can reveal the cost of a poor layout. The grade may roll beside the house, flatten near the shed, then drop toward the rear property line. That change affects more than appearance. The fence must stay aligned, its bottom edge must manage gaps and runoff, and every footing must resist frost movement.
A stepped fence keeps each panel level and changes elevation at the posts, while a racked fence follows the slope by pivoting each panel. A contoured fence follows a rolling grade with custom-cut rails or notched components. Each option handles water, soil movement, panel fit, and fabrication differently. The next sections compare these layouts in depth.
Practical rule: Choose the layout from water movement and footing conditions first. Settle the aesthetic choice after you know where runoff will travel.
On Ottawa and Gatineau lots, posts at different elevations still need foundations below the soil affected by frost. Slopes can expose concrete, send water toward a footing, or wash soil from the downhill side. Wet clay and freeze-thaw cycles punish shortcuts. A fence that copies the ground without accounting for its rise and run will develop larger gaps along the slope, and gates can lose alignment as posts move.
Drainage often decides the layout before appearance does. A level panel may require grading or a planned gap beneath it. Following the ground too closely can send runoff into a post hole. Shorter sections or a change in direction may cost more during installation, but they can reduce pressure on panels and footings.
Chain link has the same site constraints. Canadian federal guidance sets 3.1 m maximum between terminal posts for line-post spacing and requires footings to resist specified loads for the actual soil or rock conditions. It also states that soil footings are unsuitable in unstable soil, unconsolidated fill, or locations exposed to unusually severe frost heaving. (Canadian chain-link fencing specification)
Surveying the Slope Before You Dig
The survey doesn't need to look like an engineering drawing, but it must record enough information to prevent guesswork. Walk the proposed line twice. The first pass is for property boundaries and utility locating, and the second is for elevation.
Establish a repeatable reference line
Place temporary stakes at the proposed terminal, corner, gate, and intermediate post locations. Run mason's string tightly between the end stakes, then check that the line represents the intended fence alignment rather than just following an old hedge or informal boundary. Before digging near a property edge, review the practical guidance on property-line fence rules.
Use a line level on the string when you need a level reference. Measure from the string down to the soil at every stake and write the result beside a station number on a sketch. The difference between two readings gives you the elevation change over that run. The horizontal distance between those same stakes gives you the run. Together, they show whether the panel should stay level, pivot with the slope, or be divided into shorter sections.
Don't record only the high and low points. A fence may rise gradually for most of the run, then dip sharply beside a driveway. That sudden change is where a standard panel usually creates a large opening or forces a gate out of alignment.
Check the grade in the field
Lay a straightedge across each proposed bay and check it with a spirit level. A longer straightedge helps reveal a hollow that the string line can miss when the string spans above the soil. Mark where the grade changes direction, where runoff concentrates, and where the bottom edge could become exposed after soil settles.
Photograph the marked line and send the sketch to the supplier or fabricator. Include the panel type, gate location, high and low corners, retaining edges, downspouts, swales, and any area filled with imported soil. A supplier can only size rackable or custom panels properly when the measurements describe the actual ground rather than a general statement that the yard is sloped.
Test-fit one representative bay before ordering the full run. That single trial can reveal that the planned step is too large, the rack angle exceeds the panel system's allowance, or the gate needs its own grade transition.
Stepped vs Racked vs Contoured Layouts
No layout wins every slope. The best choice depends on how quickly the grade changes, whether the panels are factory-built or assembled on site, and whether the fence will interrupt spring runoff.
Layout | Best Slope | Panel Type | Drainage Behaviour | Frost Heave Risk | Best For |
|---|---|---|---|---|---|
Stepped | Steeper or rapidly changing grade | Standard level panels | Can create low pockets and concentrated runoff at steps | Higher where soil collects or water stays against lower edges | Prefabricated panels and clearly defined grade changes |
Racked | Gentle, consistent grade within the system's limits | Rackable panels or site-built rails | Usually follows the existing flow with fewer abrupt pockets | Depends on footing drainage and the stability of the slope | Smooth sightlines, privacy runs, and compatible pool layouts |
Contoured | Rolling or uneven grade within one bay | Custom-notched rails and field-built sections | Preserves the natural flow when laid out carefully | Depends on detailed footing and erosion control | Complex terrain, changing grades, and custom fences |
Stepped construction
Stepping is predictable. Each panel remains level, so prefabricated sections are easy to position and the top line has a deliberate stair-step appearance. The problem is underneath. Every downhill step can create a larger triangular gap, and the lower edge can act like a small dam if grading isn't adjusted.
Use stepped construction where the grade changes quickly or where the panel manufacturer doesn't allow much movement. Keep the bottom opening consistent, and don't bury the lower edge directly in soil. Add a durable grading treatment or a small retaining solution where water repeatedly concentrates.
Racked construction
Racking gives a continuous relationship between the panel and the ground. It can preserve a clean sightline and reduce visible openings, but the panel must be designed for racking. Forcing a rigid section to rotate beyond its intended range twists the rails, stresses fasteners, and makes the gate opening unreliable.
A racked run also isn't automatically better for drainage. It can carry water along the fence line and toward a lower property if the existing grade already directs runoff that way. Check swales and downspouts before selecting this layout. For additional practical considerations around chain-link installations, see this guide to chain-link fencing on a slope.
Contoured construction
Contoured work follows the terrain with custom-cut rails, notched components, or individually fitted pickets. It avoids the repeated drops of a stepped fence, but it requires accurate station measurements and careful gate planning. It also demands more attention at retaining walls, raised patios, and transitions between flat and sloped sections.
Where red clay is exposed, erosion control matters as much as the fence itself. A resource on managing erosion on red clay can help you think through exposed soil, runoff paths, and stabilization before the fence line is finalized.
Ottawa height compliance uses the higher side of the fence where the two sides sit at different elevations. Artificial embankments and berms don't redefine grade. This means a stepped or contoured fence can't gain extra legal height by measuring from the lower side.
Setting Posts That Stay Plumb Through Winter
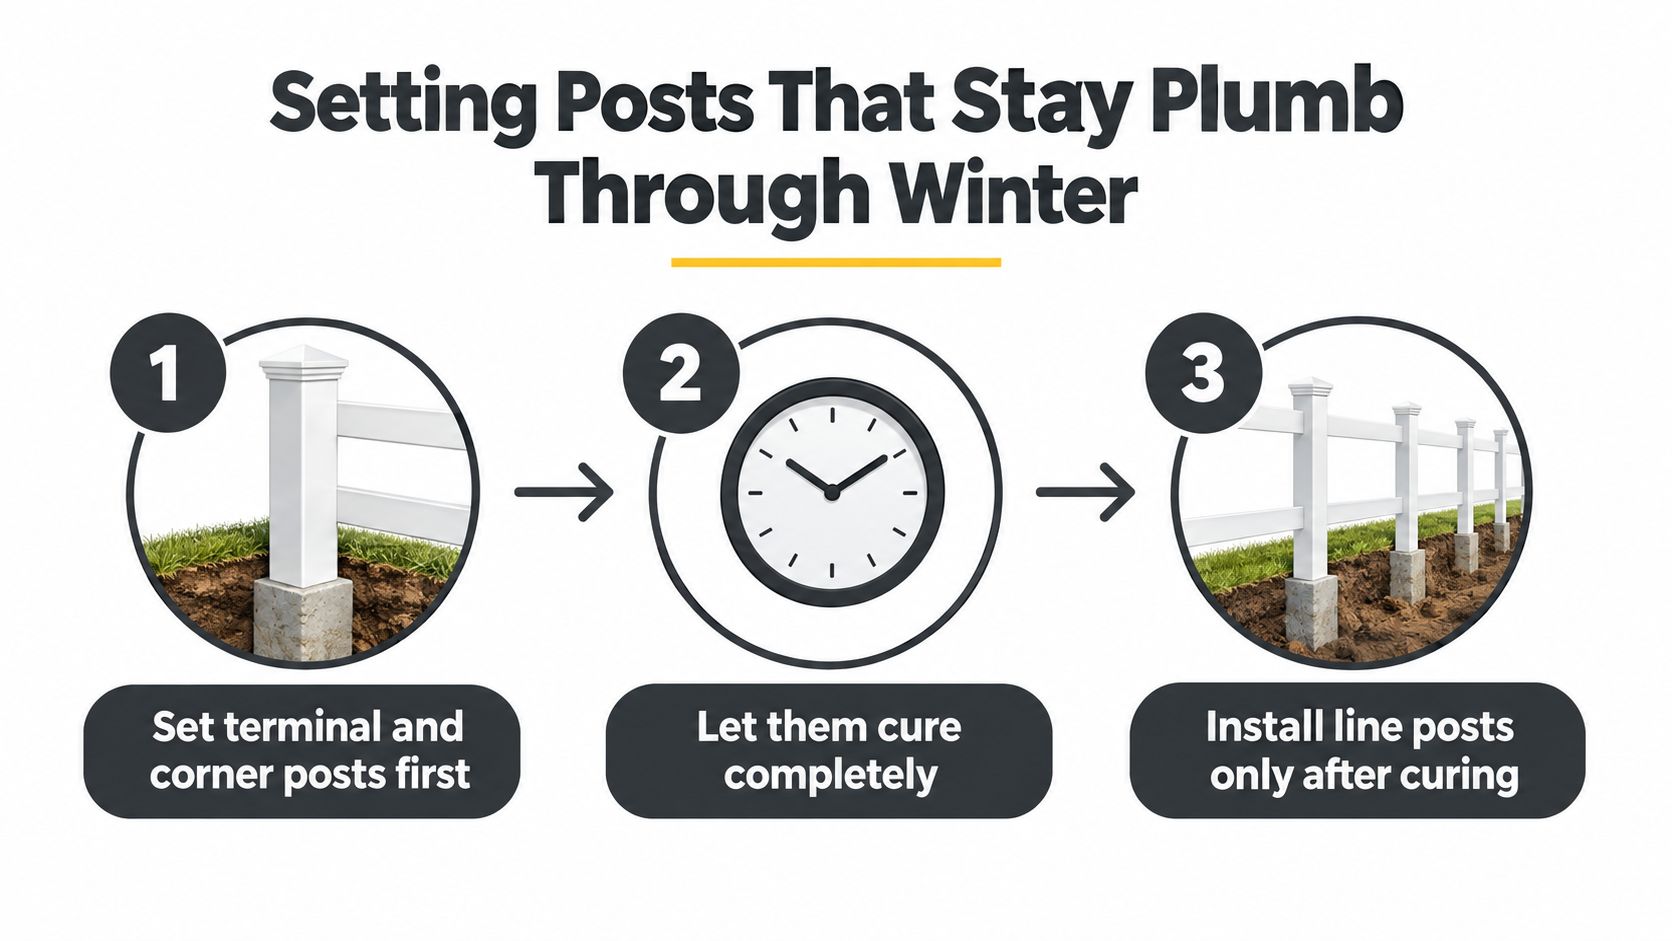
On an Ottawa–Gatineau slope, a post can look straight at the driveway and lean toward the backyard. Set the terminals out of alignment, and every line post, rail, and gate follows that error. Hole direction, footing depth, bracing, and curing time determine whether the fence stays plumb after winter movement.
Start with the posts that carry the run
Set terminal, corner, and gate posts before the intermediate posts. They carry line tension, gate loads, and movement from the rest of the fence, so they establish the reference for the entire run. Brace each post against undisturbed soil rather than loose fill, then check plumb on two adjacent faces. A post can appear vertical from one direction while twisting from the side.
Excavate through topsoil, landscaping material, and poorly compacted fill until the footing bears in competent soil. Keep every hole centred on the surveyed fence line. On a slope, do not let the auger drift downhill with the surface. That shortcut changes the post position and can force the rails or panels out of alignment.
Ontario foundation guidance requires bearing surfaces to sit below potential frost damage and calls for measures that prevent adfreezing and frost jacking. Use the applicable municipal or engineered frost-penetration requirement for the site. A generic depth cannot account for local soil, drainage, or exposure. (Ontario foundation guidance)
Build the footing around the soil
As noted earlier, the Canadian chain-link specification sets footing depth in relation to average frost penetration. It also calls for corner-post footings 300 mm deeper than line-post footings, with the post embedded directly in concrete and at least 150 mm of clearance from the hole bottom. These details matter most where corner tension, wet clay, or fill gives frost more opportunity to move the post.
Keep the concrete from forming a downhill shelf that collects runoff. Shape the finished soil away from the post and protect the concrete shoulder where needed. Shallow gravel or an oversized concrete plug does not replace proper embedment. Wet clay can still lift a large footing when frost bonds to the post.
Pour terminal and corner footings first, brace them firmly, and let them cure before hanging panels or loading the line. Set intermediate posts to the manufacturer's panel dimensions. Check each post on two faces while the concrete remains workable, and leave the grade stake visible so every post follows the same surveyed reference.
For a practical explanation of preventing frost heave, focus on soil moisture, frost bonding, and footing placement. The shortcut that saves a Saturday is correcting alignment and soil conditions before the concrete hardens.
Drainage and Grading Around the Fence Line
A fence on a slope changes how water moves, even when the posts are perfectly plumb. The layout should keep water from sitting against post bases, washing out downhill soil, or collecting beneath stepped panels.
Stepped fencing creates the most obvious trouble spots. Each lower panel edge can trap leaves and wet soil, while the next step concentrates runoff at a post. Racked fencing usually makes a smoother transition, but it can carry water along the line and release it beside a neighbour's property. Contoured fencing can preserve the existing flow, provided the contractor doesn't create a new low point with a rail, kickboard, or retaining edge.
Treat every low point as a drainage detail
At a stepped section, maintain a consistent clearance beneath the panel rather than letting one bay touch the soil. Grade the low side so water can pass without scouring the footing. Where runoff concentrates, use erosion-resistant grading or a small retaining treatment designed separately from the fence footing.
Keep fence drainage separate from retaining-wall drainage. A retaining edge may need its own free-draining zone and outlet, while a fence post needs a stable footing that won't be undermined by the same water. Combining the two without a design can leave the fence carrying loads it wasn't built to resist.
Layout | Water Collection | Best Soil Type | Maintenance Risk |
|---|---|---|---|
Stepped | Concentrates at each drop and low post | Stable, well-drained ground with controlled grading | Soil settlement, trapped debris, and exposed gaps |
Racked | Follows the slope along the panel | Consistent grade with a clear runoff route | Runoff may be redirected toward a property edge |
Contoured | Can preserve natural flow through changing terrain | Carefully surveyed ground with erosion control | Custom joints and altered drainage need inspection |
Ottawa guidance for pool projects is especially clear that grading and drainage patterns must not be altered to direct runoff toward neighbouring properties. The same principle makes sense for ordinary fences. If the fence line crosses a swale, preserve the swale or create a deliberate crossing instead of blocking it with a solid lower edge.
Permits, Heights, and Pool Enclosure Rules
A fence can be structurally sound and still fail because the layout ignores municipal rules. Uneven ground makes height measurement more important because the high side, low side, property line, and yard classification may all change along the same run.
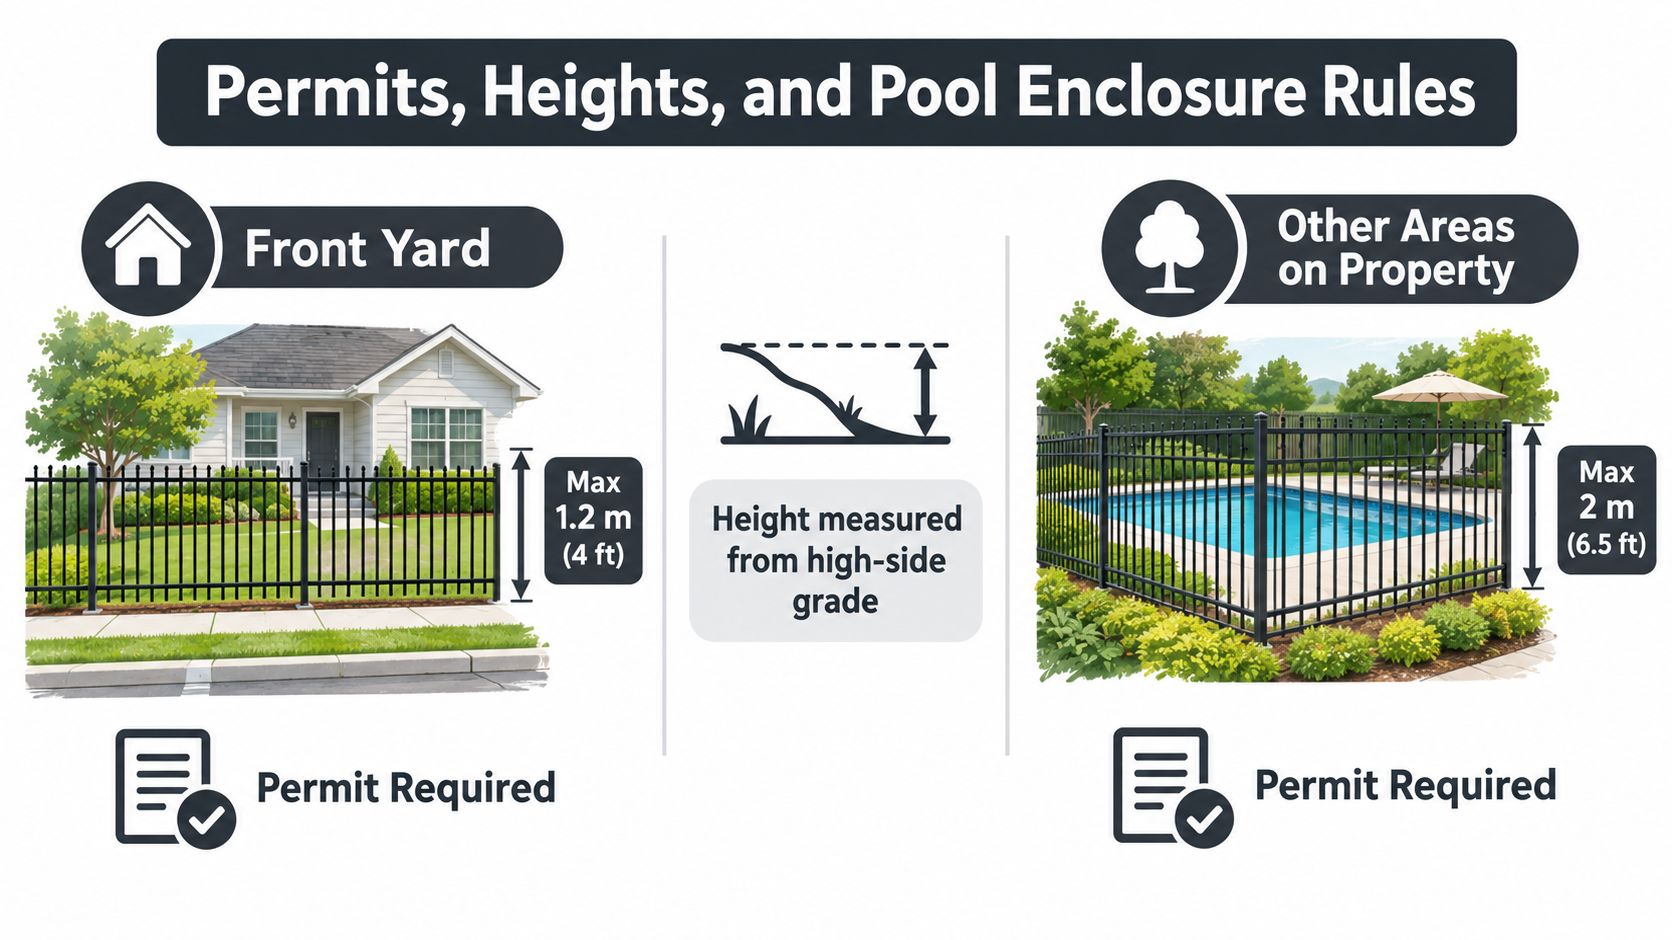
In Ottawa, standard residential limits are 1 metre in a front yard and 213 centimetres in other yards. Gates may be 30 centimetres taller. Height is measured from the grade at the fence base, and where the two sides sit at different elevations, measurement is taken from the higher side. Fences also cannot occupy the city right-of-way. (Ottawa residential fence guidance)
Ottawa restricts fences to 75 centimetres within specified visibility triangles at corners and driveway entrances. A sloped corner lot can therefore lose allowable height precisely where the ground rises and makes a fence appear shorter from the street. Confirm the legal property line and yard classification before ordering panels.
Gatineau uses different limits according to yard location and housing type. For homes containing one to four dwellings, the maximum is 1.2 metres in the front yard, 1.5 metres in a side yard adjoining a street, and 2 metres in a non-street side yard or rear yard. For buildings with more than four dwellings and collective housing, the side and rear maximum rises to 2.5 metres, while the front and street-adjacent side limits remain the same. Gatineau also specifies minimum clearances of 1 metre where a sidewalk exists and 1.5 metres where no sidewalk exists. (Gatineau residential fence regulations)
Pool enclosures need a separate design check
Ottawa requires a pool enclosure permit even when an existing yard fence already surrounds the property. Pool enclosures must be at least 1.5 m high, use non-frost-susceptible posts, and prevent passage of a 100 mm sphere through openings. The enclosure rules apply around pools, hot tubs, and ponds holding more than 60 centimetres of water. (Ottawa pool-enclosure requirements)
A stepped panel can create a triangular opening beneath the fence. A raised patio or retaining edge can also reduce the effective height beside a climbable feature. Measure the maximum opening at every low point, measure height from the relevant finished grade, and check whether the adjacent wall or patio creates a foothold. The solution may require shorter steps, grade-following infill, an engineered transition, or moving the fence line.
Gatineau generally doesn't require a residential fence permit, except for a fence protecting a pool. Before digging, Ontario and Quebec homeowners should use the appropriate utility-locate service. For owner-builder planning beyond fencing, a resource covering HBCF rules for owner builders offers useful context on the importance of checking project obligations before work begins.
Quick Checklist to Avoid Costly Mistakes
Run this inspection-day check before the concrete goes off and again before the panels are ordered. It catches the shortcuts that cause heaved posts, sagging gates, failed pool inspections, and a second Saturday spent taking the fence apart.
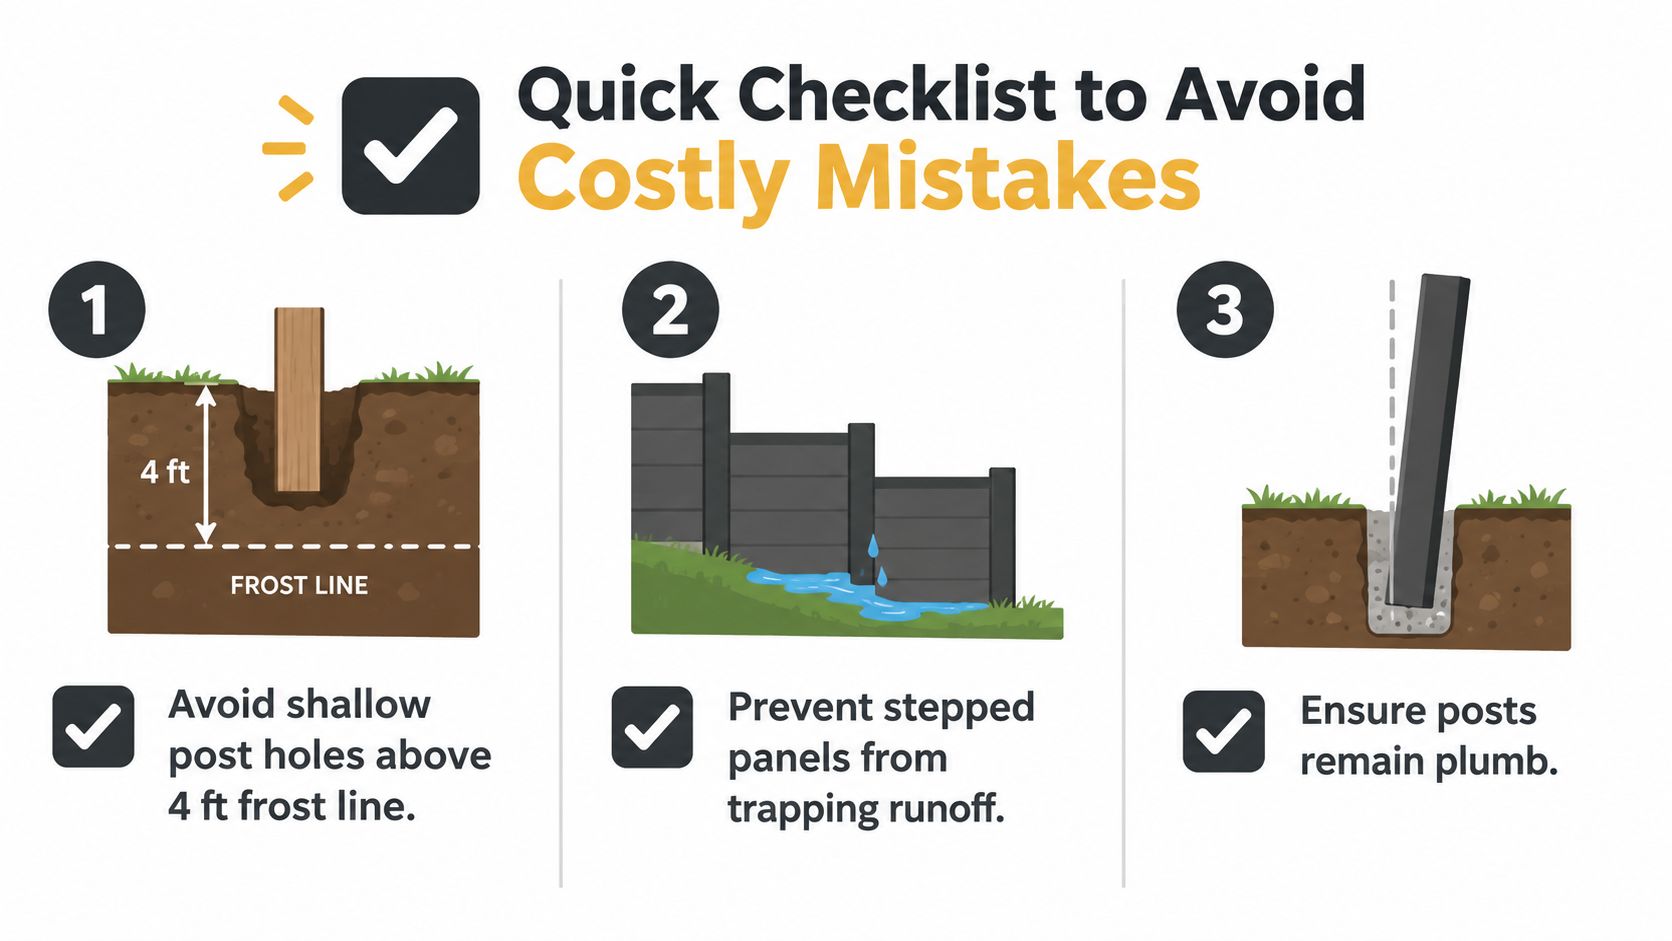
Post depth: Don't stop a footing in disturbed soil or above the applicable frost requirement. Excavate to competent material and verify the local or engineered depth.
Post alignment: A single-face plumb check can hide a twisted post. Check two adjacent faces before the concrete firms.
Stepped panels: Don't allow the lower edge to sit directly in soil. Maintain drainage clearance and grade each step so water can escape.
Line-post spacing: For chain-link work, keep line posts within the applicable maximum spacing between terminal posts and follow the footing requirements for the actual soil.
Panel fit: Test-fit one representative bay. It exposes excessive rack angles, oversized steps, and gaps before the full material order.
Gate support: Never hang a heavy gate on a post set in fill without verifying the footing. Brace and reinforce the hinge side according to the gate design.
Gate swing: Open the gate fully in both directions across the grade. A gate that clears today's soil can drag after settlement or grading changes.
Pool openings: Check every low point with the required sphere test, then measure enclosure height from the correct finished grade.
Drainage: Keep downspouts, swales, and retaining-wall drainage from discharging against the fence footing.
Vegetation and storm damage: If a fallen tree has damaged the line, address the hazard before rebuilding. Guidance on safe tree removal after fence damage is useful when posts and branches are under tension.
The most reliable habit is simple: check plumb on two adjacent faces before the concrete goes off. That takes less time than correcting a leaning post after the panels are attached, and it prevents the small twist that turns into a sagging run.
FenceScape designs and installs stepped, racked, and custom fence systems across Ottawa–Gatineau, including pool enclosures, wood, PVC, hybrid, ornamental, chain-link, and glass options. For a surveyed slope, frost-aware footing plan, and installation that accounts for drainage and local height rules, visit FenceScape to request a project estimate.
Comments