
Cattle Panels Near Me: Choose, Buy and Install in Ottawa

You've found panels nearby, the seller can load them, and you're ready to mark the fence line. Before you arrange pickup, check whether that panel belongs in that part of the yard, whether its connections suit permanent containment, and whether the proposed line gets too close to water.
Those decisions matter more than finding the nearest stack of steel. A useful search for cattle panels near me should end with the right specification and a workable layout, not material you'll have to move or reinforce later.
Cattle Panel Sizes, Gauges and Finishes at a Glance
Common cattle panel specifications
Panel type | Size | Mesh wire | Frame | Opening | Weight | Finish |
|---|---|---|---|---|---|---|
Common cattle panel | 16 ft × 50 in | 4-gauge vertical, 5-gauge horizontal | None (wire panel) | Confirm pattern | About 35 lb | Galvanized; confirm process |
Heavy-duty cattle panel | 16 ft × 50 in | 4-gauge vertical, 6-gauge horizontal; 8 in vertical spacing | None (wire panel) | Approximately 2 to 6 in, graduated | Ask seller | Confirm coating |
Welded heavy-duty panel | 6 ft × 7 ft | 6-gauge welded wire | 1.3 mm wall steel tube | 4 × 4 in | About 53 lb | Hot-dip galvanized; approximately 9 in bottom clearance |
Quick-connect temporary panel | 9.5 ft × 5 ft | Confirm infill wire | 18-gauge steel, 1⅝ in tube | Confirm infill | About 50 lb | Ask seller |
Small-stock mesh panel | Confirm dimensions | Confirm wire | Confirm frame | 2 × 2 in | Ask seller | Ask seller |
Mature-cattle mesh panel | Confirm dimensions | Confirm wire | Confirm frame | 4 × 4 in | Ask seller | Ask seller |
The common-panel dimensions and weight are described in this Canadian livestock-fencing guide. The graduated heavy-duty specification comes from the listed wire cattle panel, while the framed, quick-connect and mesh examples are described in these galvanized livestock-panel specifications.
A lower gauge number means heavier wire. In the heavy-duty example above, the 4-gauge vertical wires are heavier than its 6-gauge horizontal wires. Those horizontal wires are also lighter than the common panel's 5-gauge horizontals, so the heavier-sounding label does not mean heavier wire throughout. Gauge still doesn't tell you how the assembled fence will perform. Welds, framing, connections and post support decide that.
Don't compare frame gauge directly with mesh-wire gauge as if they describe the same component. The 1.3 mm figure in the welded row is the wall thickness of the steel tube frame, measured in millimetres. It says nothing about the mesh wire inside that frame. A tubular frame and a welded wire strand do different jobs, and a panel's weight doesn't tell you how securely its gate connection will hold.
Read the Whole Specification
Treat the word heavy-duty as a starting point, not a specification. The heavy-duty wire panel above runs lighter horizontal wire (6-gauge) than the common panel (5-gauge). If you bought on the label alone, you'd bring home weaker horizontal strands where a leaning animal puts its weight. Ask the seller for the actual product sheet, not a verbal assurance that everything in the stack is the same.
Treat every “confirm” or “ask seller” cell as an unresolved purchasing question. Get the answer in writing, including the galvanizing process and whether cut edges or welded areas need additional protection. Also confirm whether the advertised dimensions describe the panel itself or the installed assembly.
Before paying: Check length, height and coating against the written order. The words cattle panel don't guarantee any of them.
Match the Panel to Your Animals and Use
Choose by animal size, expected pressure and exposure, not appearance. Paint colour won't tell you whether a panel is appropriate for a handling pen or whether its bottom clearance leaves a route for young animals.
The practical starting point is a use-specific comparison, not a universal recommendation.
Panel choice by animal and use
Use case | Panel type | Opening | Main trade-off |
|---|---|---|---|
Mature cattle on permanent pasture | Heavy-duty galvanized panel, properly supported | Mature-cattle mesh described above | Awkward handling; requires a designed post layout |
Calves or weaned young stock | Graduated-opening cattle panel | Smallest section positioned low | Check the entire bottom edge for escape routes |
Rotational grazing or temporary paddock | Quick-connect framed panel | Confirm infill suits the animals | Easy to rearrange; bracing and gates still need planning |
Goats, sheep or pet exclusion | Small-stock mesh panel | Tight mesh described above | Less open space through the panel |
Loading area or handling pen | Welded framed panel, sized for the application | Confirm suitable mesh | Repeated pushing loads the sides and connections |
Winter exposure in Ottawa–Gatineau | Hot-dip galvanized construction | Match openings to livestock | Coating and ground movement matter more than colour |
Specify mesh separately from panel length. The graduated wire panel and the square-mesh framed panel in the specifications table aren't interchangeable products. If you want mature-cattle mesh in a long panel, confirm that the supplier offers that combination.
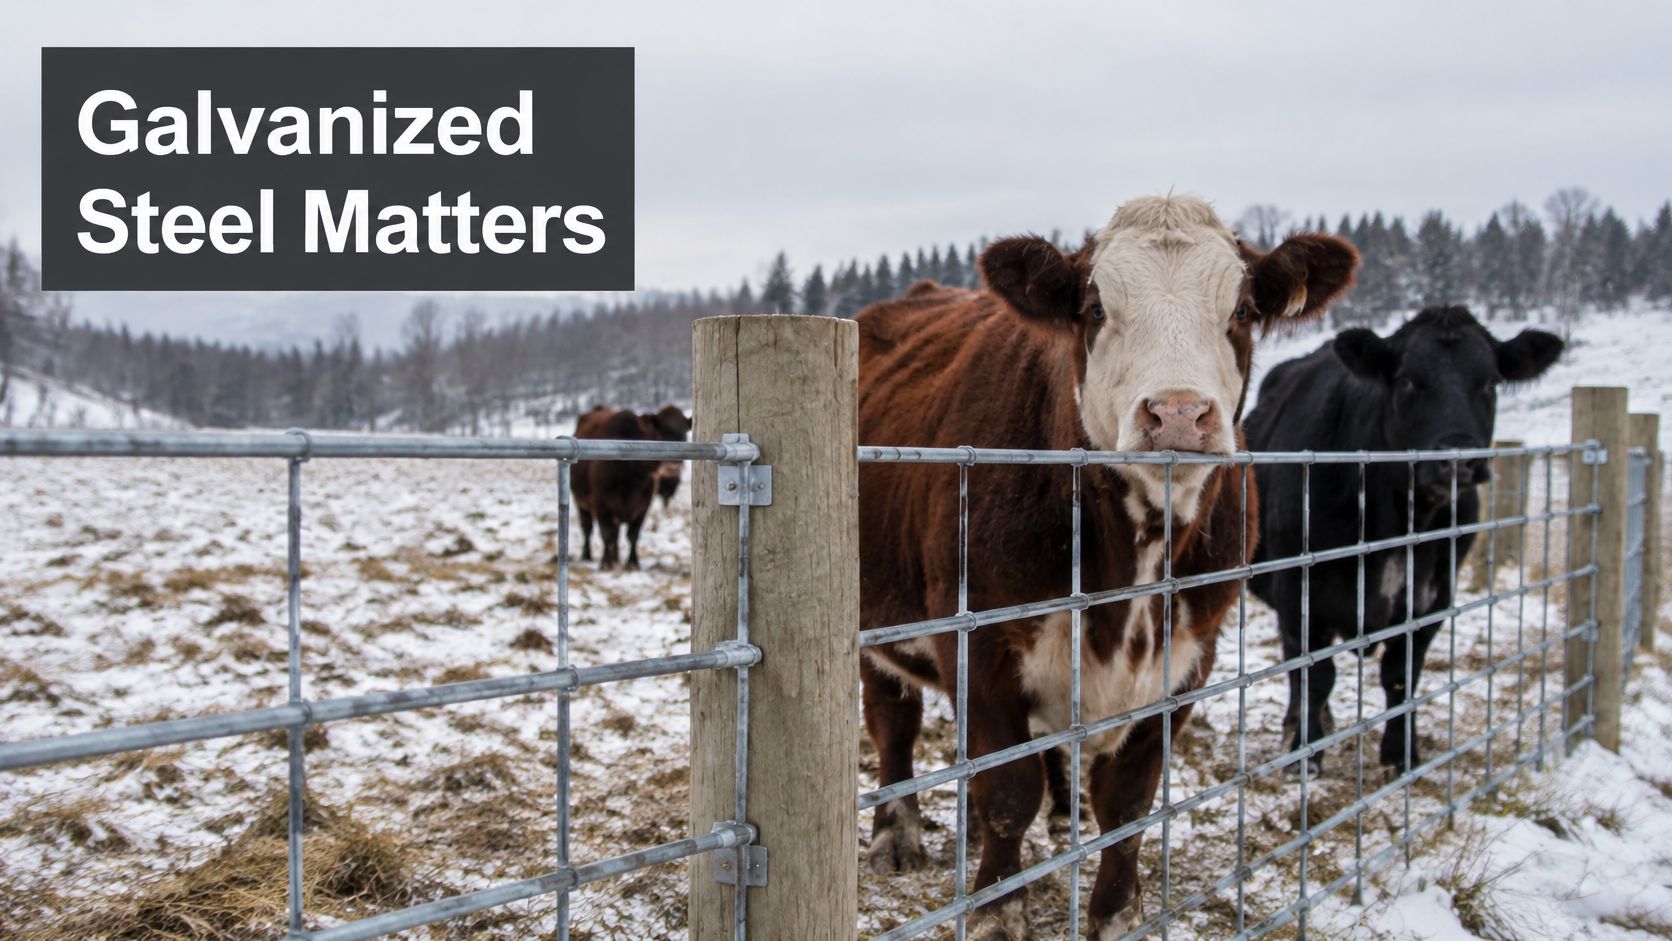
Winter suitability involves the whole assembly, including posts and hardware.
Separate Temporary Use From Permanent Containment
Quick-connect equipment is useful when you need to change a pen layout. That convenience doesn't establish that the same assembly is suitable as an unattended permanent boundary.
For permanent use, assess the corners, anchoring, gates and connecting hardware together. Don't assume a heavier replacement panel will correct an unsupported corner or an unreliable latch.
For loading areas, ask the supplier specifically about repeated animal pressure and the intended handling arrangement. For small stock, inspect bottom clearance as carefully as mesh size. Tight mesh won't help if animals can pass underneath.
Use this Ottawa–Gatineau farm-fencing planning guide to organise the broader enclosure decisions. Choose the panel construction the animals and site justify, then verify that the proposed use and placement are lawful.
Check Height, Zoning and Watercourse Rules Before You Buy
A suitable livestock panel isn't automatically a lawful fence, and in this market the first question is which side of the river you're on. Ottawa sites fall under Ontario law and City of Ottawa rules. Gatineau sites fall under Quebec's framework. The water-access rule below is a common point of confusion: it applies to Quebec properties, not to an Ottawa residential lot.
Within Ottawa itself, check each yard segment separately rather than applying the rear-yard allowance to the entire property.
Ottawa (Ontario) height and permit rules for panel fences
Location | Height or access rule | What a standard 50-in panel means |
|---|---|---|
Residential front yard | 1 m maximum | Too tall; select a lower panel or revise placement |
Residential side or rear yard | 2.1 m maximum | Within the stated height limit |
Residential gate | May extend 30 cm above the applicable limit | Front-yard gate may reach about 1.3 m |
Non-residential property | General maximum of 3 m | Site-specific exceptions still need checking |
Construction fence within 3 m of a public path | At least 1.8 m | Standard panel falls short; reduced height requires a qualifying exception |
Swimming-pool enclosure | Pool-enclosure permit required | Don't assume ordinary fence compliance is sufficient |
Ottawa's building-permit and fence guidance establishes the residential limits, gate allowance and pool-permit distinction above. Its landscaping guidance gives the non-residential maximum and confirms that a standard panel, approximately 1.27 metres high, exceeds the residential front-yard limit.
Confirm the Land Use Before the Fence
Ottawa's Animal Care and Control By-law allows livestock only where the property is zoned for that purpose or otherwise lawfully used for it. Owners also can't allow livestock to run at large.
Ask Ottawa's development information services to confirm the intended livestock use and applicable separation requirements before ordering. A strong enclosure doesn't make an unsuitable land use lawful.
Confirm the actual property line as well. Fences can't occupy the City right-of-way, and residential installations can't be modified with barbed wire or electric fencing.
Gatineau and Other Quebec Sites: the 3 m Watercourse Strip
Quebec's agricultural-operations regulation prohibits livestock access to a watercourse, lake or pond and the surrounding 3 m strip, except at a ford. That rule governs Gatineau-area properties. It doesn't apply across the river in Ottawa.
Position the enclosure so animals can't enter the protected strip through a gate, an open end or an access route. That isn't a reason to guess where a bank begins. If the water feature or applicable boundary is unclear, resolve it with the relevant authority before setting posts, and arrange livestock water without opening the restricted strip to animals.
Construction Fencing Is a Separate Test
Ottawa's construction-site protocol permits a 1.2-metre exception only for qualifying residential work of no more than three storeys, more than 3 metres from the adjacent public walkway, with Building Official confirmation. It also requires openings that won't admit a 100-millimetre sphere.
A panel that works in a farm pen may fail the rules for a front yard, a pool enclosure or a public-facing construction site. Check the intended use and the jurisdiction, not just the product label.
Where to Buy or Rent Cattle Panels Locally
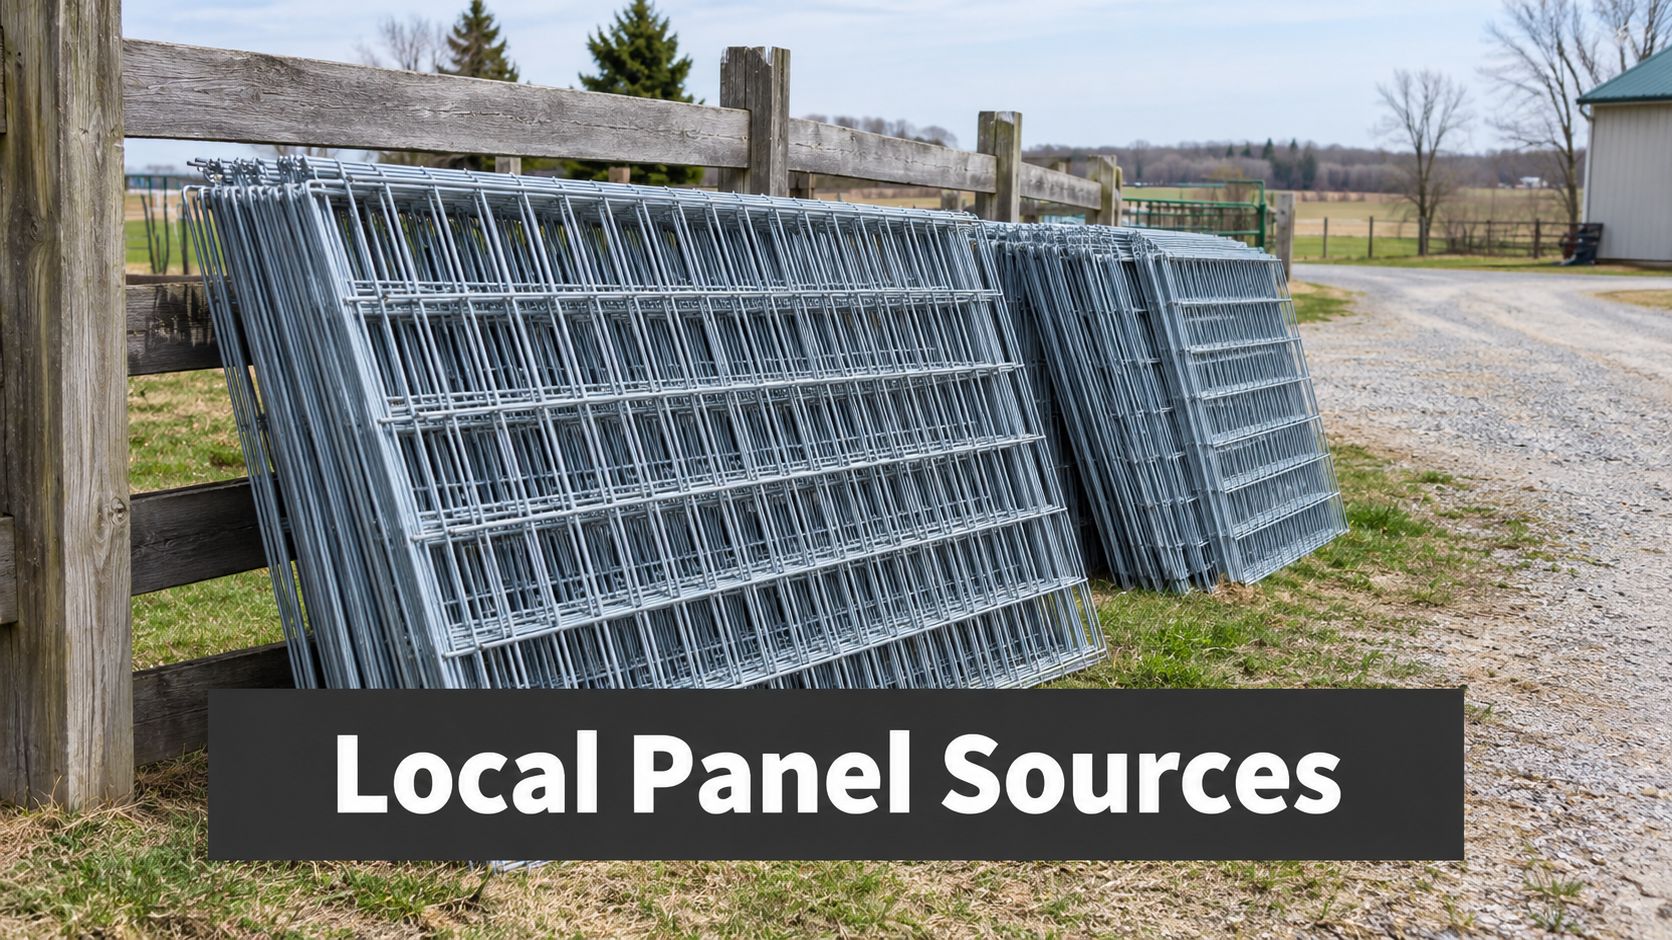
A buyer in Carp or Gatineau searching "cattle panels near me" will turn up farm supply dealers on the Ottawa side, livestock equipment sellers in the Outaouais, rental outfits, and private listings on Marketplace and Kijiji. The channel matters less than the questions asked before driving out: what panels are in stock right now, what delivery radius the seller covers, and what the lead time is if the panel has to be ordered.
Be specific about the job when you call. "Sixteen-foot panel" gets a different answer than "permanent perimeter for cattle" or "temporary handling corral for a weekend." Rental suits short work like sorting or a show, but confirm whether the hire charge covers transport and setup. A temporary panel bought to serve as a permanent perimeter is one of the purchases that fails first, and the cheapest seller is no help if the stock doesn't match the use you already checked against your site rules.
Local sourcing channels compared
Channel | Best for | Cost pattern | What to check |
|---|---|---|---|
Farm and livestock supply dealers | New panels with compatible gates and posts | Compare complete packages and supplier support | Written gauge, coating and dimensions |
Agricultural equipment and fencing dealers | Larger orders and farm delivery | Order size and delivery affect the quote | Delivery distance, unloading and lead time |
Online livestock equipment retailers | Finding a specific specification | Freight adds to the material price | Complete landed cost |
Equipment rental | Temporary corrals or handling work | Ask about hire period, transport and damage charges | Stock availability and whether setup is included |
Private sellers on Facebook Marketplace or Kijiji | Reusable material on a limited budget | Condition-dependent; not automatically cheapest after repairs | Weld corrosion, bent frames and missing hardware |
Turnkey fencing installer | Site planning and installation | Project quotation | Exact materials, exclusions and post-install support |
Don't assume nearby means economical. A lower panel price can become a poor purchase if you need a separate delivery, replacement connectors or incompatible gates.
Use a Written Buying Routine
Request the specification. Ask for dimensions, wire and frame construction, opening pattern and coating in writing. Match the answer to the animals and intended use.
Compare landed cost. Include gates, latches, posts, delivery, unloading and installation equipment. For installed work, ask whether ground preparation and disposal are included.
Inspect used stock. Look along the frame for bends and inspect welds for corrosion or separation. Count connectors before agreeing to collect.
Confirm logistics. Get pickup or delivery arrangements from the seller before organising the installation. Ask who loads and unloads the panels.
Panel length, steel construction and galvanizing affect the material choice. Posts, concrete where specified, driving equipment and labour affect the completed project. Rental may suit a short job, but don't assume the hire charge includes installation.
Use the farm-fence supply checklist to keep competing quotes comparable. Ask every seller the same questions so you can distinguish a material-only price from a complete enclosure.
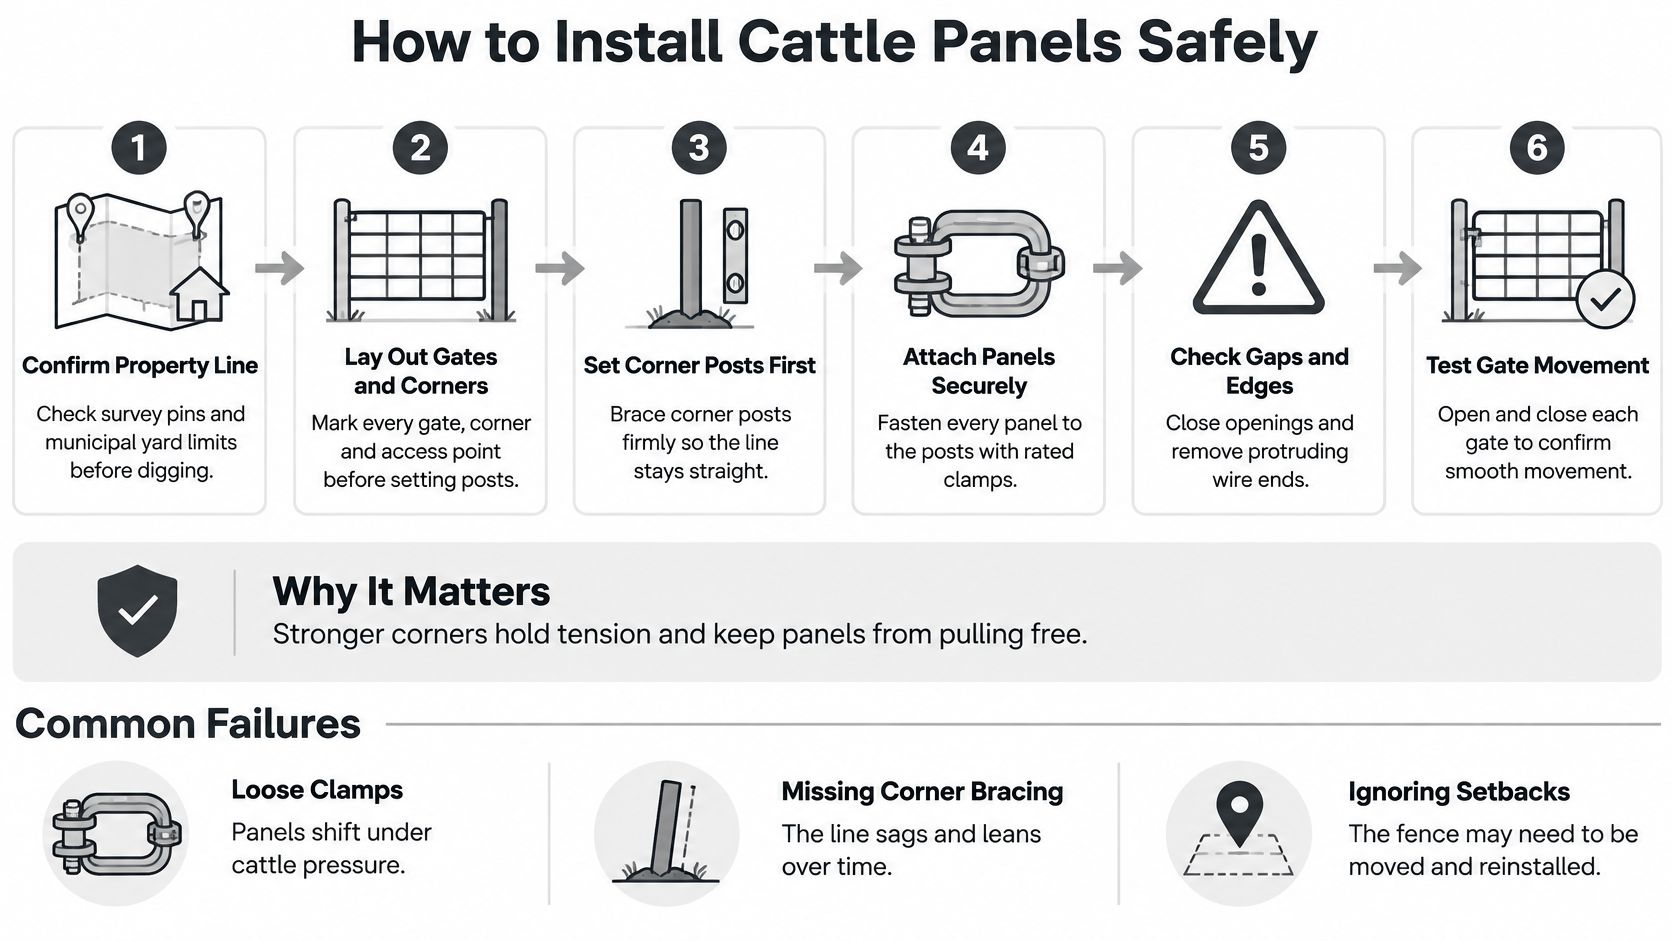
How to Install Cattle Panels Safely
Confirm the boundary and permitted layout. Resolve the property-line and land-use checks before disturbing the ground. Arrange utility locating before driving or digging posts.
Mark gates, corners and access points. Set out these locations before buying the final post package. Check that equipment can enter and that an open gate won't obstruct the working area.
Set and brace corner and end posts. Use stronger assemblies than the ordinary line posts. These locations need to resist changes in direction and pressure at the ends.
Support panel junctions and midpoints. For the common long-span installation described in the Canadian guide cited earlier, place a post at each junction and midway along the span. Its T-post recommendation assumes competent soil, not loose fill or unsuitable ground.
Attach panels and follow the grade. Use connections suited to the panel and post system. Don't bury or rigidly trap panel bottoms where seasonal ground movement could distort them.
Remove exposed sharp ends. Secure, cap or finish cut wire before animals enter. Inspect both faces and every gate approach.
Hang gates and test latches. Check full movement and secure closure without lifting or forcing the gate. Confirm animals can't push the latch open.
Recheck after freeze–thaw movement. Look for shifted posts, stressed attachments and altered bottom gaps. Correct movement before returning the enclosure to normal use.
The installation visual provides a useful field reminder.
Prevent the Failures That Start at Setup
The midpoint support is a straightforward anti-bow measure when cattle lean against wire panels. Don't treat fewer posts as a saving if the unsupported panel will need repair.
Missing midpoint support: Add the support before stocking the enclosure, rather than waiting for a bow to develop.
Undersized corner posts: Correct the corner assembly instead of trying to compensate with extra wire ties.
Exposed sharp ends: Finish every cut, including ends that appear out of reach during installation.
Awkward lifting: Use a partner to handle long panels. Their size makes them difficult to control even when their listed weight seems manageable.
Cutting hazards: Wear gloves and eye protection, and keep animals and other handlers out of the setup line.
Consult the T-post fencing installation guide when planning the post system. Soft ground, substantial slopes or concentrated handling pressure call for site-specific judgement rather than blindly following a standard spacing pattern.
Review the demonstration before choosing your attachment method.
Inspect the Line Each Season
Use a fixed inspection calendar, then add checks after storms, impact or an escape attempt. Walk the whole perimeter rather than inspecting only the gate you use daily.
A practical maintenance routine separates what you inspect from what you repair.
Inspection period | Look for | Action |
|---|---|---|
Early spring, after thaw | Frost movement, leaning posts, bent connections | Reset affected supports, correct connections and restore suitable grade |
Late spring | Vegetation and corrosion at welds or cut ends | Clear growth; repair coatings appropriately or replace damaged material |
Summer | Worn latches, drainage problems and repeated animal pressure | Repair hardware, address drainage and reassess bracing |
Autumn | Weak corners and deterioration before snow | Repair vulnerable sections before winter access becomes difficult |
Winter, after storms | Drifting, snow loading and sagging | Relieve problematic accumulation safely and inspect stressed sections |
Record Movement Before It Becomes a Failure
Keep a simple photo log from repeatable positions. Include corners, gates, changes in grade and any section you've already repaired.
Compare the pictures at the next inspection. A post that looks acceptable in isolation may have moved noticeably relative to the previous image. Record the repair as well, so another person checking the property knows what changed.
Prioritise containment: Secure a failed section before leaving livestock against it.
Revisit access controls: Check that gates and temporary openings still preserve the lawful layout.
Investigate repeat damage: If the same connection bends again, reassess the support or animal pressure rather than replacing it indefinitely.
Heavier panels don't fix a bad layout. Reliable containment depends on the complete perimeter, terrain, hardware and the owner's willingness to repair problems promptly.
Confirm Your Site and Choose Your Next Step
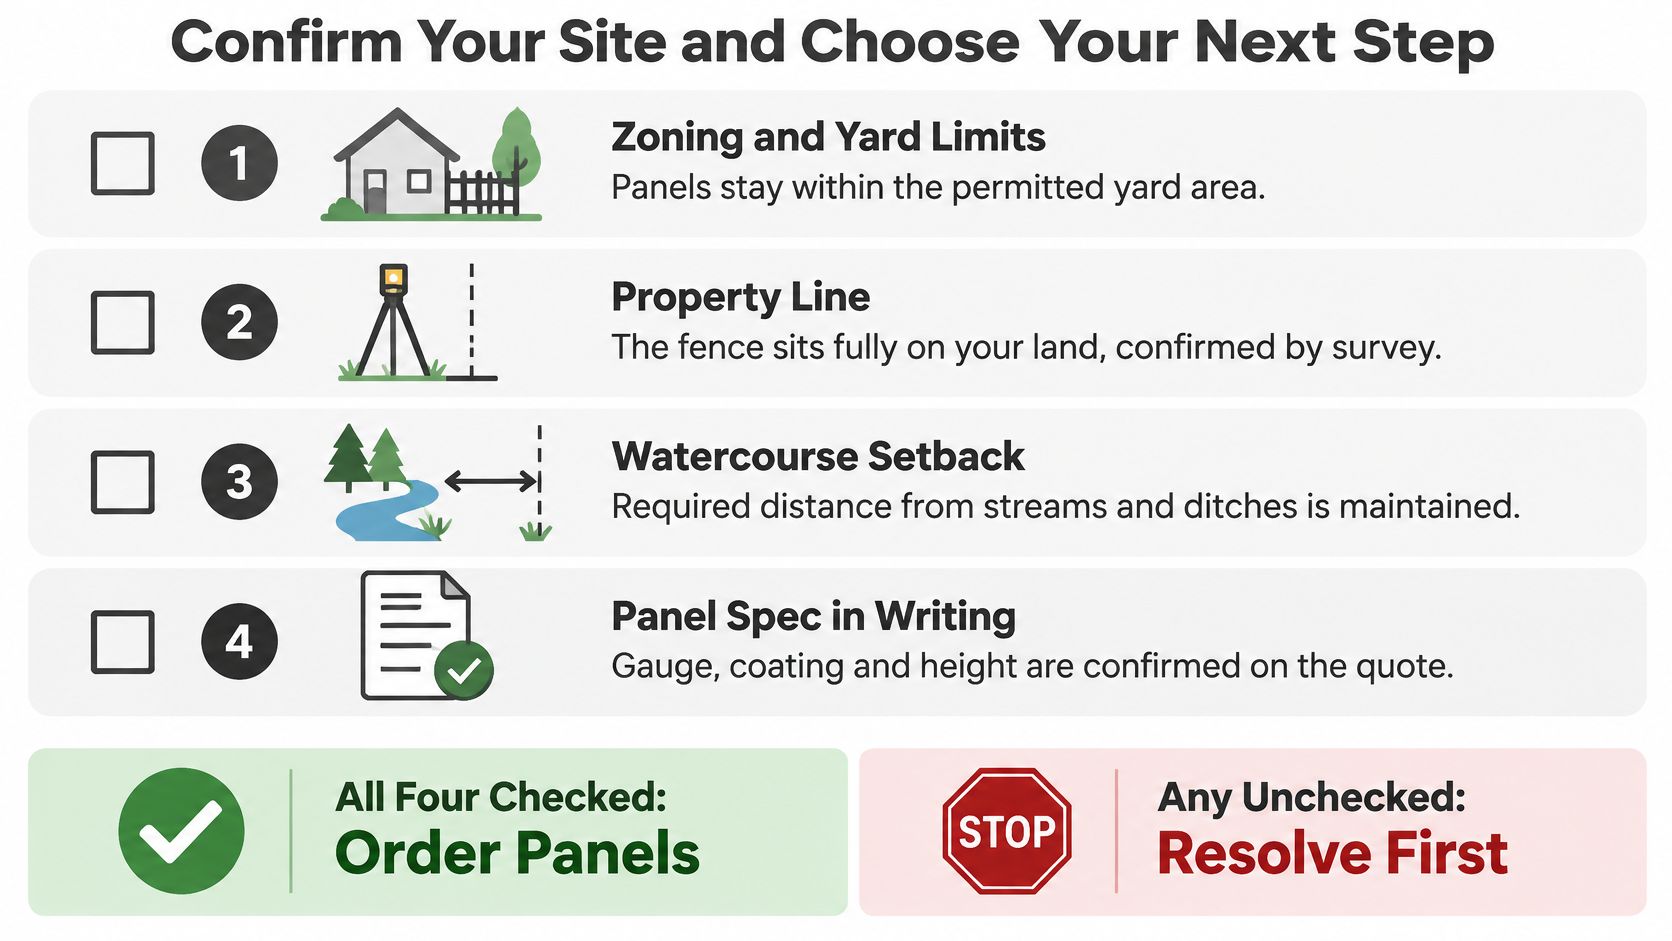
Before ordering, close out the unresolved checks: permitted use and yard placement, the actual boundary, protected water access and the written panel specification. A seller's assurance that a panel is popular locally doesn't resolve any of those questions.
Use the checklist as a purchase gate, not paperwork to complete after delivery.
Decide Who Owns the Installation
DIY can suit a short, straight, low-risk line where the use is confirmed and the installer can safely set supports and connections. Professional planning is more appropriate for difficult terrain, shared-property coordination, commercial perimeters, pool enclosures or public-facing requirements.
For a supplier: Bring the layout, animal type and intended panel specification before purchasing.
For an installer: Send a site plan showing yard segments, boundaries, access points and water features, plus the animal type and count.
For either route: Require the quote to identify length, height, wire gauge, opening pattern and coating, along with exclusions.
Keep unresolved items visible. Don't order first and hope the site will accommodate whatever arrives.
FenceScape offers Ottawa–Gatineau site review, planning and fence installation, with free estimates and financing options for Ontario and Quebec customers. Visit FenceScape with your marked-up site plan and livestock requirements to discuss a suitable enclosure and compare an installed quote with your material-only plan.
Comments