
A Practical Guide to PVC Fence Installation
- Eric Lafleche
- Jan 13
- 11 min read

A durable PVC fence begins with solid planning, not with a shovel. To ensure your fence withstands Ottawa–Gatineau's harsh weather, you must get the preparation right. Skipping these initial steps leads to leaning posts, costly repairs, and a fence that fails prematurely.
Your Pre-Build Checklist for a Durable Fence
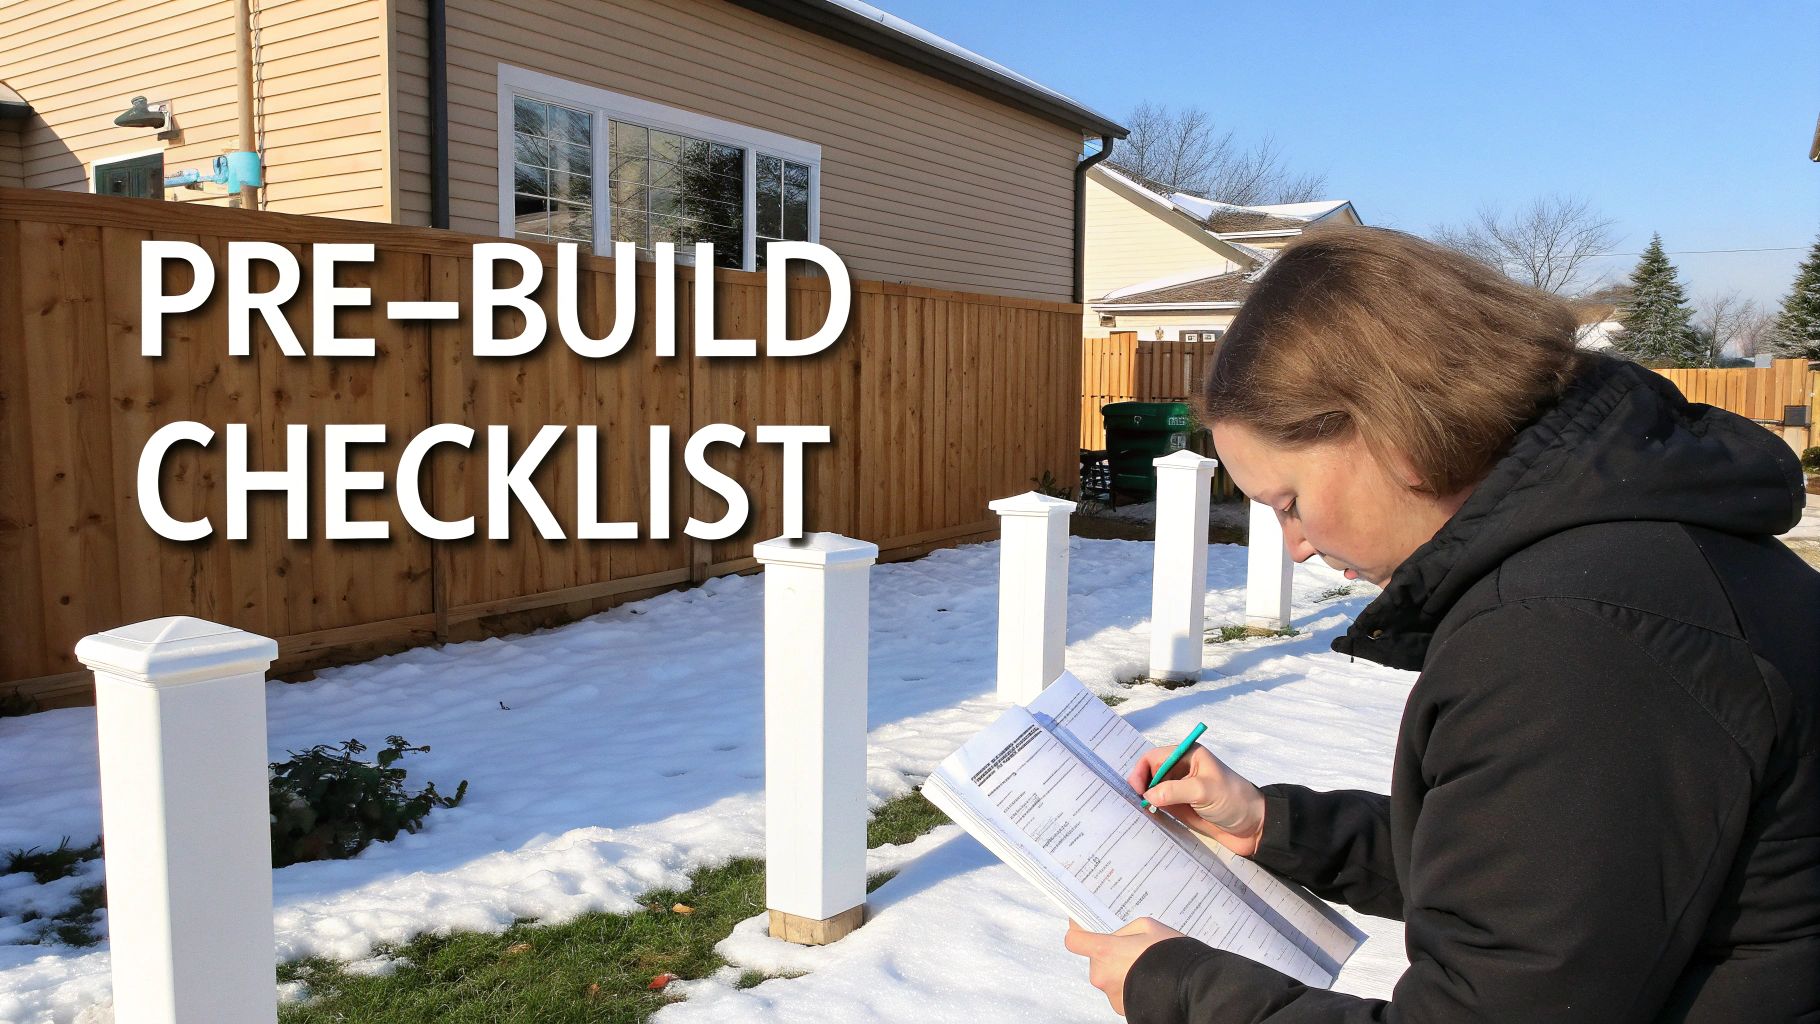
Before breaking ground, execute this checklist. This isn't just a shopping list; it’s a strategic plan to understand your property, comply with local regulations, and prepare for our region's climate challenges. Proper foresight at this stage prevents the most common installation failures, such as leaning posts, bylaw violations, or a fence destroyed by frost heave.
Navigating Local Bylaws and Permits
First, verify the local fencing regulations. Both Ottawa and Gatineau have specific bylaws governing fence height, style, and placement, especially for properties with pools or on corner lots.
Action for City of Ottawa: Visit the city's website or call the building department to confirm height restrictions and determine if a permit is required for your project.
Action for Ville de Gatineau: Check Gatineau's regulations before purchasing any materials to avoid costly mistakes, like having to remove a fence that is non-compliant.
This single step can save you from significant fines and the cost of rebuilding.
Measuring Property Lines and Slopes
Use a tape measure to confirm your exact boundary lines. Locate your property's survey pins to ensure the fence is built entirely on your land, preventing disputes with neighbours.
Accurate property dimensions are critical for precise material ordering. For detailed instructions, consult a comprehensive guide to yard area calculation.
Next, assess your terrain. A flat yard allows for a standard installation. Slopes or hills require a "stepped" or "racked" installation, which will alter your material list and installation plan.
Locating Underground Utilities
Before digging, you must locate all buried utility lines. Striking a gas, water, or electrical line is extremely dangerous and can lead to expensive, widespread service outages.
Action Required: In Ontario, contact Ontario One Call before you dig. In Quebec, use Info-Excavation. These free services will send crews to mark all underground lines on your property. Submit your request several business days in advance to avoid project delays.
Choosing Climate-Ready PVC Materials
Not all PVC can withstand an Ottawa–Gatineau winter. The constant freeze-thaw cycle exerts immense stress on outdoor materials, causing lower-grade PVC to become brittle and crack.
To ensure durability, select high-quality, weather-resistant PVC. Look for products with UV inhibitors to prevent yellowing and impact modifiers for increased flexibility against cold-weather impacts. This is a necessary investment for a long-lasting fence.
Understanding the local frost line is essential. To learn why post depth is so critical in our climate, read your guide to frost depth in Ontario.
Getting Your Gear and Prepping the Ground
With your plan and permits in place, it’s time for site preparation. Thorough prep work is the foundation for a fence that stands straight for years and makes the entire installation process more efficient. A clear fence line and the right equipment will prevent common installation frustrations.
Your PVC Fence Installation Toolkit
The quality of your tools directly impacts the quality of your fence. For a one-time project, renting specialized equipment is more cost-effective than buying. Assemble all necessary tools before you begin to maintain momentum and avoid mistakes.
Tool/Material Category | Essential Items | Actionable Tip |
|---|---|---|
Measurement & Layout | Tape measure (25-foot minimum), line level, carpenter's level, stakes | Drive stakes at corners and stretch your guide line taut about 6 inches above the ground. This creates a clear, straight reference that won't be disturbed. |
Digging & Setting | Post-hole digger (manual), or a power auger (rental recommended) | Rent a power auger. The rocky, clay-heavy soil common in the Ottawa area makes manual digging impractical and exhausting. An auger saves significant time and labour. |
Assembly & Fastening | Cordless drill, rubber mallet | Use the rubber mallet to gently tap panels and posts into position. Using a standard hammer will crack the PVC. |
Safety Gear | Safety glasses, work gloves, steel-toed boots | Wear your safety gear at all times. A flying rock from an auger or a dropped post can cause serious injury. |
To Rent or To Buy? The Big Equipment Question
For digging post holes in the Ottawa–Gatineau area, a power auger is not a luxury—it's a necessity. Renting one is the most practical decision you can make.
For superior drainage in our climate, you should install a gravel base in each post hole. Renting a plate compactor ensures this base is solid. Rental shops offer professional-grade equipment, like those with reliable Honda engines for plate compactors, giving you access to better tools without the purchase price.
Clearing the Fence Line
Your mason's line marks the path. Your task is to create an unobstructed workspace along this line.
Clear a path approximately two feet wide along the entire fence line. Remove all obstacles:
Overhanging branches and shrubs
Large rocks, roots, or old stumps
Thick grass and weeds
Any accumulated debris
A clear path prevents tripping hazards and provides ample room to work with large fence components. It also offers a final opportunity to inspect the ground and verify your post placement and depth plan. For guidance, review how deep a fence post should be. A well-prepared site is the first step toward a professional result.
The Installation Process: From Posts to Panels
This is where your meticulous preparation pays off. With a clear, marked line and your tools ready, you can now build your PVC fence efficiently. The most critical stage is setting the posts; precision here is non-negotiable. Rushing this step is the primary cause of leaning fences after the first winter.
This diagram illustrates the essential site prep workflow.
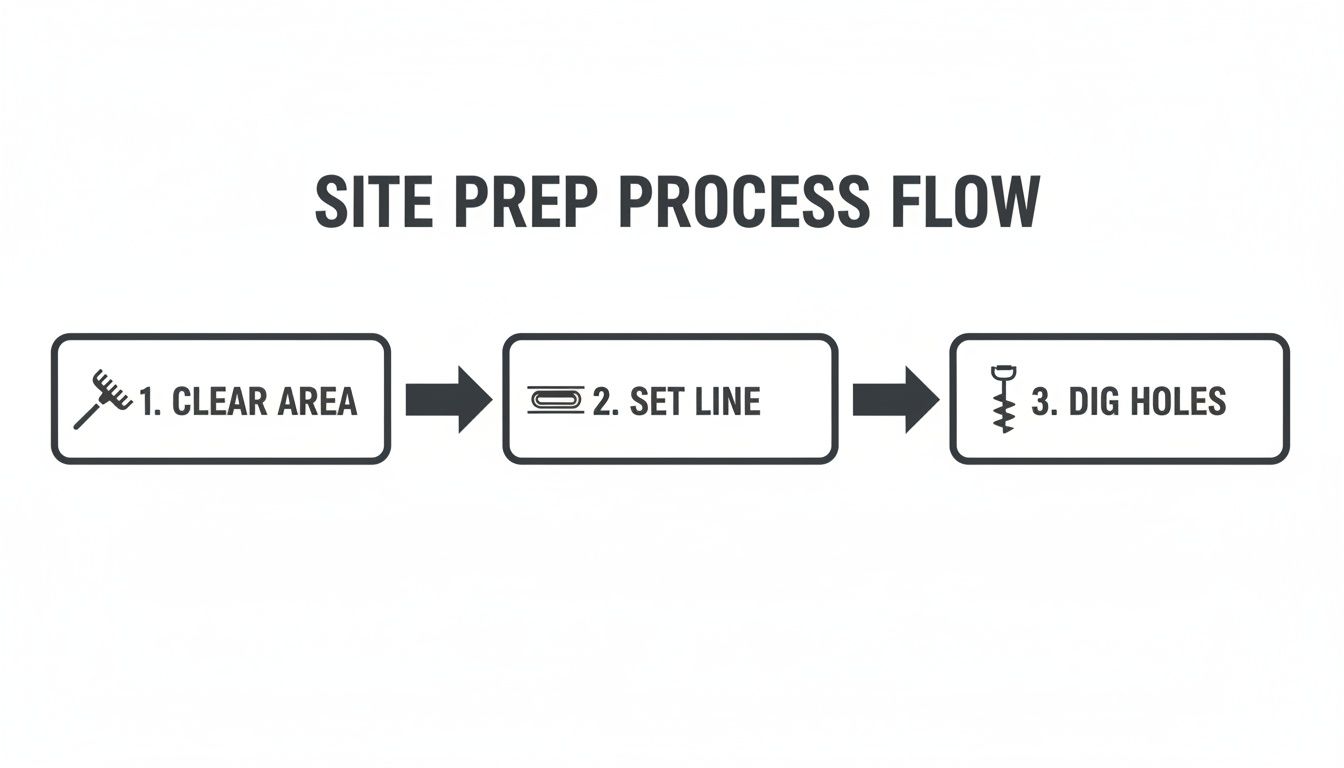
Follow this sequence: clear the area, establish a perfectly straight guide line, then begin digging.
Securing Your Foundation: The Fence Posts
Your fence posts are the foundation. If they are not set correctly, the entire structure will fail. In our region, frost heave exerts enough force to lift improperly set posts directly out of the ground.
To prevent this, you must dig every post hole below the frost line.
Action Required: In the Ottawa–Gatineau area, the frost line is 48 inches (4 feet) deep. Every post hole must be dug to at least this depth to anchor the concrete footing in stable ground, immune to frost heave.
Before placing the post, add 6 inches of gravel to the bottom of each hole. This improves drainage and helps prevent water from pooling at the base, which can exacerbate frost-related issues.
Mixing and Pouring Concrete the Right Way
Now, set your posts in concrete. Use a quick-setting concrete mix for best results. The goal is to create a solid footing that anchors the post permanently.
Avoid mixing the concrete too wet; this creates a weak footing. The ideal consistency is thick, similar to oatmeal.
Follow these steps for a perfect pour:
Place the post in the center of the hole. Use a level on two adjacent sides to ensure it is perfectly plumb.
Brace the post with scrap 2x4s or have a helper hold it steady.
Pour the dry concrete mix around the post, filling the hole about two-thirds full.
Slowly add the amount of water specified on the bag, mixing thoroughly with a stick until all powder is saturated.
Top off the hole with concrete. Slope the surface away from the post to promote water runoff. Double-check that the post is still plumb.
For more detailed techniques, see our practical guide to cementing fence posts. Allow the concrete to cure for a minimum of 24 to 48 hours before installing panels.
Assembling Rails and Panels
Once the posts are immobile, assembly is quick. PVC fence systems are designed for straightforward installation, with rails that lock into pre-routed holes in the posts.
First, install the bottom rail between two posts, using a rubber mallet to securely seat it. Next, slide the vertical pickets or panels into the groove of the bottom rail.
Install the top rail to lock the section in place. Before finalizing, measure the distance between the posts at the top and bottom to confirm they are parallel. Make any adjustments now.
Cutting Panels for a Custom Fit
You will likely need to cut the last panel in a run for a custom fit. This is a standard part of the installation.
Measure the exact distance between the final two posts and subtract the manufacturer's recommended expansion gap (typically 1/4 to 1/2 inch). Transfer this measurement to the panel and rails. Use a fine-toothed saw for a clean cut. The cut end will be concealed inside the post channel.
Installing Your Gate for a Perfect Swing
A sagging or misaligned gate is a common frustration caused by improper installation. Use high-quality, adjustable hardware and ensure your gate posts are exceptionally secure.
Gate posts endure greater stress than line posts. They must be reinforced, either with a larger post, thicker vinyl walls, or an internal steel or aluminum stiffener.
Execute gate installation in this order:
Install the hinges on the gate post according to the manufacturer's spacing guidelines.
Position the gate. Use blocks to prop it at the correct height from the ground.
Attach the gate to the hinges. Test the swing to ensure it moves freely.
Install the latch hardware, ensuring it aligns perfectly and engages securely.
After installation, test the gate repeatedly. Use the hinge adjustments to fine-tune the alignment until it hangs perfectly level and closes effortlessly. This final step distinguishes a professional installation from an amateur one.
Here is what to expect regarding cost and project duration for a professional installation.
Figuring Out the Cost and Timeline for Your PVC Fence
Before starting, establish a realistic budget and timeline. The final cost of a PVC fence installation depends on several key variables beyond simple linear footage. Understanding these factors will help you budget effectively.
What Really Drives Your Fence Cost?
The final price of a PVC fence varies based on your property and design choices. A simple fence on flat terrain will be less expensive than one on a complex, sloped lot.
Here are the primary cost drivers:
Linear Footage: The total length of the fence is the largest factor, determining material and labour requirements.
Fence Height and Style: A 6-foot privacy fence requires more material and costs more than a 4-foot picket fence. Decorative elements also add to the price.
Site Complexity: Sloped or rocky terrain requires more labour and specialized installation techniques, such as racking or stepping panels, which increases the cost.
Gates: The number, size, and style of gates are priced separately. A double-wide driveway gate is significantly more expensive than a standard pedestrian gate.
Breaking Down the Numbers: DIY vs. Hiring a Pro
Choosing between a DIY installation and hiring a professional crew directly impacts your budget. DIY saves on labour costs, but you must account for tool rentals, material delivery, and the value of your own time.
Hiring a professional provides expertise, efficiency, and a warranty. While the upfront cost is higher, it protects you from costly installation errors. Data from one U.S. market shows the average vinyl fence installation cost is $3,479, with projects typically ranging from $2,056 to $4,913. A $5,000 PVC fence can add up to 50% of its value to your home's resale price, demonstrating a strong return on investment. Explore the data in these insights on vinyl fence ROI from Angi.com.
Actionable Insight: Consider the total cost of ownership. PVC requires no painting, staining, or sealing. Over 20 years, this lack of maintenance makes it significantly more cost-effective than a traditional wood fence.
A Realistic Project Timeline
A professional crew follows an efficient, multi-stage process. For a standard residential fence installation in the Ottawa area, here is a typical schedule:
Day 1: Site Prep & Layout. Clear the fence line, stake post locations, and run a string line for a perfectly straight installation.
Day 1-2: Digging Holes & Setting Posts. Dig all post holes to the correct depth and set the posts in concrete.
Day 2-3: Concrete Curing. Wait a minimum of 24-48 hours. This step is non-negotiable; the concrete must fully harden before it can support the weight of the panels.
Day 3-4: Installing Panels & Gates. Once posts are solid, install rails, panels, and gates to complete the project.
A professional crew typically completes a standard installation in 3 to 5 days, weather permitting. For a DIY project, plan for two to three full weekends.
Deciding Between DIY and Professional Installation
The first major decision for your PVC fence project is whether to install it yourself or hire professionals. This choice balances labour cost savings against the value of expertise, speed, and a guaranteed result. The right path depends on your skills, your property's complexity, and your timeline. An incorrect choice can lead to a failed installation, wasted materials, and a project that drags on indefinitely.
When a DIY Project Makes Sense
A DIY PVC fence installation is an achievable and rewarding project under the right conditions.
Choose the DIY approach if your project meets these criteria:
Your property is flat and square. A level yard without slopes or major obstacles simplifies the installation process significantly.
The fence line is relatively short. A smaller project, like enclosing a garden, is manageable for a DIY installer.
You have the right tools. You will need a power auger, a quality level, and other essential tools listed previously.
You have a helper. Setting posts and handling long panels is a two-person job.
If your situation aligns with these points, a DIY installation can offer substantial cost savings.
The Case for Professional Installation
For many projects, hiring a professional team like FenceScape is the most effective choice. Experienced installers bring efficiency and problem-solving skills that are invaluable for complex jobs.
Hire a professional installer in these situations:
Your yard has a steep slope.
Your soil is extremely rocky or difficult to dig.
Your fence must comply with strict pool safety codes.
You require a flawless, warrantied installation completed quickly.
A professional team manages the entire project, handles unexpected challenges, guarantees their workmanship, and provides access to higher-quality, trade-grade materials not available in retail stores.
The cost of professional labour reflects the skill required to execute a durable installation. Data shows labour costs for a small 27-foot PVC fence can range from $1,107 to $1,401. This price covers digging post holes to the correct depth, properly setting each post in concrete, and ensuring perfect panel alignment. For more details, review the complete vinyl fence cost data from Homewyse.com.
Ultimately, assess your project's complexity and your own capabilities. For a simple fence on flat ground, DIY is a viable option. For anything more challenging, the expertise of a professional ensures your fence is a sound, long-term investment.
Common Questions About PVC Fences
Here are direct answers to the most common questions homeowners have about PVC fence installation and ownership.
How Deep Do Fence Posts Need to Be in Ottawa–Gatineau?
Every fence post must be installed with its concrete footing below the local frost line to prevent frost heave. In the Ottawa–Gatineau region, the required depth is 48 inches (4 feet or 1.2 metres).
This anchors the post in stable ground that does not shift during winter freezes, preventing the leaning and warping common in fences with shallow posts.
Is a PVC Fence a Good Investment for My Home?
Yes. A quality PVC fence provides an immediate and lasting boost to curb appeal, privacy, and security, all of which are highly valued by homebuyers.
Unlike wood, which requires constant maintenance to look good, PVC retains its clean, new appearance for decades with minimal effort. This durable, low-maintenance quality makes it a smart investment that enhances your property's long-term value.
Can I Install a PVC Fence on a Sloped Property?
Yes, but it requires specific installation techniques to ensure a secure and professional-looking result. There are two primary methods for installing on a slope:
Racked Panels: These flexible panels are designed to follow the contour of the ground, maintaining a consistent gap at the bottom. This is the preferred method for most slopes.
Stepped Panels: This technique keeps each panel level, creating a stair-step appearance as the fence moves up or down the grade.
Installing on a slope is more complex and often warrants professional installation. While you can expect higher labour costs for sloped terrain—sometimes $26 to $59 per foot—a professional ensures the fence is secure and aesthetically pleasing. You can see how terrain impacts installation costs on ProMatcher.com.
A sloped yard is a common installation challenge, not a barrier. The goal is to avoid unsightly gaps beneath the fence and create a seamless line.
How Do I Maintain My New PVC Fence?
PVC fencing is valued for being virtually maintenance-free.
To keep it clean, simply rinse it with a garden hose a few times per year to remove dust and grass clippings. For stubborn dirt, use a soft brush with mild soap and water. PVC never needs painting, staining, or sealing, which saves you significant time and money over the life of the fence.
Ready to invest in a durable, low-maintenance fence that’s built to handle Ottawa–Gatineau seasons? The team at FenceScape provides expert PVC fence installation, handling everything from complex slopes to pool code compliance. Get your free, no-obligation estimate today!
Comments