
Installing vinyl fences: Quick DIY guide
- Eric Lafleche
- Dec 25, 2025
- 11 min read

Before digging the first post hole, understand that the success of your vinyl fence installation hinges on meticulous prep work. A solid plan is your most critical tool, preventing mid-project hardware store runs, accidental damage to underground utility lines, or violations of local bylaws.
Your Pre-Installation Game Plan
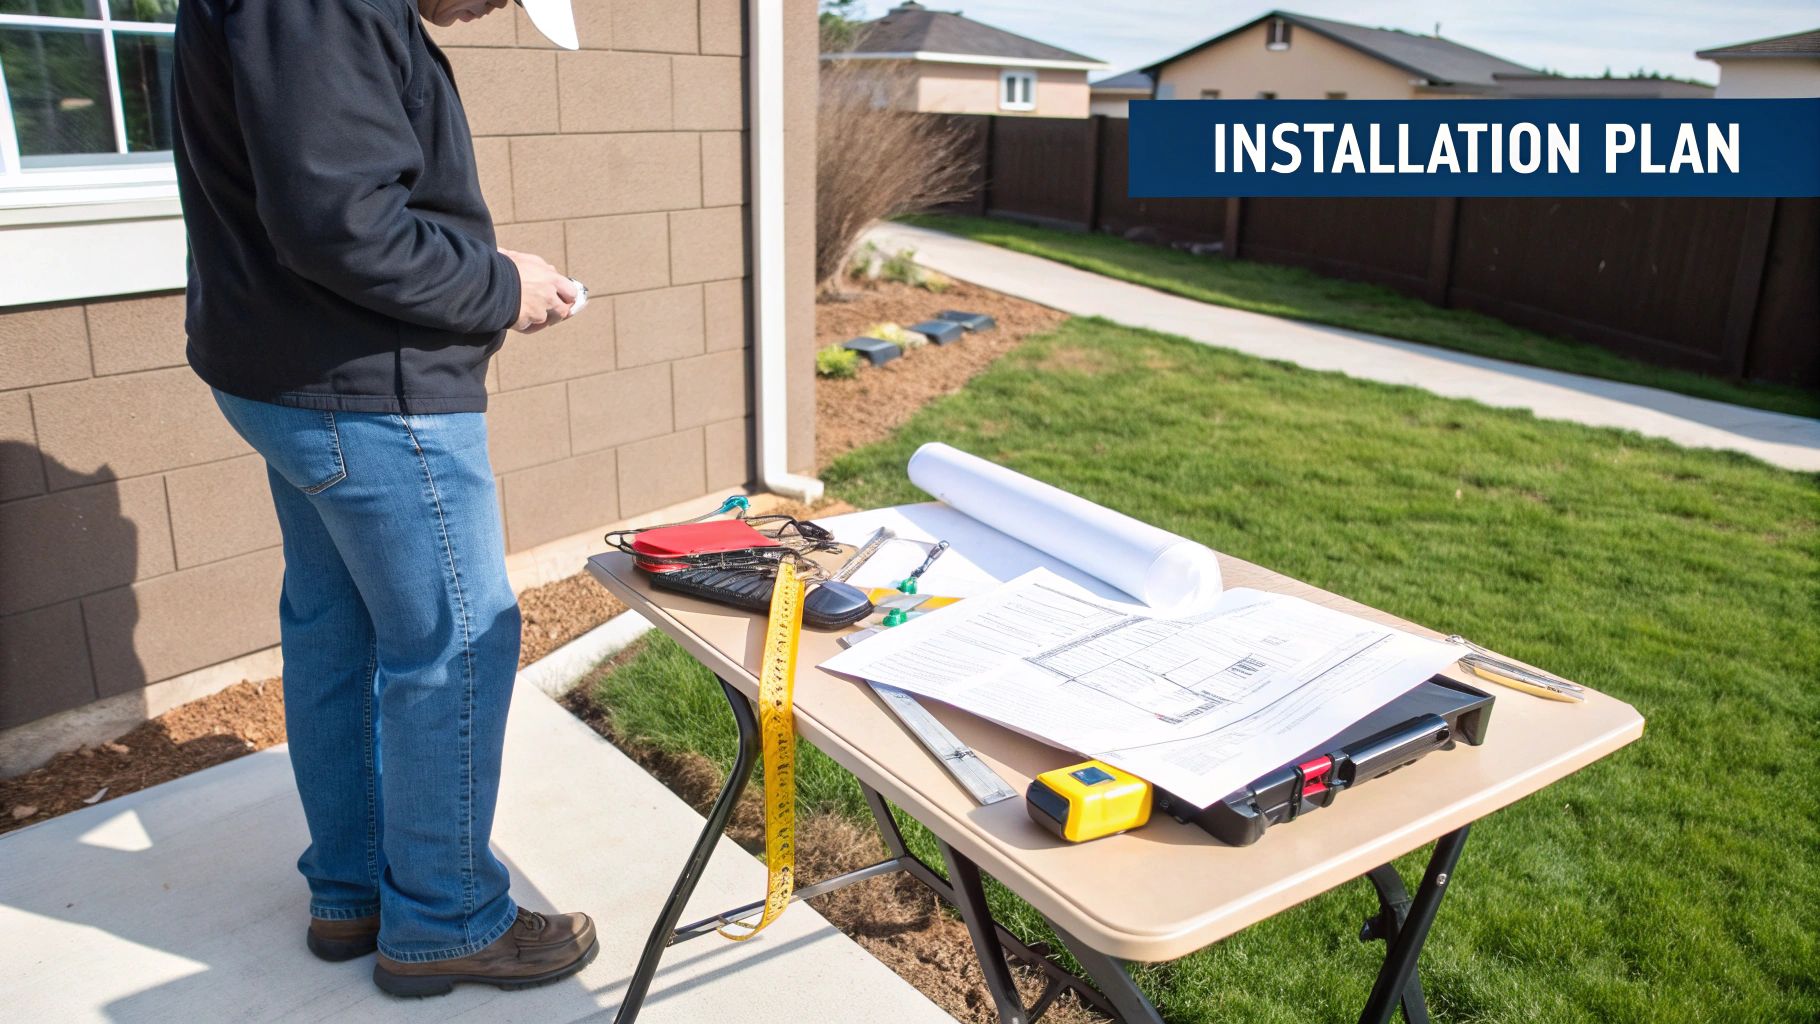
A professional-looking fence is the direct result of careful preparation. This stage is about smart strategy, not brute force. Get the planning right, and the physical installation becomes a straightforward, step-by-step process.
Action Step 1: Confirm Local Bylaws and Permits
Your first action is to contact your local municipal office or check its website. Ottawa and Gatineau have specific zoning bylaws that regulate fence height, style, and placement. A common rule dictates that a 6-foot privacy fence allowed in a backyard may be restricted to 4 feet in a front yard.
Check for property line setback requirements. You often cannot build directly on the boundary; bylaws may require a setback of several inches to prevent disputes.
Finally, confirm if you need a permit. In Ottawa, a permit is typically required for any fence over 2 metres (about 6.5 feet). Skipping this step can lead to fines and a demolition order.
Action Step 2: Calculate Your Materials
With your property survey and bylaw information in hand, measure the total linear footage for your fence. This number is the basis for all your material calculations.
Follow these formulas for an accurate order:
Fence Panels: Divide your total linear footage by the panel width (6-foot or 8-foot). Round up to the next whole number and add one extra panel as a spare for potential damage.
Posts: You need one post for every panel, plus one additional post to complete the run. For a 100-foot fence using 8-foot panels, you need 13 panels (100 ÷ 8 = 12.5, rounded up) and 14 posts.
Gate Kits: Measure the gate opening and subtract this width from your total linear footage before calculating panel and post counts.
Concrete: Plan for two 60-lb bags of concrete mix per post hole. Purchase a few extra bags to avoid running out mid-project.
Hardware: Inventory the post caps, bracket screws, and gate hardware (hinges, latches) included in your kits. Confirm you have everything listed.
For custom projects, consider options like the https://www.fencescape.ca/hybrid fences we offer. If this scope feels overwhelming, you can hire professional landscape installation services.
Action Step 3: Assemble Your Toolkit
Organize your tools before starting to ensure a smooth workflow. Use this checklist to prepare.
Essential Tools and Materials Checklist
Category | Item | Pro Tip |
|---|---|---|
Layout & Measuring | Tape Measure (25’+), Mason's Line, Stakes, Marking Paint/Chalk | Use the mason's line stretched taut between stakes to create a perfectly straight guide for your posts. |
Excavation | Post-Hole Digger (manual/gas), Shovel, Wheelbarrow | Rent a gas-powered auger for rocky or clay-heavy soil. It will save you hours of labour. |
Installation & Levelling | Level (4’), Rubber Mallet, Cordless Drill/Driver, Circular Saw | Use a 4-foot level to plumb each post on two adjacent sides. Do not eyeball this step. |
Mixing & Setting | Concrete Mix, Buckets/Mixing Tub, Hoe/Trowel, Water Source | Mix concrete to a peanut butter consistency. A mix that is too wet will be significantly weaker. |
Safety Gear | Safety Glasses, Work Gloves, Steel-Toed Boots | Always wear safety glasses when cutting materials or working near excavation. |
This checklist covers the essentials for an efficient installation.
Action Step 4: Locate Underground Utilities
This is a mandatory safety step. Before you dig, you are legally required to contact Ontario One Call. This free service sends crews to mark the location of all buried utility lines on your property. Hitting a gas, electrical, or water line is dangerous and can result in costly repairs. Schedule this service at least one week before you plan to start digging.
A common mistake is assuming you know where the lines are. A free call to Ontario One Call prevents a potentially catastrophic and expensive error.
Your investment in a vinyl fence is a smart one. Local data shows that 92% of vinyl fences in the Ottawa-Gatineau region remain in excellent condition after 25 years, withstanding an average of 220 cm of annual snowfall. This planning phase ensures your fence is one of them.
Laying Out Your Fence Line: The Foundation of a Flawless Finish
With permits approved and materials on site, it's time to translate your plan to the ground. An arrow-straight, professional-looking fence begins with a perfectly marked line.
First, walk the entire fence path and clear a wide, unobstructed corridor. Remove rocks, trim shrubs, and cut back low-hanging branches or roots. This ensures your string line is straight and you have room to work.
How to Create a Perfectly Straight Line
The most reliable method for a straight fence is using batter boards and a mason's line. This professional technique creates a stable guide that ensures every post aligns perfectly.
To do this, drive two stakes into the ground about two feet beyond each corner or end of your fence run. Nail a horizontal board across them to create a batter board. With a set at each end, you have a frame that extends past your fence's footprint.
Next, stretch a brightly coloured mason's line taut between the batter boards. Position the string to mark the exact outside face of your fence posts. This string is now your immovable guide.
Pro Tip: Crouch at one end and look down the string line. This simple visual check is the most critical action you can take to confirm your layout is perfectly straight before marking post locations.
Marking Post Locations Accurately
With the string line as your guide, mark the centre of each post hole. Start by marking the corners, ends, and gate posts—these are the structural anchors of your fence.
Measure the width of your vinyl panels (typically 6 or 8 feet). This is your "on-centre" post spacing.
Starting from a corner, use a measuring tape to mark the centre point for each subsequent post on the ground directly beneath the mason's line. Use marking paint or a small stake. Continue down the entire line. This methodical marking ensures your panels will fit perfectly without requiring awkward custom cuts.
Before digging, you must know what is buried. Contact Ontario One Call or Info-Excavation in Quebec. Understanding how to perform safe excavation near utilities is critical. This precision layout work is what sets you up for a strong, professional result.
Setting Posts to Outlast Winter Frost
This is the most physically demanding and structurally critical part of the job. The long-term durability of your fence depends entirely on the foundation you build below ground.
In the Ottawa-Gatineau region, frost heave from our freeze-thaw cycles will push improperly set posts out of the ground, ruining your fence line. To prevent this, you must anchor your posts in concrete footings that extend below the frost line.
First, ensure your fence line is clearly marked and ready for digging.
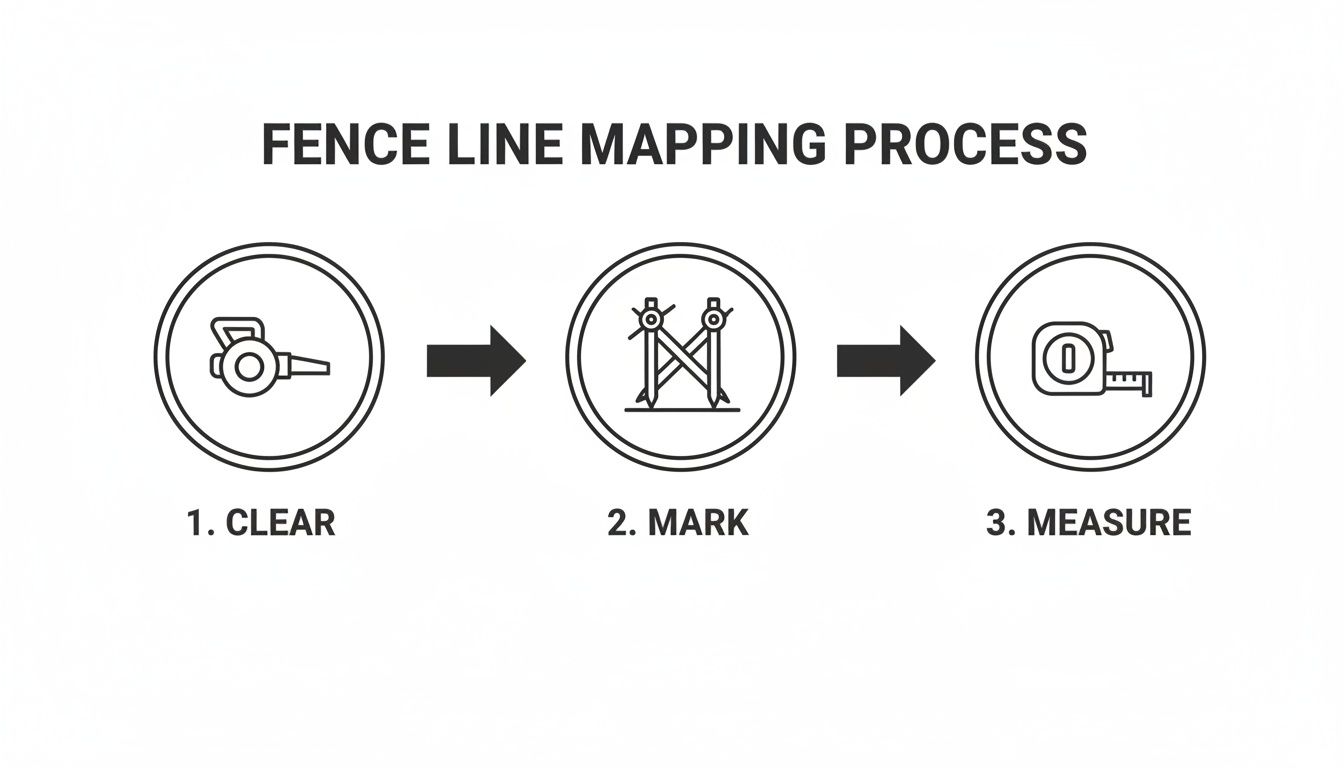
This diagram reinforces the sequence: clear the area, mark the line with stakes and string, and then measure and mark your post locations precisely.
Digging for Longevity
It's time to dig. In our climate, the frost line is 48 inches (4 feet) deep. Every post hole must be dug to this depth to place the concrete footing in stable, unfrozen soil, making it immune to frost heave.
Choose your digging tool:
Manual Post-Hole Digger: Suitable for a few posts in soft, rock-free soil. This is strenuous work.
Gas-Powered Auger: The best choice for multiple posts or the dense clay and rocky soil common in our area. Renting an auger will save you hours of labour.
The hole diameter must be 10 to 12 inches for a standard 4x4 or 5x5 vinyl post. This provides enough space for a thick concrete collar, ensuring maximum stability against wind and ground movement.
Creating the Perfect Concrete Foundation
Before pouring concrete, you must create a drainage base. Pour 6 inches of ¾-inch crushed gravel into the bottom of each hole. Compact it firmly with the end of a 2x4. This gravel base allows water to drain away, preventing it from pooling, freezing, and cracking the footing.
A common DIY mistake is pouring concrete directly onto dirt. The gravel base is your best defence against frost heave and water damage. Do not skip this step.
Next, mix your concrete to a thick, peanut butter-like consistency. It must be stiff enough to support the post while wet enough to fill all voids. A wheelbarrow is ideal for mixing. Avoid adding too much water, as it significantly weakens the concrete. Plan on using approximately two 60-lb bags of mix per hole.
Setting Your Posts Plumb and True
With the concrete ready, place a post into the centre of the hole, resting it on the compacted gravel. Begin adding concrete evenly around the post.
As you fill the hole, use your 4-foot level to constantly check that the post is perfectly plumb (vertically straight) on two adjacent sides. An even slight lean will disrupt the entire fence line. Use your mason's line to ensure all post heights are consistent.
Once the hole is full, use a trowel to slope the top of the concrete away from the post. This crown sheds water, protecting the post's base.
Finally, brace each post. Use scrap 2x4s screwed to the post and a stake in the ground to hold it perfectly still while the concrete cures. Check for plumb one last time, then leave it undisturbed. Do not attempt to hang panels for at least 24 to 48 hours to allow the concrete to gain sufficient strength.
Assembling the Panels, Rails, and Gates
With your posts set and the concrete cured, you can now assemble the fence. This stage is where your careful preparation pays off. The goal is to build strong, seamless sections that can withstand local weather conditions.
Think of this as assembling a large-scale kit. Each component is designed to lock together securely. Follow a logical sequence and maintain precision.
Building Your Fence, Section by Section
First, install the rail mounting brackets on the posts. Start by attaching the bottom rail brackets on two adjacent posts. Use your level or a tight string line to ensure they are at the exact same height for a professional finish.
Once the brackets are installed, insert the bottom rail. Most systems feature notched ends that lock securely into the brackets. With the bottom rail in place, begin inserting the pickets or tongue-and-groove privacy panels into the rail's channel. Seat each piece firmly.
After all pickets or panels are in place, install the top rail. This piece locks the entire section together. Press it down firmly over the pickets until it is fully seated in the post brackets. Secure it, and the section should now be solid and rattle-free.
Dealing With Custom Cuts and Sloped Ground
You will likely need to cut the final panel in a run to fit. To do this, measure the distance between the last two posts and trim your panel components accordingly, leaving the manufacturer-recommended clearance.
Use a circular saw with a fine-toothed blade for a clean cut that won't melt the vinyl. Always remember the rule: measure twice, cut once.
To handle a slope, use one of two methods:
Stair-Stepping: Keep each panel level but install it lower than the previous one, creating a "stair-step" effect. This is the most common and effective method for most slopes.
Racking: Some fence styles are designed to "rack," allowing the panel to angle and follow the contour of the ground. This provides a smooth top line on gentle slopes.
Hanging Your Gate for a Perfect Swing
A properly hung gate is a matter of precision. An improperly installed gate will sag and drag.
First, assemble the gate itself. Next, attach the hinges to the designated gate post, using your level to ensure they are perfectly vertical. With help from a friend or blocks, prop the gate to the correct height and attach it to the hinges.
Before fully tightening the screws, test the swing. It should move freely with even spacing around the perimeter.
The latch side is as critical as the hinge side. Install the latch hardware on the opposite post, ensuring it aligns perfectly with the gate's latch mechanism. The gate should close securely without needing to be lifted or forced.
A well-installed gate feels solid and closes with a secure click.
In the Ottawa-Gatineau region, vinyl fence installations have increased by 35% since 2020. Local data shows vinyl accounted for 42% of over 2,500 residential fencing permits in one year. At FenceScape, our vinyl projects often cost 20% less than wood and are completed in 2-3 days. You can learn more about fencing installation costs and trends here.
Finishing Touches and Avoiding Common Pitfalls
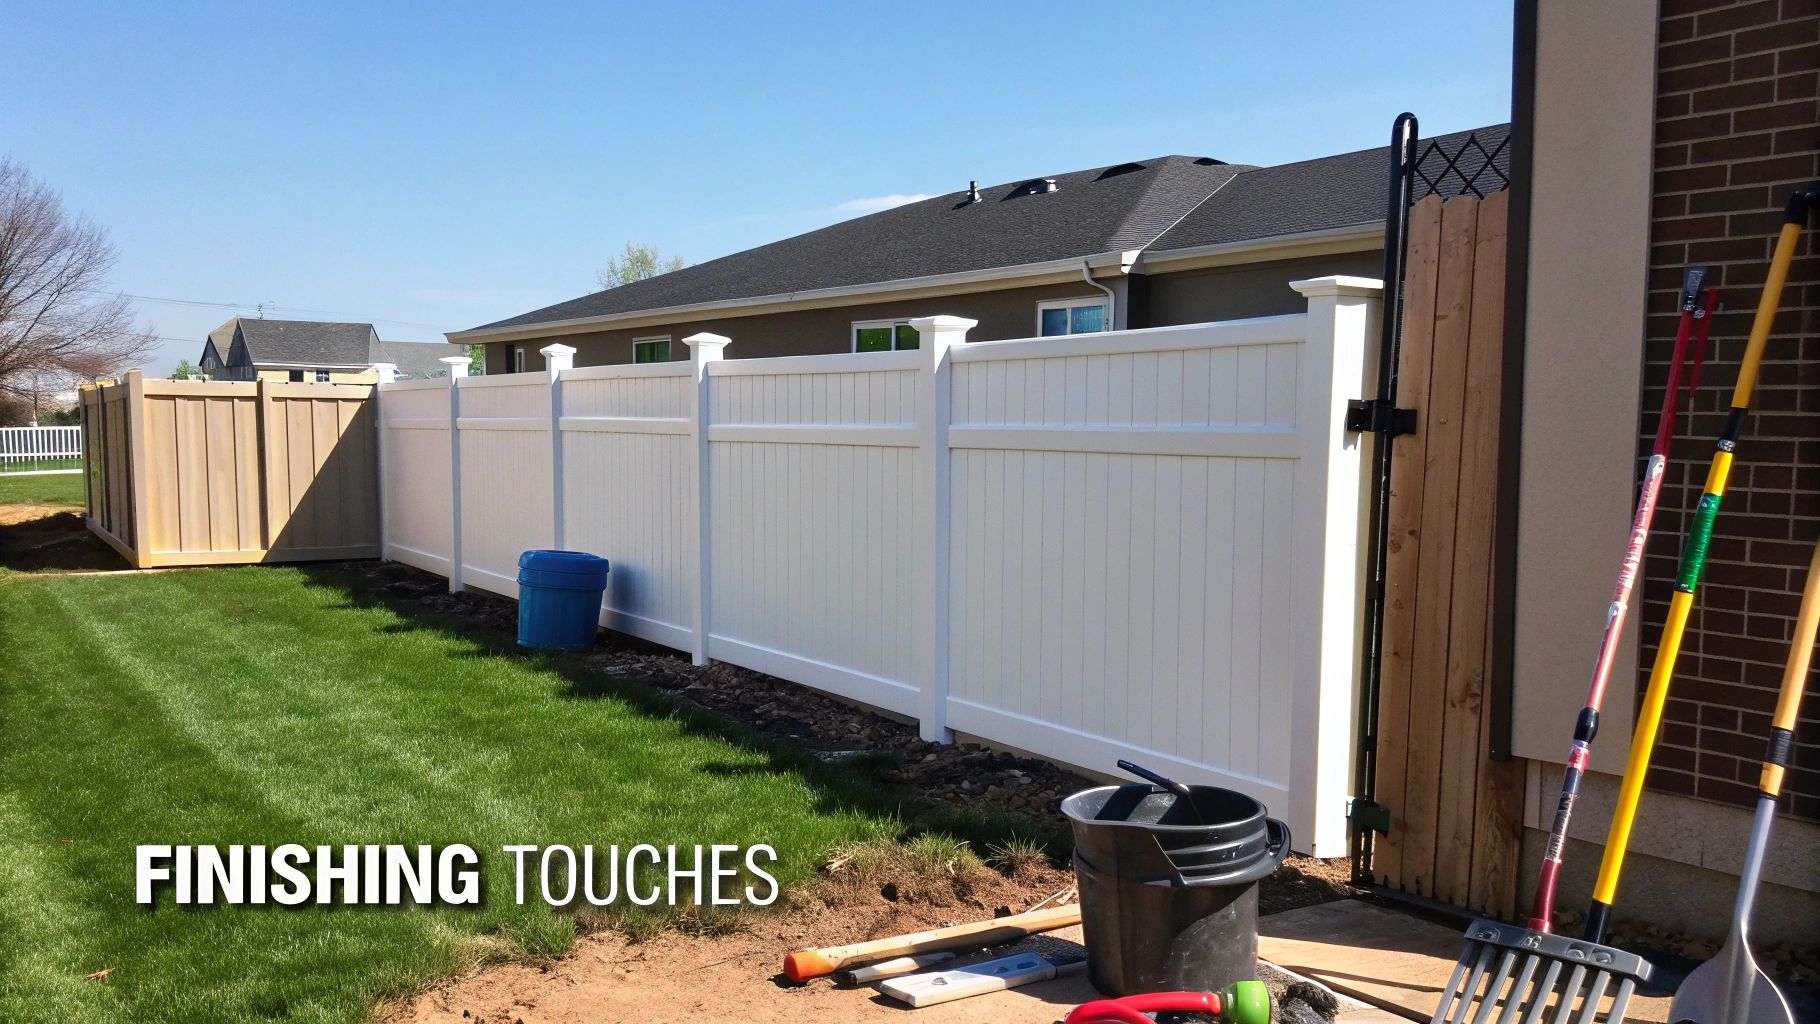
The primary construction is complete. These final steps are what elevate a good DIY job to a professional-grade installation.
First, install the post caps. These are not merely decorative; they prevent rain, snow, and debris from collecting inside the posts, which prevents staining and moisture buildup. Apply a bead of vinyl-safe adhesive to the inside lip of the cap and press it firmly onto the post.
With the caps on, perform a thorough site cleanup. Remove all leftover materials, empty concrete bags, and excess soil. As a final step, wipe down the fence with a damp cloth to remove any smudges from installation.
On-the-Fly Fixes for Common Problems
Even with careful planning, issues can arise. Here are solutions to common problems:
A Post Isn't Perfectly Plumb: If the concrete is still wet (within a few hours), gently push the post into position and re-brace it. If the concrete is hard, you must dig out soil on one side of the footing, use a sledgehammer against a wood block to tap the post into a plumb position, then backfill and compact the soil firmly.
A Panel is Too Loose or Tight: If a panel rattles, use vinyl shims or a small amount of clear silicone inside the post channel to secure it. If a panel is too tight to fit, you may need to trim a small amount off the rail ends with a fine-toothed saw.
A Gate Sags or Won't Latch: Most modern gate hinges are adjustable. Use a wrench to tighten the tension mechanism on the hinges to lift the latch side of the gate. Ensure the latch and striker are perfectly aligned for a smooth close.
Your best troubleshooting tool is patience. Forcing components that don't fit will lead to cracked vinyl or broken hardware. Step back and calmly assess the problem before acting.
Final Checks and Long-Term Care
Perform one final walkthrough. Inspect every post, panel, and gate to confirm it is stable, straight, and secure. For more information on the materials, explore our high-quality PVC fencing options.
In Ottawa-Gatineau, a standard residential vinyl fence installation takes 1-4 days, about 40% faster than wood. With local labour rates between $40-$60 per hour, a skilled crew can install 50-80 feet daily. For more cost comparisons, you can find more vinyl fence installation cost details online.
Frequently Asked Questions About Vinyl Fence Installation
Here are answers to the most common questions homeowners have during a vinyl fence installation.
How Deep Should Vinyl Fence Posts Be Set?
In the Ottawa–Gatineau region, post holes must be a minimum of 48 inches (4 feet) deep. This depth places the concrete footing below the frost line, anchoring it in stable ground that is not affected by freeze-thaw cycles.
That 4-foot depth is the structural backbone of your fence. It prevents frost from pushing your posts and your investment out of the ground.
Can You Install a Vinyl Fence on a Slope?
Yes, vinyl fencing is well-suited for sloped terrain. There are two standard installation methods:
Stair-Stepping: Each fence panel remains level, but is installed progressively lower or higher than the adjacent one to follow the slope. This is the most common method.
Racking: Some panel styles are designed to tilt or "rack" to match the contour of the ground, creating a smooth, flowing top line. This works best for gentle slopes.
For most properties in our area, stair-stepping provides the cleanest and most effective solution.
What Does a DIY Vinyl Fence Installation Cost?
Material costs for a DIY installation typically range from $20 to $40 per linear foot, depending on the style and height.
For a standard 150-foot backyard fence, your material budget would be between $3,000 and $6,000.
Remember to budget for additional items like concrete mix, gravel, and potential tool rentals (e.g., a gas-powered auger), which can add $200 to $500 to your total cost. A DIY approach saves on labour costs in exchange for your own time and effort.
What Are the Most Common DIY Mistakes to Avoid?
Avoiding these three common pitfalls will prevent the vast majority of installation problems:
Not Digging Deep Enough: Posts not set below the frost line will heave. Dig to 48 inches. No exceptions.
Failing to Set Posts Perfectly Plumb: Use a 4-foot level on two adjacent sides of every post as you set it in concrete. A post that is not perfectly vertical will compromise the entire fence line.
Miscalculating Panel Spacing: Measure the distance between post centres precisely. Inaccurate spacing will force you to cut panels awkwardly or leave unsightly gaps.
Taking the time to execute these three steps correctly will ensure a professional result. For more tips, feel free to browse our other blog posts.
Ready to build a fence that will stand the test of time but would rather leave the hard work to the experts? The team at FenceScape provides professional, turnkey installation services across the Ottawa–Gatineau region. Contact us today for a free, no-obligation estimate and let's bring your vision to life.
Comments